Address
304 North Cardinal St.
Dorchester Center, MA 02124
Work Hours
Monday to Friday: 7AM - 7PM
Weekend: 10AM - 5PM
Address
304 North Cardinal St.
Dorchester Center, MA 02124
Work Hours
Monday to Friday: 7AM - 7PM
Weekend: 10AM - 5PM


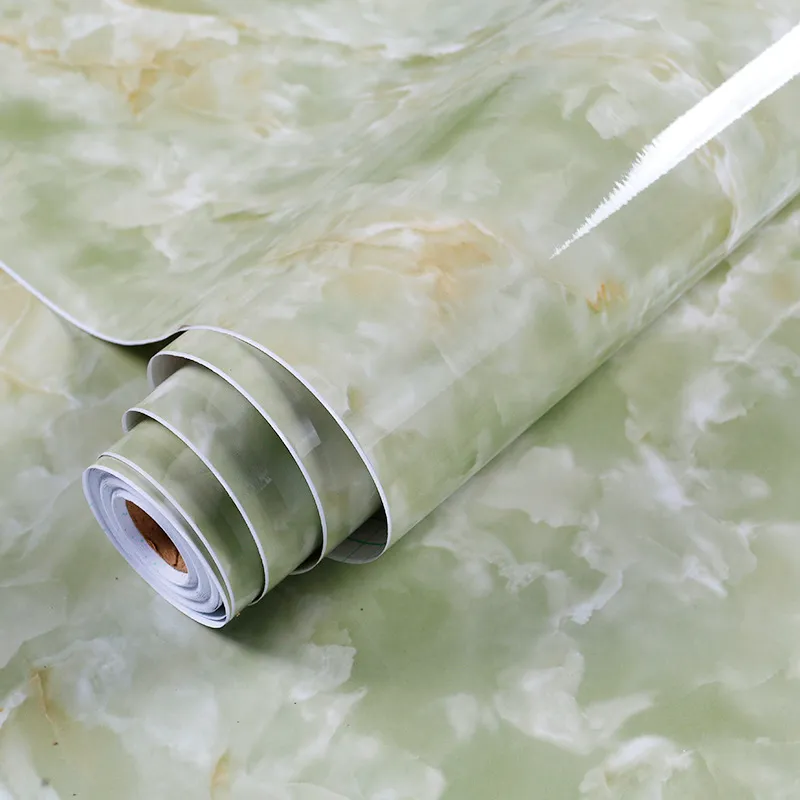
Installing PVC self-adhesive film is a cost-effective way to refresh cabinets, countertops, furniture and walls. Follow this clear, step-by-step guide to get a smooth, bubble-free finish every time — whether you’re a first-time DIYer or a pro installer.
PVC self-adhesive film (also called vinyl wrap) is a thin, flexible decorative film with a pressure-sensitive adhesive backing. It’s ideal for:
Benefits: affordable, quick to install, wide design options, easy maintenance. Use a heat gun for curves and a quality squeegee to eliminate bubbles.
| Item | Purpose | Pro tip |
|---|---|---|
| PVC self-adhesive film | Main material | Buy 10% extra for mistakes and pattern matching |
| Squeegee (felt edge) | Remove air & flatten film | Work from center outward |
| Spray bottle with soapy water | Temporary repositioning | Use mild soap to avoid residue |
| Sharp blade / cutter | Trim edges precisely | Replace blade frequently for clean cuts |
| Heat gun (or hair dryer) | Conform film to curves | Use moderate heat and stretch gently |
Clean the surface thoroughly with a degreaser or isopropyl alcohol. Remove dust, grease, old adhesive and loose paint. A smooth, dry surface is essential. Fill deep scratches or gaps — the film will telegraph imperfections if the substrate isn’t smooth.
Measure the area and cut the film with a 2–3 cm margin. Dry-fit the film to ensure pattern alignment and to visualize seams before removing the liner.
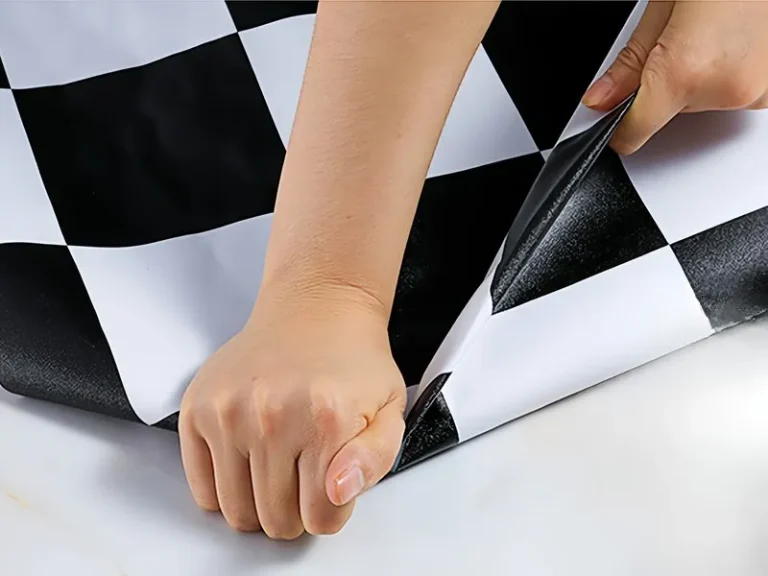
Dry method: Peel a small portion of the liner, align the film, and use the squeegee to press from the center outward. This method gives stronger initial tack and less repositioning.
Wet method: Spray soapy water on the substrate, peel the liner, position the film, then squeegee excess water and air out from the center. This method is forgiving for large panels and pattern alignment.
Work systematically with the squeegee, applying firm pressure from center to edge. For trapped bubbles: use a pin to puncture tiny bubbles and press them flat, then reheat to help the adhesive settle.
Gently warm the film with a heat gun on low setting and stretch slowly into curves. Do not overheat — excessive heat can distort prints or the film backing.
Trim the excess with a sharp blade, cutting at a slight angle where necessary. For cabinet doors, tuck film neatly into edges and use heat to set seams and corners.
Allow 24–48 hours before heavy use. Clean with a mild detergent and a soft cloth; avoid harsh solvents and abrasive pads. For high-traffic areas, consider sealing cut edges with edge adhesive to prolong life.
Small project (e.g., drawer front): 30–60 minutes. Larger cabinets or countertops: 2–6 hours depending on complexity. Take breaks and work in a clean, dust-free environment.
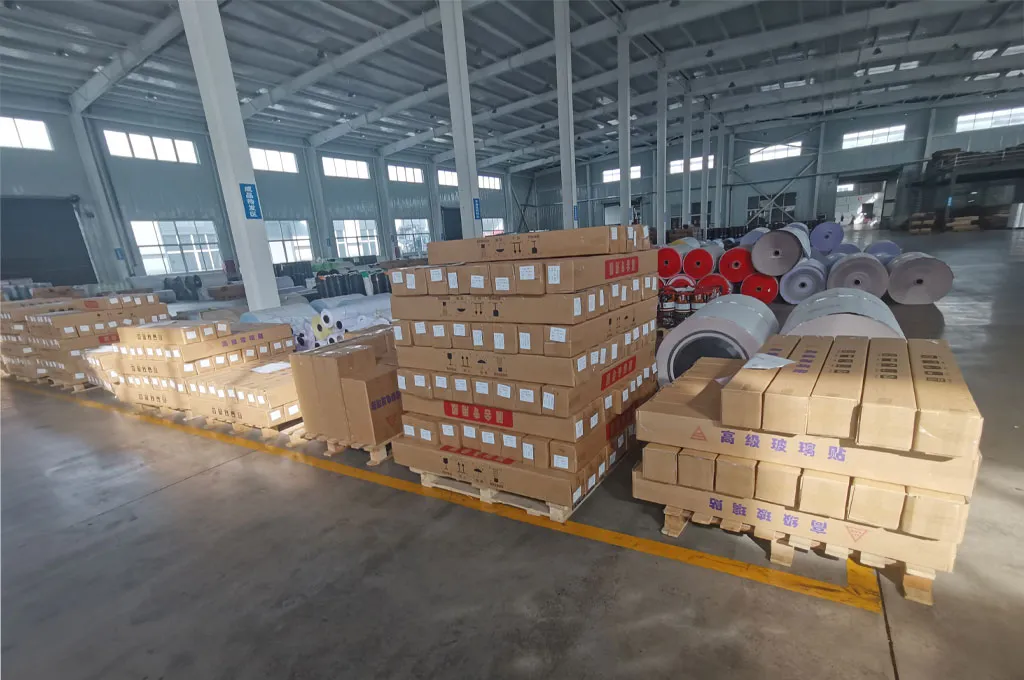
For reliable supply and custom options, consider manufacturers who control the full production chain. Pulivk offers calendering, printing and split-packaging capabilities to ensure consistent quality and flexible OEM services.
Patience and preparation are the keys to a professional-looking wrap. Work slowly, use the right tools, and don’t rush the trimming and heating steps — the result will be a clean, durable finish that transforms the space.