Address
304 North Cardinal St.
Dorchester Center, MA 02124
Work Hours
Monday to Friday: 7AM - 7PM
Weekend: 10AM - 5PM
Address
304 North Cardinal St.
Dorchester Center, MA 02124
Work Hours
Monday to Friday: 7AM - 7PM
Weekend: 10AM - 5PM


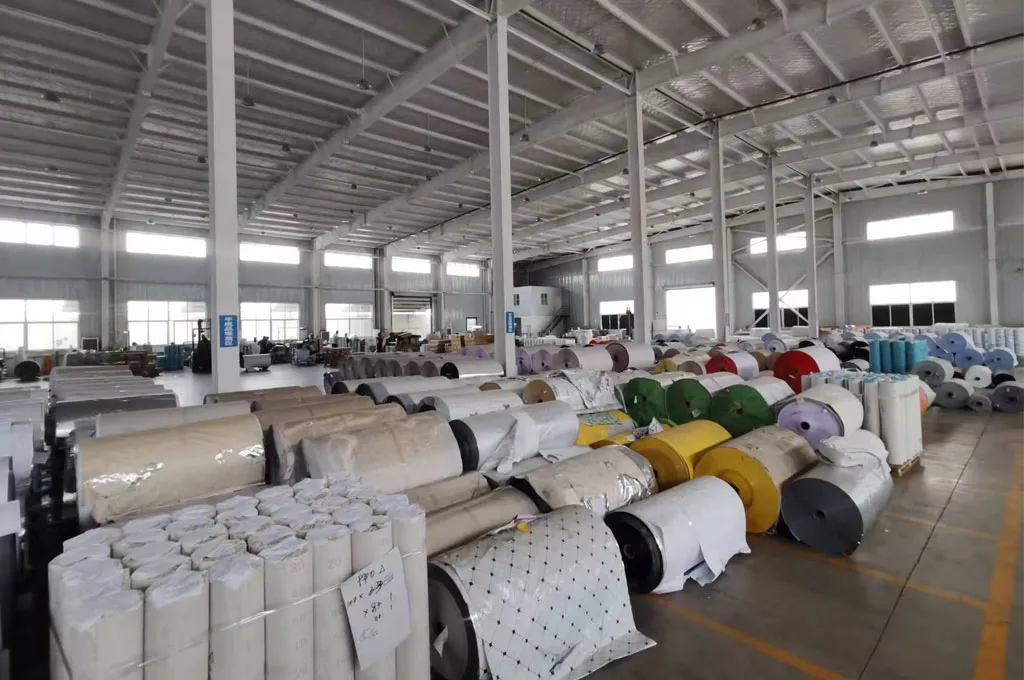
 ByPulivk
Roof breather membranes are a crucial component for modern pitched roofs. They allow moisture vapour to escape from the roof structure while preventing water ingress from the outside, improving insulation performance and reducing the risk of rot and condensation. This guide covers practical installation steps, materials, ventilation calculations, and maintenance tips to help you achieve reliable roof ventilation.
A roof breather membrane (also called a breathable underlay) is a lightweight, water-resistant layer fitted beneath roof tiles or slates. It repels liquid water from wind-driven rain while allowing water vapour from the interior to pass through to the outside. Proper installation ensures continuous airflow and protects roof timbers and insulation.
Improved moisture control: Reduces condensation and mould risk. Enhanced insulation performance: Preserves thermal efficiency by keeping insulation dry. Weather protection: Protects roof deck from temporary water ingress during severe weather.
Use breathable membranes on pitched roofs with a ventilated void above the insulation. They are ideal for timber rafters, traditional sarking, and roofs with warm or cold loft spaces. Avoid using on flat roofs or where ventilation cannot be provided.
Breathable membrane rolls, breathable tape, roofing nails or staples, battens, utility knife, measuring tape, chalk line, and breathable ridge/soffit vents. Choose a membrane certified for roof use with documented vapour permeability (MVTR) and UV exposure limits.
Select a product with documented performance for your climate and roof pitch. Look for reliable MVTR values and a manufacturer warranty. If you need supply or OEM options, Pulivk provides film and membrane products suitable for building applications.
1. Inspect and prepare the deck: Ensure the roof deck is clean, dry, and free of protrusions. Repair any damaged timber before installing the membrane.
2. Start at the eaves: Lay the membrane horizontally from the eaves upward with the printed side facing out if marked. Leave a short overhang at the eaves for water runoff.
3. Fix and overlap correctly: Fix the membrane with staples or clout nails through the top edge into rafters or counter battens. Overlap horizontal laps by at least 150mm and vertical laps by 200mm (follow manufacturer guidance).
4. Create a ventilated cavity: Install counter battens or ventilation battens over the membrane to form an airflow channel beneath the tiles. Ensure continuous airflow from soffit to ridge vents.
5. Seal penetrations and terminations: Use breathable tapes around chimneys, skylights, and rooflights. At verges and eaves, fix and trim neatly, maintaining overlaps and keeping vents unobstructed.
6. Ridge and soffit ventilation: Fit continuous soffit vents at the eaves and opposing ridge vents at the peak. Maintain recommended free area values for the roof size to ensure adequate air exchange.
| Roof Area (m²) | Minimum Soffit Vent Area (cm²) | Minimum Ridge Vent Area (cm²) | Notes |
|---|---|---|---|
| 0–50 | 1,000 | 1,000 | Small roofs, single ridge |
| 50–150 | 2,500 | 2,500 | Typical domestic roof |
| 150–300 | 5,000 | 5,000 | Larger buildings — consider multiple vent runs |
Measure roof plan area and add roof pitch factor if steep. Multiply required free area per manufacturer or building code. Aim for balanced intake (soffit) and exhaust (ridge) for continuous flow. If unsure, consult a roofing specialist to confirm vent free area vs. roof area ratios.
Blocking vents: Do not obstruct soffit or ridge vents with insulation, debris, or boardings. Insufficient laps: Too-small overlaps lead to water seepage—always follow overlap minimums. Wrong product for the application: Avoid using non-breathable films or low-rated membranes on ventilated roofs.
Inspect joints, tapes, and vents annually and after severe storms. Replace torn or UV-damaged membrane sections immediately and ensure ventilation channels remain clear. Keep gutters and soffits clean to maintain intake flow.
Visible condensation in lofts often indicates blocked ventilation or missing membrane laps. Trace the ventilation path from soffit to ridge and check for obstructions or incorrectly installed counter battens.
In cold, humid regions increase ventilated airflow and ensure membranes have high MVTR to move vapour out quickly. Add more intake area or use higher-performance breathable products where prolonged sub-zero conditions increase condensation risk.
For reliable membrane materials and flexible OEM options, visit Pulivk: https://pvcfilmtec.com/