Address
304 North Cardinal St.
Dorchester Center, MA 02124
Work Hours
Monday to Friday: 7AM - 7PM
Weekend: 10AM - 5PM
Address
304 North Cardinal St.
Dorchester Center, MA 02124
Work Hours
Monday to Friday: 7AM - 7PM
Weekend: 10AM - 5PM


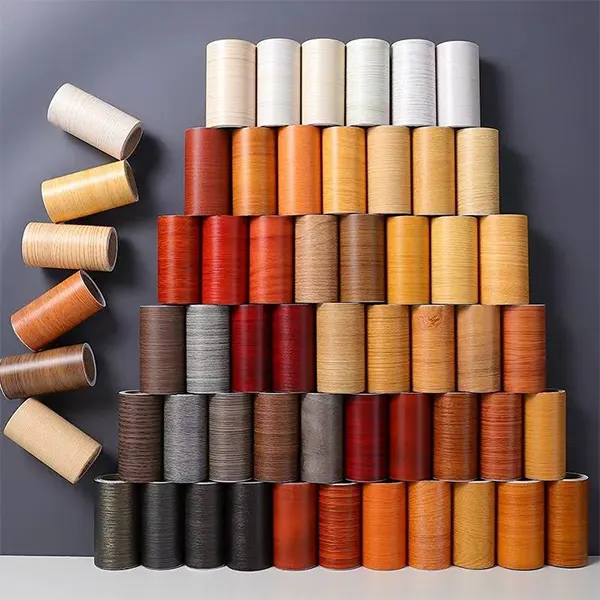
Installing PVC film on glass windows is an affordable way to add privacy, reduce glare, and improve energy efficiency without permanent changes. This guide walks you through professional-grade steps for a clean, long-lasting installation—perfect for homeowners, renters, and small businesses.
PVC decorative and functional films come in a wide range of finishes—frosted, tinted, patterned, and anti-glare. They offer UV protection, improved privacy, and a cost-effective retrofit option compared with replacing glass. PVC is also durable and easy to clean, making it ideal for both residential and commercial windows.
Gather everything before you begin to ensure a smooth installation: PVC film roll, measuring tape, squeegee (soft rubber), utility knife with fresh blade, spray bottle with soapy water, lint-free microfiber cloths, masking tape, and a heat gun or hairdryer for large or curved surfaces.
| Material | Typical Thickness | Best For |
|---|---|---|
| Clear PVC Protective Film | 30–100 μm | Temporary protection, anti-scratch |
| Frosted / Privacy PVC Film | 80–150 μm | Bathroom, office partitions |
| Tinted / Reflective PVC Film | 50–120 μm | Heat & glare reduction |
Step 1: Measure Carefully. Measure the glass width and height precisely. Add 5–10 mm extra on each side to allow for trimming and to avoid gaps. Mark the film backing with light pencil marks if needed.
Step 2: Clean the Glass Thoroughly. Spray the glass with soapy water and use a lint-free cloth to remove dust, grease, and residues. For best adhesion, finish with a clean water rinse and remove all streaks or particles with a fresh microfiber cloth.
Step 3: Cut the Film Slightly Oversize. Lay the film printed side down and cut to size, leaving the small overhang previously measured. Keep the backing on while positioning to avoid premature sticking.
Step 4: Wet the Glass. Spray generous soapy water on the glass surface to allow repositioning. The wet surface creates a lubricated layer so you can slide the film into place without trapping bubbles.
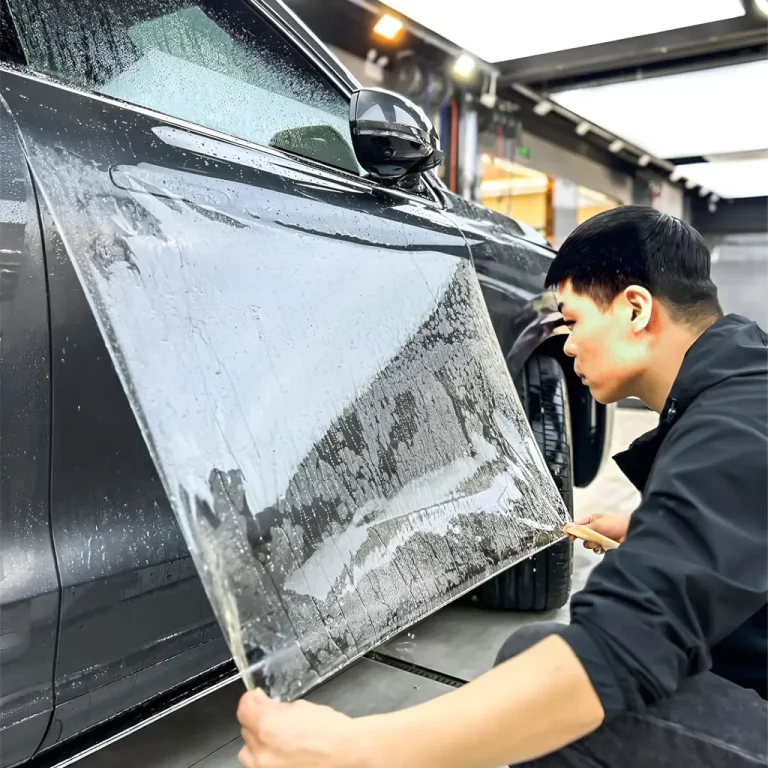
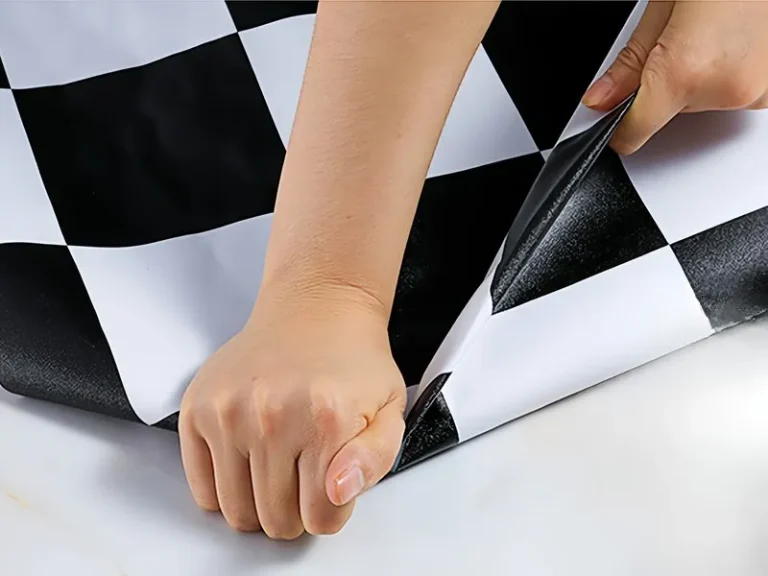
Step 5: Apply and Align. Peel the backing a few centimeters from the top, align the film to the top edge, and gently press it onto the wet glass. Slowly peel more backing while smoothing the film down with your hand and a squeegee.
Step 6: Squeegee Out Water and Bubbles. Use overlapping strokes from the center outward. Keep the squeegee at a low angle and work methodically to push out moisture and trapped air. Wipe the squeegee blade clean between strokes for best results.
Step 7: Trim Excess Film. Use a sharp utility knife to trim the edges. Pull the film slightly forward from the frame and cut along the glass edge for a neat finish. Replace the blade often to avoid jagged cuts.
Step 8: Heat & Conform (If Needed). For curved or large panes, gently warm the film with a heat gun to activate adhesion and smooth wrinkles. Move the heat source continuously—avoid overheating which can deform PVC.
Work in a dust-free environment, preferably with windows open to allow ventilation. Use distilled water for the soapy mix if your tap water is very hard. Always test a small corner first if you are using a new film type.
Do not rush the squeegeeing stage—trapped water or dust will show as permanent blemishes. Avoid using household cleaners with ammonia before installation since residues can affect bond strength. Never stretch the film excessively when applying—this can cause edge lifting later.
After installation allow 24–48 hours for full adhesion. Clean with mild soap and water; avoid abrasive pads and harsh chemicals. With proper care, high-quality PVC films can last many years. For exterior-facing films verify the product rating for UV and weather resistance.
If small bubbles remain after 48 hours, use a pin to puncture and gently press out the air, then smooth with a squeegee. Persistent edge lifting usually indicates insufficient edge sealing—trim and reapply with additional heat and pressure.
Small residential windows: ~30–45 minutes each. Large commercial panes: 1–3 hours each depending on complexity. Cost depends on film type and size—budget options start low while specialty reflective or patterned films cost more but offer advanced benefits.
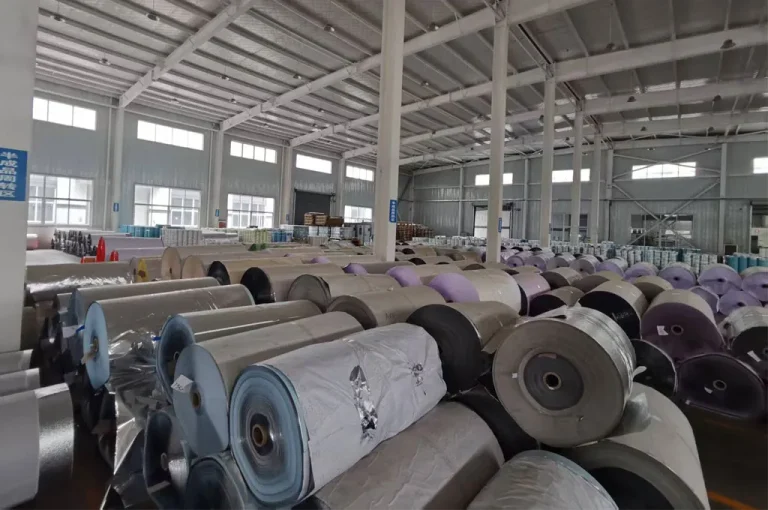
Pulivk manufactures a wide range of PVC films with full in-house production capabilities, ensuring consistent quality, flexible OEM options, and reliable lead times for global customers. Visit https://pvcfilmtec.com/ for product details and inquiries.