Address
304 North Cardinal St.
Dorchester Center, MA 02124
Work Hours
Monday to Friday: 7AM - 7PM
Weekend: 10AM - 5PM
Address
304 North Cardinal St.
Dorchester Center, MA 02124
Work Hours
Monday to Friday: 7AM - 7PM
Weekend: 10AM - 5PM


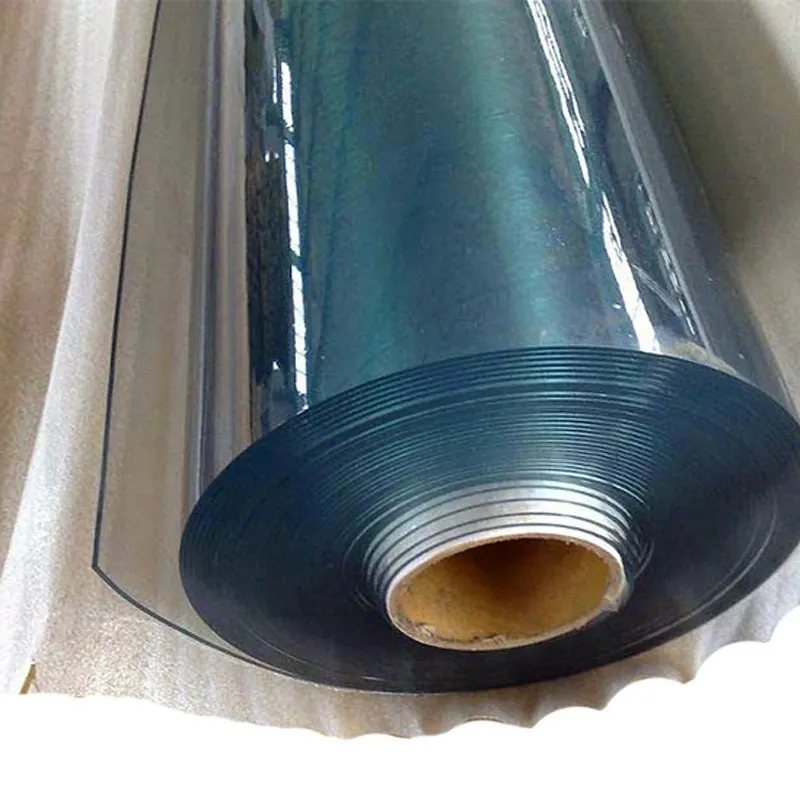
When a PVC film won’t stick properly, it wastes time, materials, and can ruin a finish. This guide explains the most common causes—surface issues, adhesives, environmental factors, and product mismatch—and gives practical, SEO-friendly fixes you can apply right away.
Contaminated surfaces (dust, oil, silicone residue) and improper surface preparation are the top reasons. Other major causes include wrong adhesive type, low surface energy substrates, improper temperature/humidity during application, and damaged or aged film adhesive.
Even small amounts of grease, wax, or dust prevent adhesives from making full contact. Non-visible residues from cleaners or polishing compounds can act like a barrier. Always wipe surfaces first with a clean, lint-free cloth and an appropriate solvent (e.g., isopropyl alcohol) and let them dry completely.
Not all PVC films and adhesives are universal. Some films are designed with low-tack adhesives for temporary protection while others have permanent adhesives for long-term decorative applications. Check product specs and choose a film with an adhesive system suited to the substrate (wood, metal, painted surfaces, laminate, or low-energy plastics).
Adhesives perform within a specific temperature range. Cold surfaces or chilly installation areas reduce adhesive tack and flow; very high humidity can also interfere. Aim for an application temperature recommended by the film manufacturer—commonly between 15–30°C (60–85°F).
High surface energy substrates like metals and painted wood accept adhesives well. Low surface energy plastics (e.g., polyethylene, polypropylene) are harder to bond. Use primer or a film designed for low-energy surfaces, or consider mechanical fastening where adhesive isn’t feasible.
Air pockets, wrinkles, and unsealed edges can cause gradual peel. Use a squeegee for smooth application, work from the center outward, and use edge sealer or heat (if compatible with the film) to ensure long-term adhesion.
| Problem | Likely Cause | Quick Fix |
|---|---|---|
| Film peels at corners | Insufficient edge adhesion or movement | Seal edges with adhesive tape or primer; avoid flexing the substrate |
| Bubbles under film | Trapped air or contaminants | Re-apply with squeegee; clean substrate thoroughly |
| Film lifts after days/weeks | Adhesive incompatibility or temperature swings | Test adhesive compatibility, use primer or choose a different film |
| Adhesive residue on removal | Overly aggressive adhesive for substrate | Use solvents recommended by manufacturer, test small area first |
Clean with a suitable degreaser or isopropyl alcohol, then rinse if necessary. Remove waxes, polishes, and silicone residues. For porous surfaces, allow sufficient drying and, if needed, lightly sand to create a consistent surface profile.
Match film adhesive type to the substrate. For difficult plastics, use films with specially formulated adhesives or apply a surface primer. Always consult technical datasheets and do adhesion tests on a sample area.
Work in a climate-controlled area. If temperature is low, warm the substrate slightly (with a controlled heat source) to improve tack, but avoid overheating the film. Keep humidity within recommended limits.
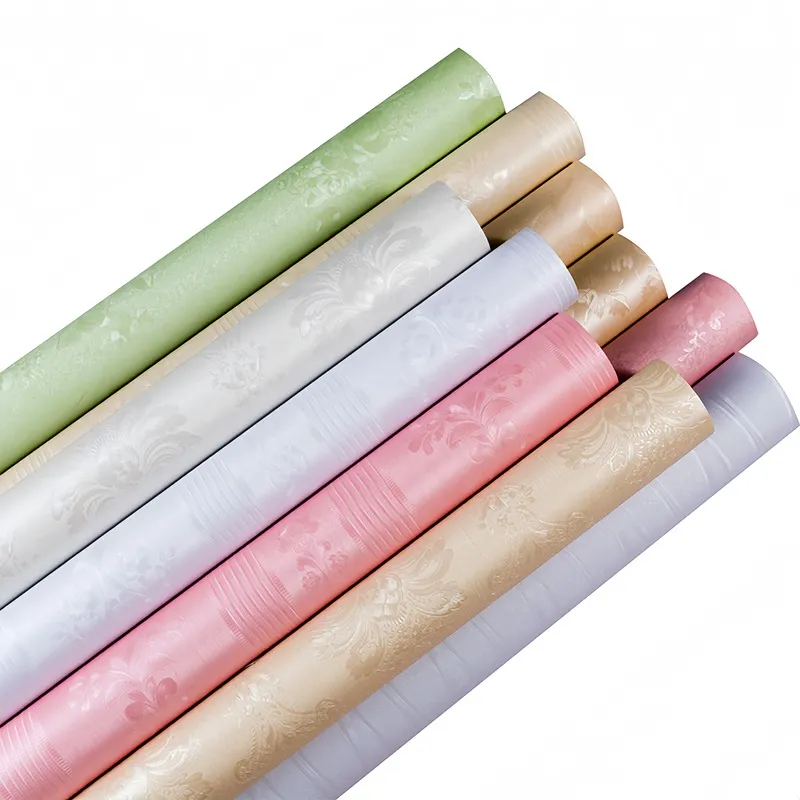
Use a firm, even pressure with a plastic squeegee to eliminate air pockets. Overlap seams slightly where recommended and finish edges with compatible sealants. For curved or textured surfaces, heat and stretch carefully according to manufacturer guidance.
Before a full installation, perform a small adhesion test for at least 72 hours under actual environmental conditions. Check for peel, discoloration, and adhesive migration. Keep records of test results to guide future projects.
Regularly inspect installed film for early signs of lifting or edge failure. For minor lifting, re-adhere with a compatible adhesive or primer. If adhesive fails across a large area, the most reliable solution is removal and re-application with a better-matched film/primer system.
If you encounter consistent adhesion failures across different substrates or environments, consult the film supplier for technical support. Provide substrate details, environmental conditions, and photos of the issue to get targeted advice.
– Clean and dry the surface thoroughly.
– Verify adhesive type vs. substrate.
– Confirm recommended application temperature and humidity.
– Perform a 72-hour adhesion test on a small sample.
– Use proper tools (squeegee, heat gun, edge sealer).
Pulivk: Full in-house production including calendering, printing, and split-packaging lines; cost-effective OEM, strict quality control, and global export experience—ideal for partners seeking stable lead times and tailored PVC film solutions. Learn more
Fixing adhesion issues often comes down to surface preparation and selecting the correct film/adhesive for the job. With simple tests and controlled application, most adhesion problems are preventable—saving time and ensuring a durable finish.