Address
304 North Cardinal St.
Dorchester Center, MA 02124
Work Hours
Monday to Friday: 7AM - 7PM
Weekend: 10AM - 5PM
Address
304 North Cardinal St.
Dorchester Center, MA 02124
Work Hours
Monday to Friday: 7AM - 7PM
Weekend: 10AM - 5PM


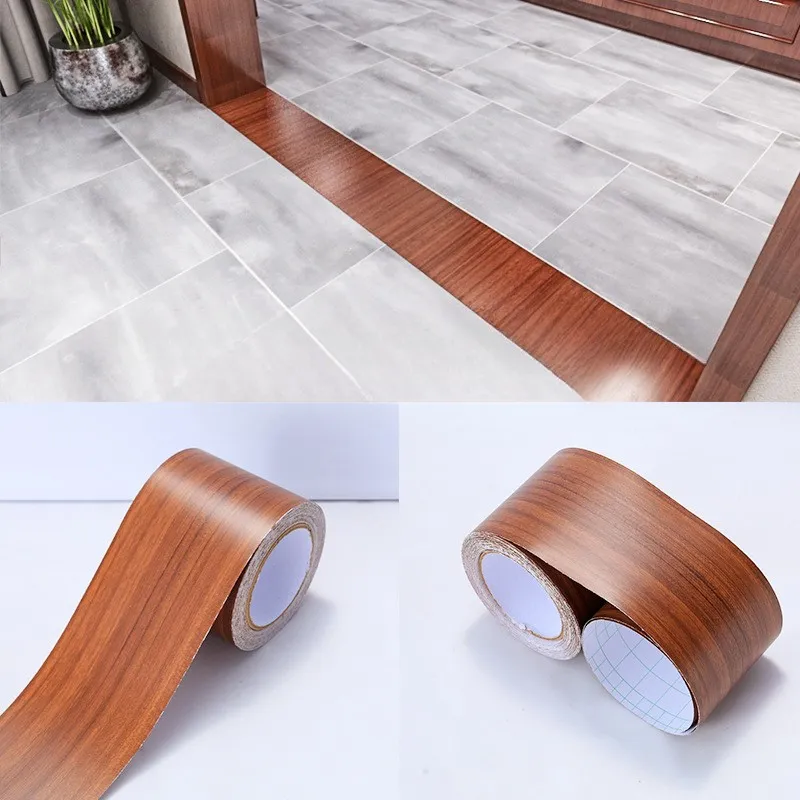
Vinyl window film, a versatile and innovative material, has become an essential component in modern home improvement and commercial design. This thin, adhesive-backed layer of polyvinyl chloride (PVC) offers a cost-effective and efficient solution to enhance the functionality, aesthetics, and energy efficiency of glass surfaces. Unlike permanent window treatments, it provides a flexible, removable option that can transform a space without the commitment of a full renovation.
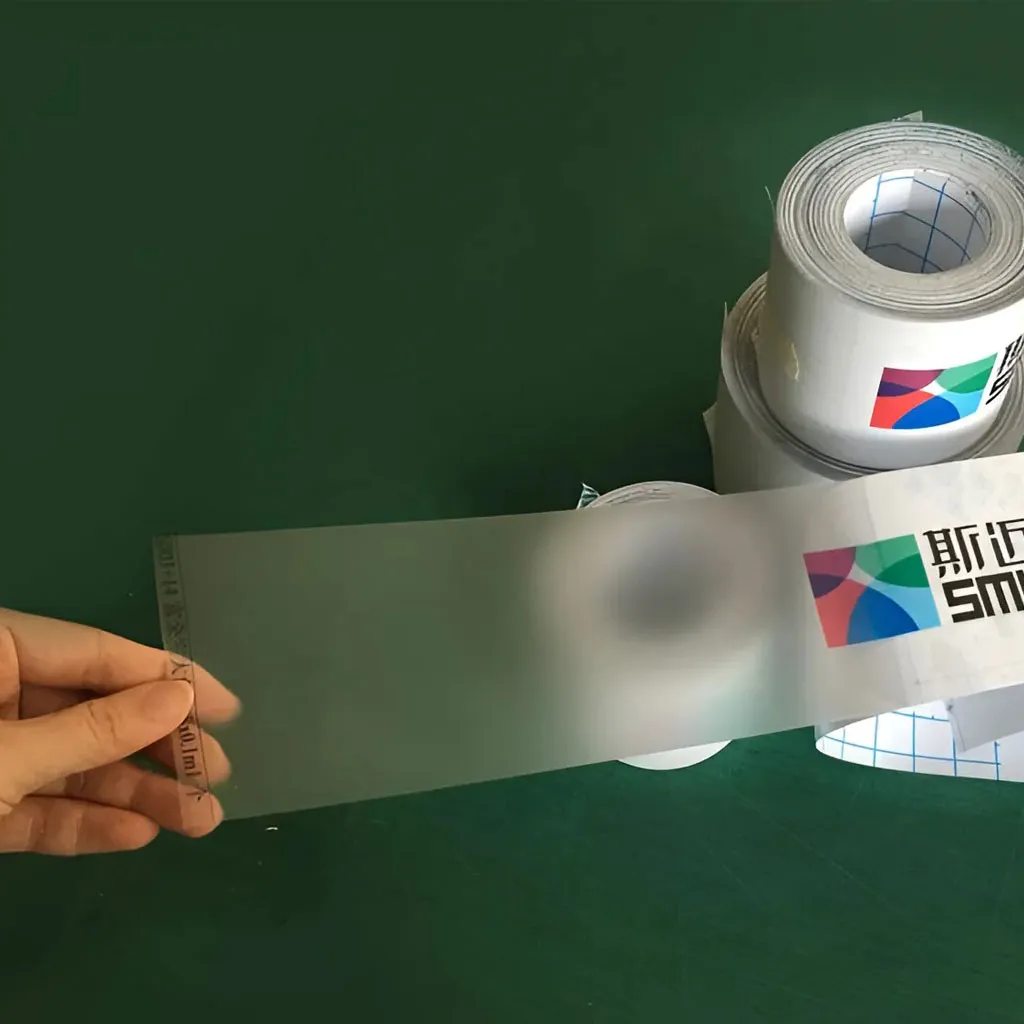
Installing vinyl film on your windows unlocks a multitude of advantages that extend far beyond simple decoration.
One of the primary reasons homeowners and businesses choose window film is for privacy. Frosted, etched, or patterned films obscure the view into a room while still allowing natural light to filter through. This is particularly valuable for ground-floor windows, bathroom glass, and office partitions. It provides a sense of security without making a space feel dark or closed off.
High-quality vinyl films can block up to 99% of harmful ultraviolet (UV) rays. This protection is crucial for preventing the fading and deterioration of furniture, carpets, artwork, and curtains. Furthermore, films significantly reduce glare from direct sunlight, creating a more comfortable environment for working on screens, watching television, or simply relaxing in a sunlit room.
Pro Tip: For rooms with valuable antiques or sensitive electronics, opting for a film with a high UV rejection rate is a smart, preventative investment.
Window films act as an insulating layer. In summer, reflective or tinted films reject solar heat, reducing the load on air conditioning systems. In winter, some films help retain interior heat. This thermal regulation can lead to substantial savings on energy bills over time, making it an eco-friendly and economical upgrade.
Safety films are designed to hold shattered glass together in the event of impact from severe weather, accidents, or attempted break-ins. This prevents dangerous shards from scattering, protecting occupants from injury and deterring unauthorized entry. It’s a valuable addition for both residential safety and commercial security protocols.
From mimicking the look of elegant marble or rich wood grain to adding a modern glossy finish or decorative pattern, window films offer endless design possibilities. They can unify the look of mismatched windows, create feature walls, or add branding to storefronts—all without the mess and permanence of paint or etching.
The market offers a wide array of vinyl films, each tailored for specific needs and effects. Understanding the categories helps in making the perfect choice for your project.
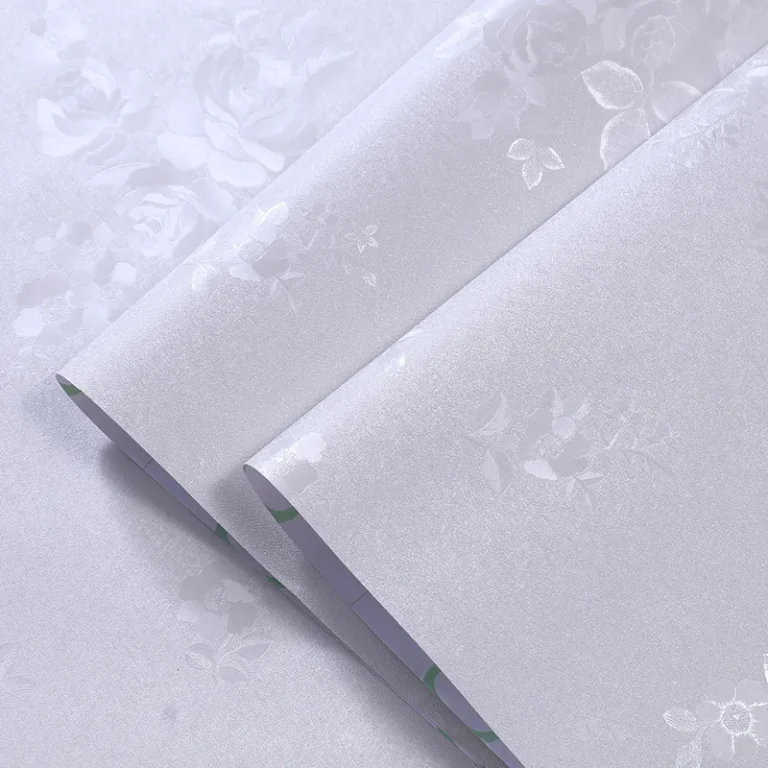
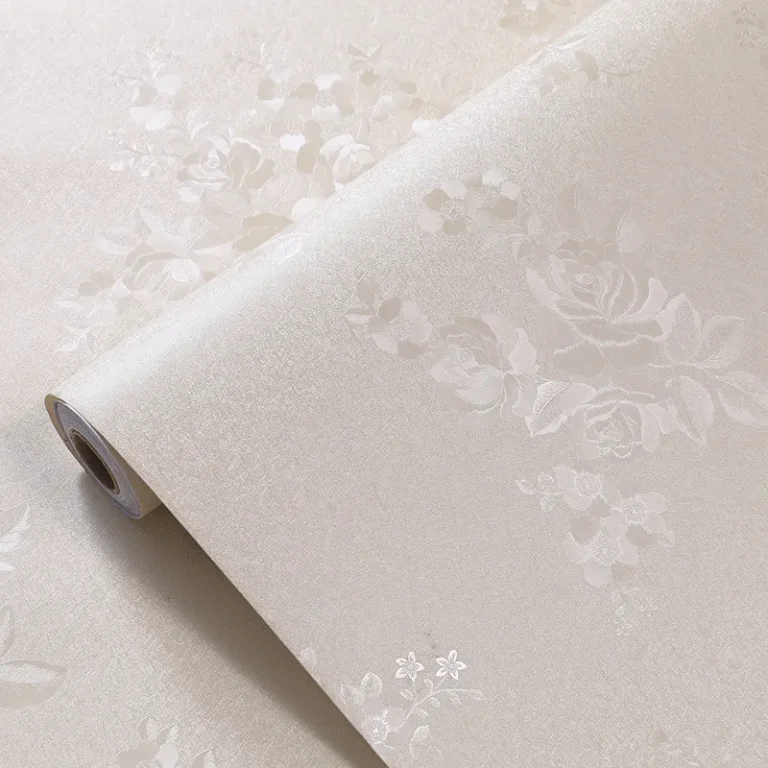
These films prioritize style and seclusion. Options include frosted, stained-glass patterns, geometric designs, and textured finishes like 3D silk texture. They are ideal for bathrooms, conference rooms, and interior glass partitions.
Focused on performance, these films are typically tinted in shades of grey, bronze, or blue. Their primary function is to reduce heat gain and glare. They are a popular choice for south-facing windows in homes and large glass facades in office buildings.
Constructed from thick, durable polyester layers with strong adhesives, these films are virtually clear. Their job is not to decorate but to fortify, making glass more resistant to impacts and explosions.
These films have a microscopically thin metallic coating that reflects interior heat back inside during winter and outdoor heat away during summer. They are excellent for improving the insulation of single-pane windows.
While professional installation is recommended for large, complex, or security-grade films, many decorative and solar films are designed for savvy DIYers. Here’s a comprehensive guide to ensure a smooth, bubble-free application.
Gather these items before you start: a spray bottle filled with a solution of water and a few drops of dish soap, a sharp utility knife or scraper, a squeegee (a felt-edged one is best), a lint-free cloth or paper towels, a tape measure, and a ruler.
Step 1: Clean the Glass. This is the most critical step. Thoroughly clean the window with glass cleaner and a razor blade to remove any paint, stickers, or hard water spots. Wipe dry, then spray the entire surface with your soapy water solution. The “wet” environment allows you to position the film before it adheres permanently.
Step 2: Measure and Cut. Measure your window pane accurately. Unroll your vinyl film on a clean, flat surface, and cut a piece that is at least 1-2 inches larger than the window on all sides. This excess will be trimmed off later.
Step 3: Peel and Spray. Carefully peel the backing paper away from the adhesive side of the film. As you peel, immediately and generously spray the exposed adhesive with the soapy water. This keeps it from sticking prematurely.
Step 4: Position the Film. Gently lift the wet film and position it over the wet window. The soapy solution will let you slide it around for perfect alignment. Don’t worry about small bubbles at this stage.
Step 5: Squeegee Out the Liquid. Starting from the top center, use your squeegee to firmly push the water and air bubbles out to the edges. Work from the center outward in horizontal strokes, applying even pressure. Re-wet the film surface if it starts to stick before you’re done.
Crucial Step: For stubborn bubbles, you can prick them with a pin and then re-squeegee the area. Most small bubbles will disappear on their own as the water evaporates over 1-2 weeks.
Step 6: Trim the Edges. Once the film is smoothly applied, use your utility knife and a straight edge to carefully trim the excess film along the window frame. Make sure your blade is sharp for a clean cut.
Step 7: Final Dry. Use a clean, dry lint-free cloth to wipe the edges and remove any remaining moisture. Allow the film to cure fully, which can take from a few days to a few weeks depending on the climate. Avoid cleaning the window during this time.
The lifespan varies by product quality and environmental exposure. Professionally installed, high-grade solar and safety films can last 15-20 years or more. Decorative DIY films typically last 5-10 years. Factors like extreme sun, high humidity, and improper cleaning can shorten its life.
Yes, most films are removable. The process involves heating the film with a hairdryer or heat gun to soften the adhesive, then slowly peeling it off. Any residual adhesive can be cleaned with rubbing alcohol or a commercial adhesive remover. Older, degraded films may be more difficult to remove in one piece.
When installed and removed correctly, quality window film should not damage the glass. However, on very old windows with compromised seals or certain types of treated glass (like some low-E coatings), there is a small risk. It’s always wise to consult the window manufacturer or a professional installer if unsure.
Wait at least 2-4 weeks after installation for the adhesive to fully cure. Then, clean with a soft cloth or sponge, a mild soapy water solution or ammonia-free glass cleaner, and gently wipe. Avoid abrasive scrubbers, razor blades on the film surface, or harsh chemicals like acetone.
Generally, yes. Solar control films are often recommended for them. However, it is crucial to avoid films that absorb excessive heat on the interior pane, as this can create thermal stress and potentially crack the glass. Consult with the film manufacturer or an expert to choose a product suitable for insulated glass units.