Address
304 North Cardinal St.
Dorchester Center, MA 02124
Work Hours
Monday to Friday: 7AM - 7PM
Weekend: 10AM - 5PM
Address
304 North Cardinal St.
Dorchester Center, MA 02124
Work Hours
Monday to Friday: 7AM - 7PM
Weekend: 10AM - 5PM


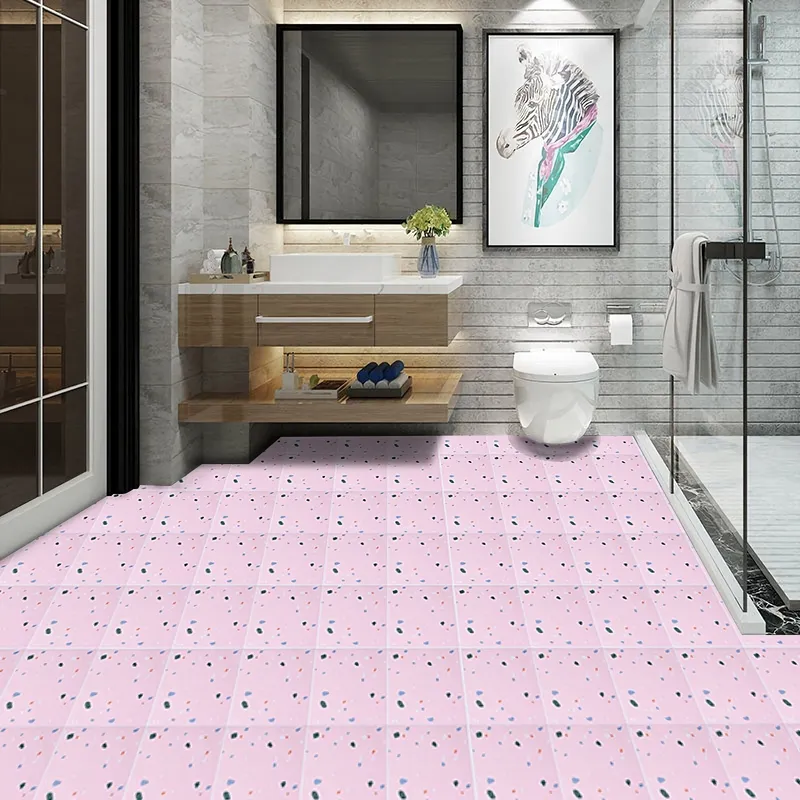
PVC window film is a versatile and cost-effective solution for enhancing the privacy, energy efficiency, and aesthetics of your windows. Made from durable polyvinyl chloride, these thin sheets can be applied directly to glass surfaces, offering a range of functional and decorative benefits without the need for expensive window replacement. Whether you’re looking to reduce glare, block harmful UV rays, or simply update the look of a room, understanding the different types, benefits, and installation methods is key to a successful project.
The world of PVC window films is diverse, with options tailored for nearly every need. The right choice depends on your primary goal: is it privacy, decoration, or energy savings?
These films are designed to transform the appearance of your glass while obscuring the view from the outside. They come in an array of patterns, textures, and opacities.
Frosted & Etched Glass Films: Mimic the look of sandblasted glass, providing a classic, elegant privacy solution perfect for bathroom windows, office partitions, or front door sidelights.
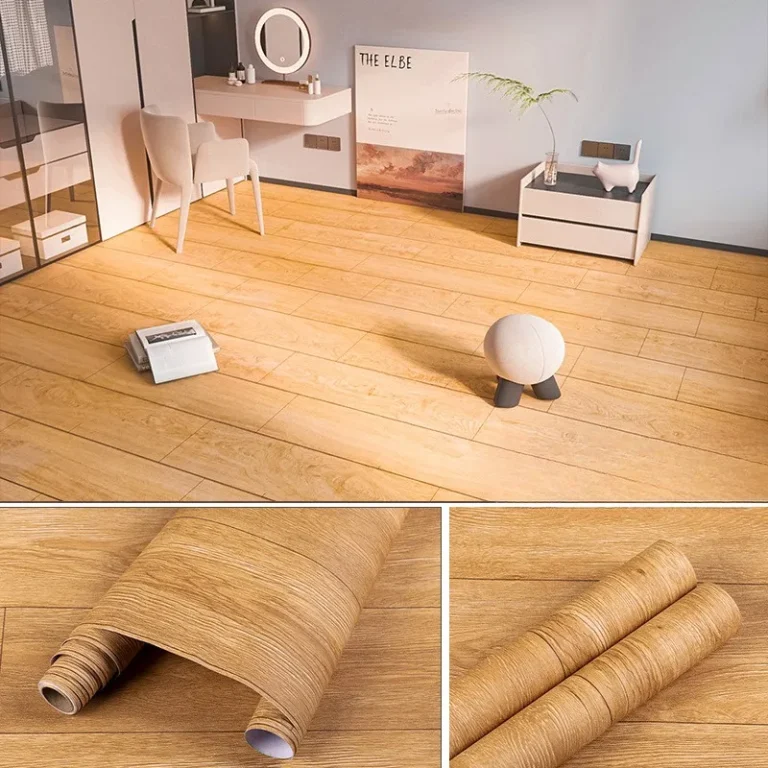
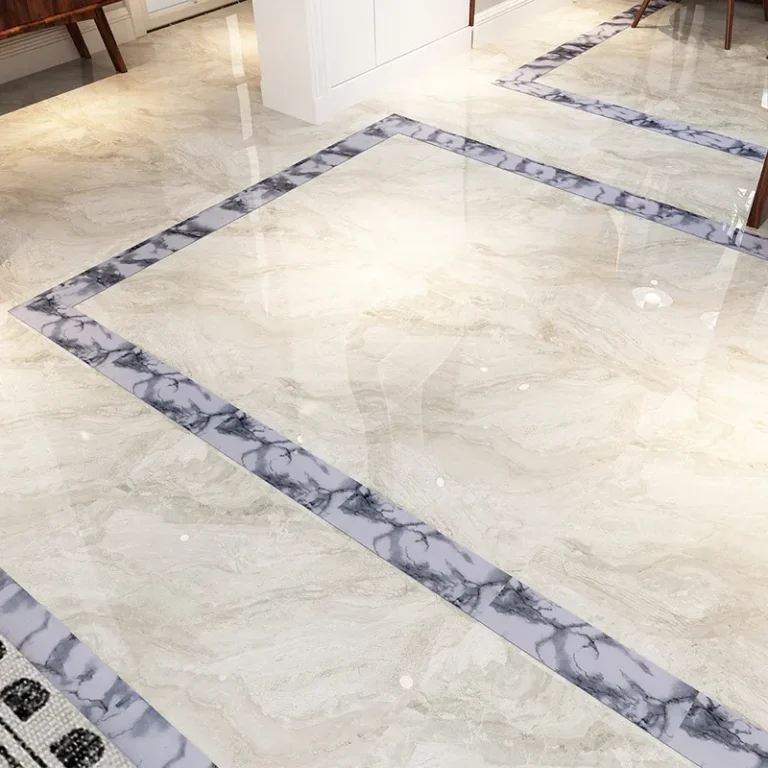
Patterned & Textured Films: From geometric designs to natural textures like marble or wood grain, these add visual interest. 3D texture films create a sophisticated, tactile feel.
Stained Glass & Colored Films: Introduce vibrant colors and artistic patterns to create a focal point, often used in sunrooms or as decorative accents.
These films are engineered to improve the physical performance of your windows, offering tangible benefits for comfort and cost savings.
UV Blocking Films: Block over 99% of harmful ultraviolet rays, protecting your skin, and preventing interior fabrics, artwork, and furniture from fading.
Heat Control / Low-E Films: Reflect solar heat away from the interior during summer and help retain indoor heat during winter, significantly improving energy efficiency.
Glare Reduction Films: Diffuse harsh sunlight, reducing eye strain on screens and making rooms more comfortable for work or relaxation.
Safety & Security Films: While not a substitute for tempered glass, these thick, adhesive films hold shattered glass together in case of impact, helping to prevent injury from flying shards.
The advantages of using PVC window film extend far beyond simple decoration. It’s a multifunctional upgrade for any property.
Instantly create private spaces without sacrificing natural light. Decorative films allow you to express personal style or complement interior design themes, from modern minimalism to rustic charm, at a fraction of the cost of specialty glass.
By rejecting solar heat gain, solar control films reduce the workload on air conditioning systems. In colder climates, insulating films help maintain interior warmth. This can lead to measurable reductions in utility bills and a smaller carbon footprint.
Blocking UV radiation is one of the most valuable long-term benefits. It preserves the color and integrity of expensive carpets, hardwood floors, curtains, and upholstered furniture, extending their lifespan and maintaining your home’s value.
Reduce hot spots near windows and eliminate harsh glare on TVs and computer monitors. This creates a more consistently comfortable and usable environment in every room of your home or office.
Compared to the high cost and disruption of replacing entire window units, applying film is a quick, affordable, and non-invasive renovation. It’s an ideal solution for renters or homeowners on a budget.
While DIY installation is possible, a professional-looking result requires patience, the right tools, and proper technique. Here’s a step-by-step guide to ensure success.
Gather your tools: a spray bottle with a soapy water solution (a few drops of mild dish soap per liter), a sharp utility knife or scalpel, a squeegee (felt-edged is best), a lint-free cloth, and a ruler or tape measure.
Clean the Glass Meticulously: Any speck of dust or grease will be trapped under the film. Clean the window thoroughly with glass cleaner, then wipe down with an isopropyl alcohol solution to remove any residue. Finally, use the soapy water to wet the entire surface.
1. Measure and Cut: Measure your glass pane and cut the film to size, leaving a slight excess of about 2-3cm on all sides for final trimming.
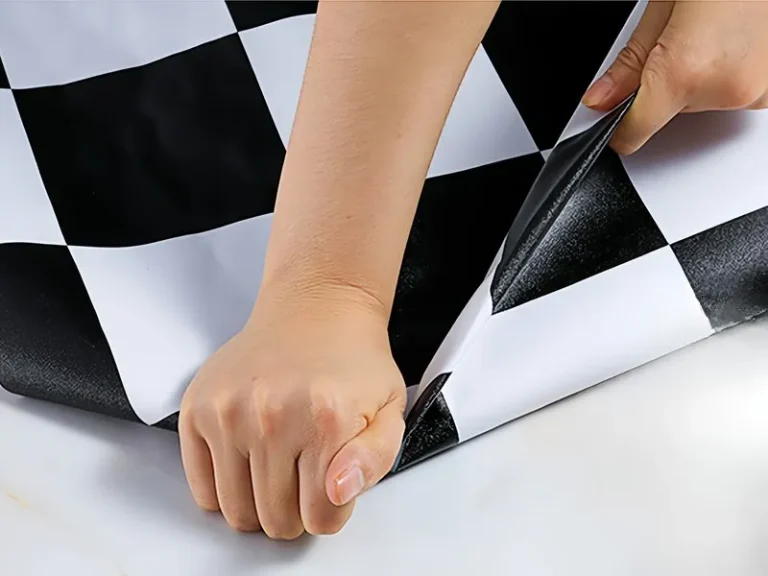
2. Peel and Wet: Peel the backing paper off the film. Immediately and generously spray the adhesive side with your soapy water solution. This creates a “slip layer” that allows you to position the film.
3. Apply to Glass: Spray the pre-cleaned glass again with soapy water. Carefully position the wet film onto the glass. The slippery surface will let you slide it into perfect alignment.
4. Squeegee Out Liquids: Starting from the center, use your squeegee to push water and air bubbles out toward the edges. Use firm, overlapping strokes. Work horizontally from the top center out, then vertically from the center down.
5. Trim the Edges: Once the film is firmly adhered and smooth, use your sharp blade to trim the excess film along the window frame or beading. A steady hand and a sharp blade are crucial for a clean edge.
6. Final Drying: Use a clean, dry lint-free cloth to wipe the edges and absorb any remaining moisture. Small water bubbles may remain; these should disappear naturally as the film cures over 24-48 hours.
❌ Working in a Dusty Environment: Apply film in a clean, still room. Close windows and doors to minimize air circulation that can carry dust.
❌ Using Too Little Solution: The soapy water is essential for positioning. Don’t be sparing—both the glass and the film adhesive need to be wet.
❌ Rushing the Squeegee Process: Pushing too hard or too fast can stretch the film or create creases. Use firm, controlled, patient strokes.
For large, complex, or expensive windows, consider hiring a professional installer. They have the experience and tools to handle challenging situations and guarantee a perfect finish. You can explore more application ideas and product specifics in our comprehensive knowledge base.
High-quality PVC window films, when properly installed, can last between 10 to 15 years or more. Lifespan depends on the film’s quality, the intensity of sun exposure, and environmental conditions. Most reputable manufacturers offer warranties ranging from 5 to 15 years.
Yes, most self-adhesive PVC films are designed to be removable. To remove, gently heat the film with a hairdryer to soften the adhesive, then slowly peel it back at a low angle. Any residual glue can be cleaned off with a commercial adhesive remover or a mixture of warm soapy water. Always test a small area first.
Yes, solar control and decorative films are excellent for double-pane windows. However, it’s crucial to consult with the window manufacturer or a professional installer. In rare cases, certain dark, high-heat-rejection films applied to the interior pane can cause excessive heat buildup between the panes, potentially leading to seal failure or glass breakage due to thermal stress.
No. Film should only be applied to sound, uncracked glass. Safety films are intended to hold broken glass together *after* an impact, not to reinforce already damaged windows. Applying film to cracked glass will not repair it and may obscure the damage, creating a safety hazard.
Wait at least 2-3 weeks after installation to allow the adhesive to fully cure. Then, clean with a soft cloth or sponge and a mild, non-abrasive cleaner (like diluted dish soap or a dedicated ammonia-free glass cleaner). Avoid abrasive scrubbers, razor blades, or harsh chemicals like ammonia or acetone, as they can scratch or damage the film’s surface.