Address
304 North Cardinal St.
Dorchester Center, MA 02124
Work Hours
Monday to Friday: 7AM - 7PM
Weekend: 10AM - 5PM
Address
304 North Cardinal St.
Dorchester Center, MA 02124
Work Hours
Monday to Friday: 7AM - 7PM
Weekend: 10AM - 5PM

Installing PVC film can transform surfaces quickly, but common mistakes often lead to bubbles, peeling, misaligned patterns, and wasted material. This guide covers the most frequent errors installers make and practical, SEO-friendly fixes to help you achieve a smooth, long-lasting finish.
Failing to clean, degrease, and dry the substrate is the #1 cause of adhesion failure. Dust, oils, old adhesives, and textured residues prevent film from bonding properly.
PVC film needs stable environmental conditions. Too cold and the adhesive stiffens; too hot and the film stretches or the adhesive flows prematurely. Aim for a moderate indoor temperature and avoid high humidity during installation.
Using the wrong adhesive system or skipping a primer on low-energy plastics and some painted surfaces leads to early lifting. Match adhesive types to the substrate, and test a small patch first.
Underestimating material needs or cutting panels without accounting for seams and pattern repeat causes ugly joins and shortages. Always measure twice and add a margin for trimming.
Pulling the film too tight creates tension that relaxes later, causing bubbling and edge lift. Apply the film with controlled pressure and work out air progressively.

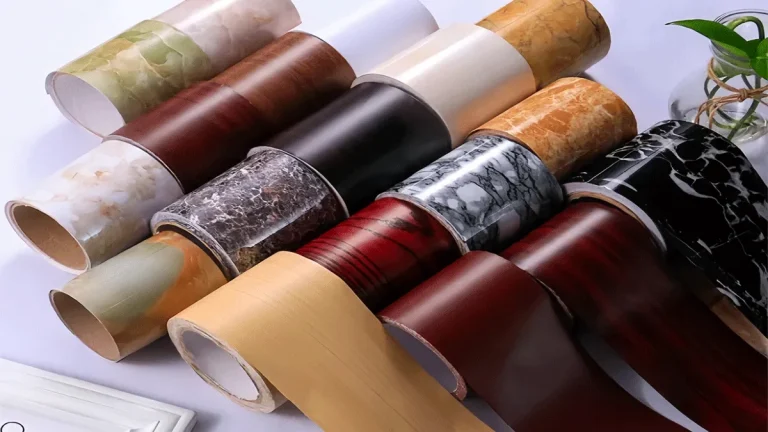
For decorative films like wood-grain or marble, misaligned seams and inconsistent grain direction are visible after installation. Plan pattern flow and number panels before cutting.
Blunt knives and hard squeegees scratch the film or fail to expel trapped air. Use sharp blades and felt-edge squeegees designed for film work.
Some PVC adhesives need a set period or light post-heating to reach full strength. Rushing the process or heavy use immediately after installation can weaken the bond.
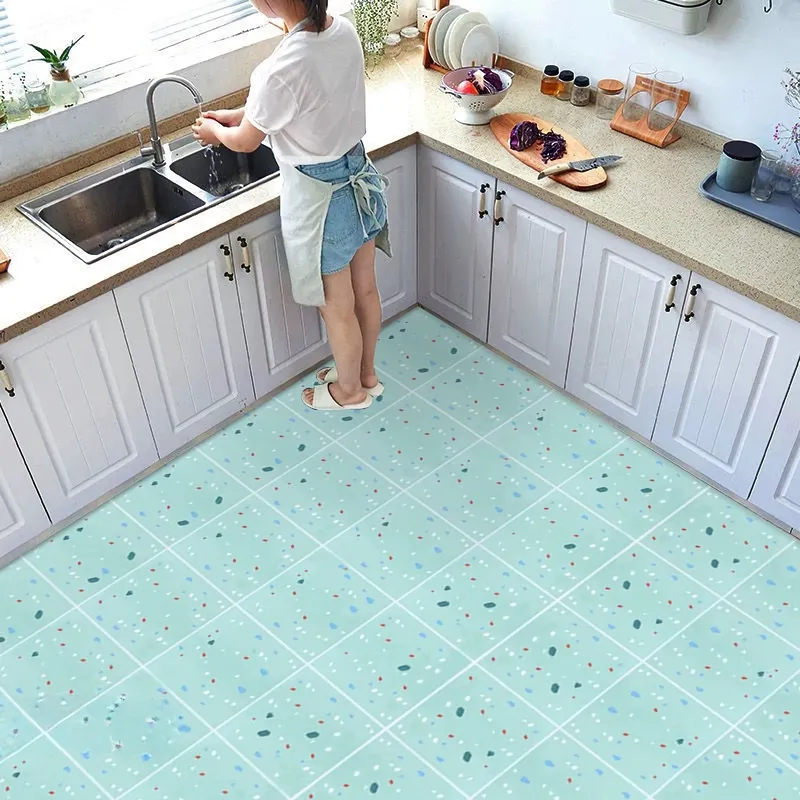
Clean: Remove grease, oil, and dust with an appropriate solvent. Degrease: Use isopropyl alcohol or manufacturer-recommended cleaner. Dry: Ensure 100% dry surface before applying film.
Work in a controlled environment: avoid direct sunlight, drafts, and extreme temperatures. Aim for an ambient temperature recommended by the film maker—typically 18–25°C (64–77°F).
Sketch the layout, calculate material with waste allowance (usually 10–15% extra), and number panels to keep grain and pattern consistent.
Choose compatible adhesives, primers, blades, and soft-edged squeegees. Replace utility blades often and keep tools clean to avoid scratches.
| Problem | Likely Cause | Quick Fix |
|---|---|---|
| Bubbles after application | Trapped air / stretched film | Lift, reposition; use proper squeegee pressure and temperature |
| Edges peeling | Poor surface cleaning or wrong adhesive | Re-clean edges, apply primer, use compatible adhesive |
| Visible seam mismatch | Incorrect pattern alignment or uneven trimming | Re-cut with overlap allowance; align grain before fixing |
| Film shrinks later | Installed in high heat or overstretched | Allow relaxation time; avoid high-temp installation |
Squeegee with felt edge, fresh utility blades, isopropyl alcohol, lint-free cloths, surface primer (if required), heat gun with temperature control, measuring tape, and a straight edge. Keep spare film to handle mistakes and pattern matching.
If the surface is highly textured, curved with complex contours, or the project involves high-value furniture and cabinetry, consider professional installers. For bulk orders, working with a reliable supplier like Pulivk helps ensure consistent film quality and technical guidance.
Confirm substrate is clean and dry; check ambient temperature; pre-cut and label panels; test adhesive on a small patch; lay film without stretching; squeegee outward from center; trim with sharp blade; allow recommended curing time.
Keep installation photos, note batch numbers of film and adhesive, and follow manufacturer storage and handling instructions to maintain warranty coverage. Proper documentation speeds up any warranty claim resolution.