Address
304 North Cardinal St.
Dorchester Center, MA 02124
Work Hours
Monday to Friday: 7AM - 7PM
Weekend: 10AM - 5PM
Address
304 North Cardinal St.
Dorchester Center, MA 02124
Work Hours
Monday to Friday: 7AM - 7PM
Weekend: 10AM - 5PM


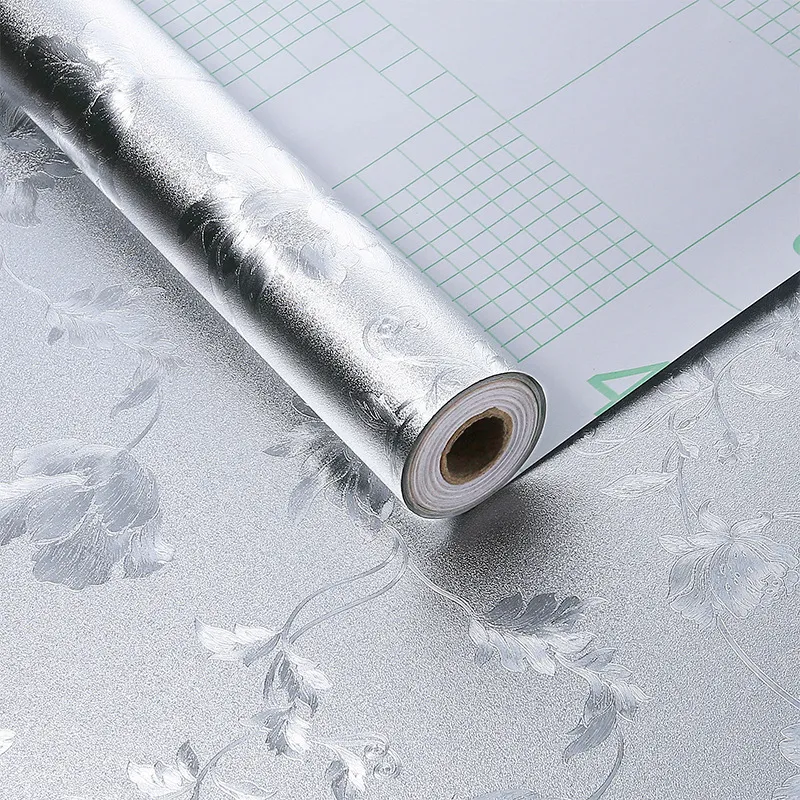
In the intricate world of building systems, the humble ductwork that snakes through walls and ceilings is the circulatory system of a healthy indoor environment. Protecting this vital network from damage during and after construction is not just a best practice—it’s essential for long-term efficiency and air quality. This is where HVAC duct protection film comes into play. This specialized material safeguards ducts from dust, debris, moisture, and physical impacts, ensuring your heating, ventilation, and air conditioning system performs optimally from day one.

HVAC duct protection film is a temporary or semi-permanent covering applied to exposed ductwork. Its primary purpose is to act as a shield during the messy phases of construction, renovation, or even routine maintenance. Without this protection, ducts can become clogged with drywall dust, insulation fibers, or other particulates, which can severely impair system efficiency, increase energy costs, and degrade indoor air quality. Furthermore, physical dents or punctures can disrupt airflow and create noisy operation. High-quality protection films, like those developed by industry leaders such as Pulivk, are engineered to be tough yet easy to handle and remove, leaving no residue behind.
Not all protection films are created equal. The choice depends on the duct material, the stage of construction, and the specific hazards present. Here’s a breakdown of the most common types:
These are lightweight, cost-effective films with a low-tack adhesive on one side. They are perfect for short-term protection during interior finishing work. The adhesive is strong enough to stay in place but designed to peel away cleanly without damaging painted or galvanized metal surfaces. They offer excellent dust protection.
Often heavier mil (thickness) plastic sheeting secured with tape or zip ties. This is a versatile option for covering large openings like duct ends or protecting entire sections of duct runs in very dusty environments. It’s reusable and provides a robust barrier against moisture and larger debris.
For long-term protection in harsh job site conditions, reinforced films are the answer. These often combine layers of plastic with a scrim or mesh fabric, making them highly resistant to tearing and punctures. They are ideal for projects with extended timelines or where ducts are exposed to potential impact from heavy equipment.
Some products are made from breathable yet protective materials. These allow moisture vapor to escape (preventing condensation and mold inside the duct) while blocking liquid water and dust. They are particularly useful for protecting insulated ducts in unconditioned spaces like attics or crawl spaces.
For those seeking durable and customizable protective solutions, exploring a manufacturer’s full product range can reveal options suitable for specific challenges, from standard calendered films to heavy-duty variants.
The use of duct protection film spans the entire construction lifecycle and several key scenarios:
This is the most critical application. Film is applied immediately after duct installation and remains in place until all drywall, plaster, painting, and sanding work is complete. It prevents the fine, abrasive dust from these trades from coating the interior of the ducts, which is incredibly difficult to remove later.
When walls are opened up for remodeling, existing ducts become vulnerable. Sealing off registers and covering exposed sections with protection film prevents old insulation, plaster, and debris from falling into the system and circulating throughout the home.
For HVAC contractors, protecting pre-fabricated duct sections in the warehouse or on the job site before installation is vital. Film keeps components clean and dent-free, ensuring a perfect fit and professional finish during assembly.
Beyond straight ducts, protection film is used to cover grilles, diffusers, louvers, and in-line equipment like dampers or sensors. This prevents paint overspray and sealant from fouling these components.
Proper installation is key to the film’s effectiveness. A haphazard job can lead to gaps where contaminants enter. Follow this guide for a professional result.
Ensure the duct surface is clean, dry, and free of oil or grease. Wipe down the area where the film’s adhesive will make contact. For galvanized metal, a quick wipe with a damp cloth to remove anti-corrosion oils is recommended.
Measure the opening (duct end, register, etc.) and cut a piece of film that provides at least a 2 to 3-inch overlap on all sides. For rectangular ducts, cut the film to size. For round ducts, cut a square or circle large enough to wrap around the circumference.
Peel back a small section of the release liner. Align the film carefully over the opening and press the exposed adhesive section onto the duct. Slowly peel back the rest of the liner while smoothing the film onto the surface with your hand, working from the center outwards to eliminate air bubbles. Apply firm, even pressure.
Place the film over the opening. Use painter’s tape to secure it firmly around the perimeter, creating a complete seal. For extra security on large openings, you can tape the film in place and then wrap a band of tape all the way around the duct to hold the edges down.
Run your finger along all edges to ensure they are tightly sealed. Check for any wrinkles or gaps where dust could penetrate. For adhesive films, you can reinforce the edges with a single strip of tape if the job site is particularly dusty.
Use a marker to write “DO NOT REMOVE – HVAC PROTECTION” on the film. This prevents other trades from accidentally removing it before the appropriate time. You can also note the date of installation.
Removal should be the final step before system startup. Simply peel the film away slowly and evenly at a 180-degree angle. Adhesive films should come off cleanly. If any slight residue remains, it can usually be wiped off with a cloth dampened with a mild solvent like isopropyl alcohol, but always test on an inconspicuous area first. Dispose of the used film responsibly.
For more detailed insights on material handling and application techniques, valuable resources can often be found in a company’s knowledge base.
Selecting the optimal film involves more than just grabbing the nearest roll of plastic. Consider these factors:
A: It is not recommended. Professional duct protection film is engineered for the purpose: it has the correct adhesion level to stay put but remove cleanly, and it is often more puncture-resistant. Household films may leave stubborn adhesive residue or tear easily, leading to protection failure.
A: This varies by product. Most adhesive films are designed for 3 to 12 months of service life. For longer durations, such as protecting ducts in an unoccupied building, specify a long-term, UV-stable, reinforced film with your supplier. Always check the manufacturer’s specifications.
A: Address it immediately. Remove the damaged section completely, clean the duct surface again, and apply a new piece of film. Overlapping and sealing the new patch securely over the old area is crucial to maintain the integrity of the barrier.
A: Yes, significantly. All protection film must be removed before the system is balanced or undergoes final testing (like duct blaster tests for leakage). The film will obstruct airflow and give false readings. Its purpose is solely for protection during construction, not operation.
A: The industry is evolving. Some manufacturers now offer films made with recycled content or from polymers that are more readily recyclable. When sourcing materials, inquire about the environmental profile of the product and proper end-of-life disposal or recycling programs. Leading suppliers are increasingly focusing on sustainable production practices.