Address
304 North Cardinal St.
Dorchester Center, MA 02124
Work Hours
Monday to Friday: 7AM - 7PM
Weekend: 10AM - 5PM
Address
304 North Cardinal St.
Dorchester Center, MA 02124
Work Hours
Monday to Friday: 7AM - 7PM
Weekend: 10AM - 5PM


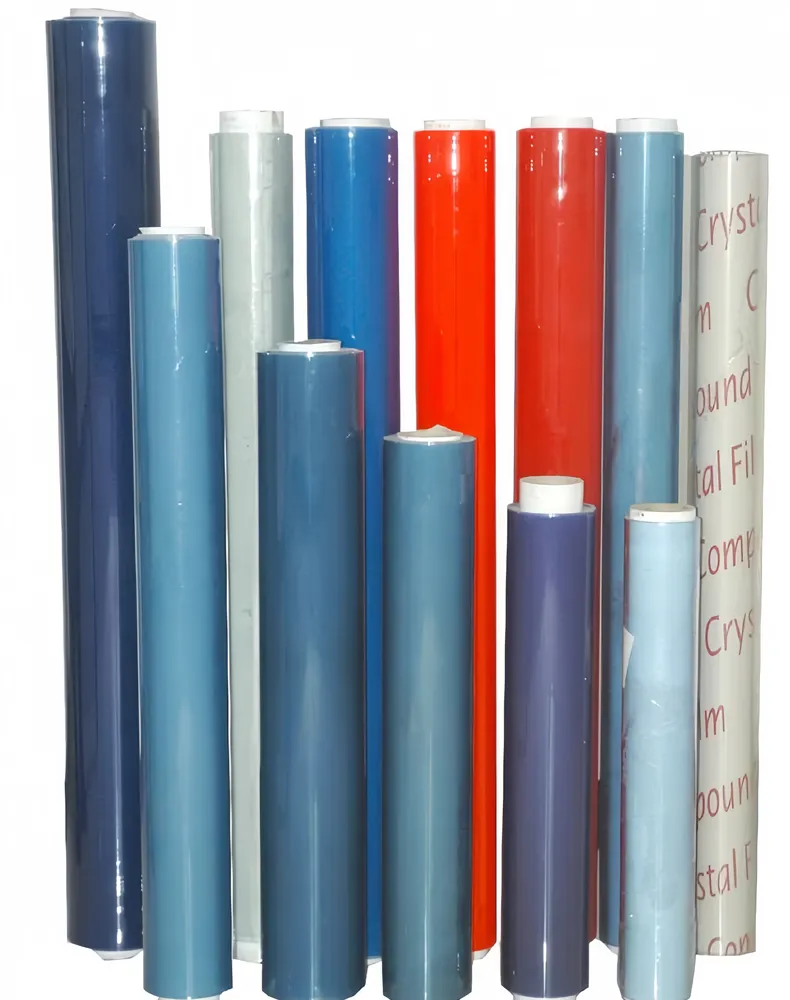
Getting perfect results with PVC film on a heat press depends mostly on accurate temperature control, correct dwell time, and consistent pressure. This guide explains the best settings for common PVC film types, step-by-step heat-press workflow, and quick troubleshooting tips to help you achieve smooth, bubble-free, and durable applications every time.
Temperature affects film adhesion, surface finish, and the risk of shrinkage or burn. PVC films (calendered, cast, glossy, matte, textured) respond differently to heat: too low and the adhesive won’t activate; too high and the film can warp, discolor, or release harmful fumes. Accurate control—plus small test runs—is the fastest path to reliable, repeatable results.
– Film type and thickness (0.05–1.0 mm range)
– Backing release or adhesive type (heat-activated vs pressure sensitive)
– Substrate material (MDF, metal, glass, plastic)
– Heat press type (flat platen vs roller, pneumatic vs manual)
– Environmental conditions (humidity can change adhesive flow)
| Film Type | Temperature | Time | Pressure | Peel |
|---|---|---|---|---|
| Calendered PVC (thin vinyl) | 140–150°C / 285–300°F | 6–10 sec (fast roller) / 10–15 sec (flat) | Medium (3–4 bar or 40–60 psi) | Cold to warm peel |
| Cast PVC / High-gloss | 120–135°C / 250–275°F | 8–12 sec | Low–Medium (20–40 psi) | Warm peel |
| Matte / Textured 3D film | 150–160°C / 300–320°F | 12–20 sec | Medium–High (60–80 psi) | Cold peel (to avoid texture compression) |
| Self-adhesive PVC (pre-coated) | 110–145°C / 230–290°F | 8–15 sec | Light–Medium | Follow manufacturer (hot or cold) |
1. Clean the substrate thoroughly—remove dust, grease, and moisture.
2. Pre-heat your press to target temperature and let it stabilize for 10–15 minutes.
3. Run a small sample test: apply a 10×10 cm piece to confirm temperature/time/pressure.
4. Use a Teflon or silicone protective sheet for glossy films to avoid shine change or sticking.
5. Apply consistent pressure and keep timing consistent—use a timer or machine preset.
6. Peel according to film type (cold, warm, or hot) to lock finish and avoid edge lifting.
Wrinkling / Shrinkage: Lower temperature by 5–15°C and increase pressure slightly. Use shorter dwell time and let substrate cool before trimming.
Poor Adhesion: Increase temperature by 5–10°C or extend dwell by 2–5 seconds. Clean substrate and confirm adhesive compatibility.
Blushing (white haze): Usually from moisture—pre-dry substrate or reduce temperature and extend time slightly.
Surface marring or gloss loss: Use protective Teflon sheet and reduce pressure; for glossy films prefer warm peel.
– Calibrate with an infrared thermometer or contact probe at the platen surface to verify set temperature equals real temperature.
– Use proper ventilation when heating PVC; persistent overheating can release fumes.
– Keep hands and tools clear during press cycles and wear heat-resistant gloves for peel steps.
– Maintain consistent machine maintenance: clean platens and check pressure gauges frequently.
| Item | Status |
|---|---|
| Test sample completed | Yes / No |
| Platen temperature verified | Yes / No |
| Substrate cleaned & dried | Yes / No |
| Protective Teflon sheet ready | Yes / No |
For consistent, high-quality PVC film heat-press production and technical partnership, consider contacting Pulivk for material specifications and samples: https://pvcfilmtec.com/