Address
304 North Cardinal St.
Dorchester Center, MA 02124
Work Hours
Monday to Friday: 7AM - 7PM
Weekend: 10AM - 5PM
Address
304 North Cardinal St.
Dorchester Center, MA 02124
Work Hours
Monday to Friday: 7AM - 7PM
Weekend: 10AM - 5PM

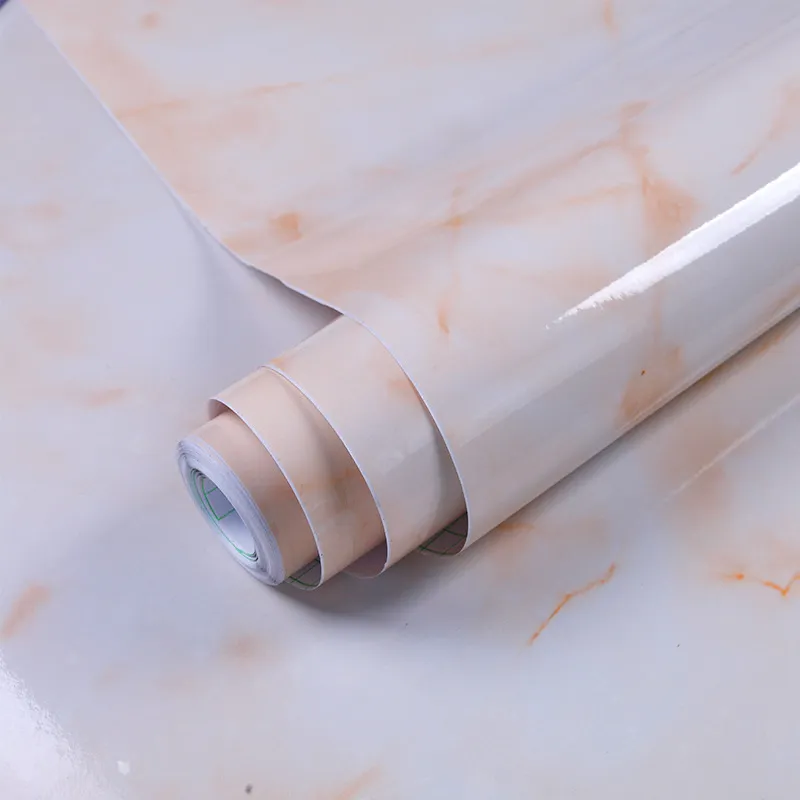
PVC film installations can transform interiors quickly, but failures such as bubbling, peeling, and uneven adhesion are common if best practices are not followed. This guide breaks down the most frequent causes of PVC film installation failure and provides clear, actionable steps to prevent them and extend the life of your finishes.
Understanding typical failure patterns helps diagnose root causes faster. Look for these signs during and after installation: surface bubbles, edge lifting, premature yellowing, delamination, uneven texture (wrinkles), and poor adhesion in high-moisture zones.
Surface contamination: Dust, oil, or paint residue prevents adhesives from forming a strong bond. Even fingerprints left during handling can cause localized lifting.
Incorrect surface preparation: Uneven substrates, loose paint, or weak laminated boards reduce effective contact between film and substrate.
Adhesive incompatibility: Some adhesives or primers react poorly with plasticizers or finishes in PVC films, causing yellowing, soft spots, or early failure.
Environmental factors: High humidity, low or high temperature, and direct sunlight during or immediately after application can trap moisture or stretch the film.
Poor smoothing technique (too much force or too little), skipping a suitable primer on difficult substrates, and rushing edge trimming can all create failure-prone joints. Overstretching film to cover large defects results in shrinkage and wrinkling later.
| Failure | Probable Cause | How to Avoid |
|---|---|---|
| Bubbling / Blisters | Trapped moisture / air or dirty substrate | Clean thoroughly, allow drying time, use squeegee technique; avoid high humidity. |
| Edge lifting | Insufficient edge adhesion / incompatible adhesive | Use appropriate primers, apply pressure to edges, finish with heat where recommended. |
| Wrinkles / Waves | Overstretching or poor tension control | Cut panels into manageable sizes; tension evenly; re-stretch only with controlled heat. |
| Delamination / Yellowing | Chemical reaction with adhesive / aging | Verify adhesive compatibility, test sample panels, select UV-stable films for sunlight exposure. |
Follow a concise preparation routine to reduce installation risk:
– Inspect substrate for loose paint, gaps, and structural defects; repair first.
– Clean surfaces with appropriate solvents that evaporate completely; avoid oily cleaners that leave residues.
– Measure and acclimatize film rolls in the installation environment for at least 24 hours to reduce thermal or humidity shock.
Use a soft felt squeegee, sharp trimming knife, clean microfiber cloths, compatible adhesive or pressure-sensitive tape, a small heat gun with temperature control, and a substrate primer when recommended. Always test a small patch on-site before full application.
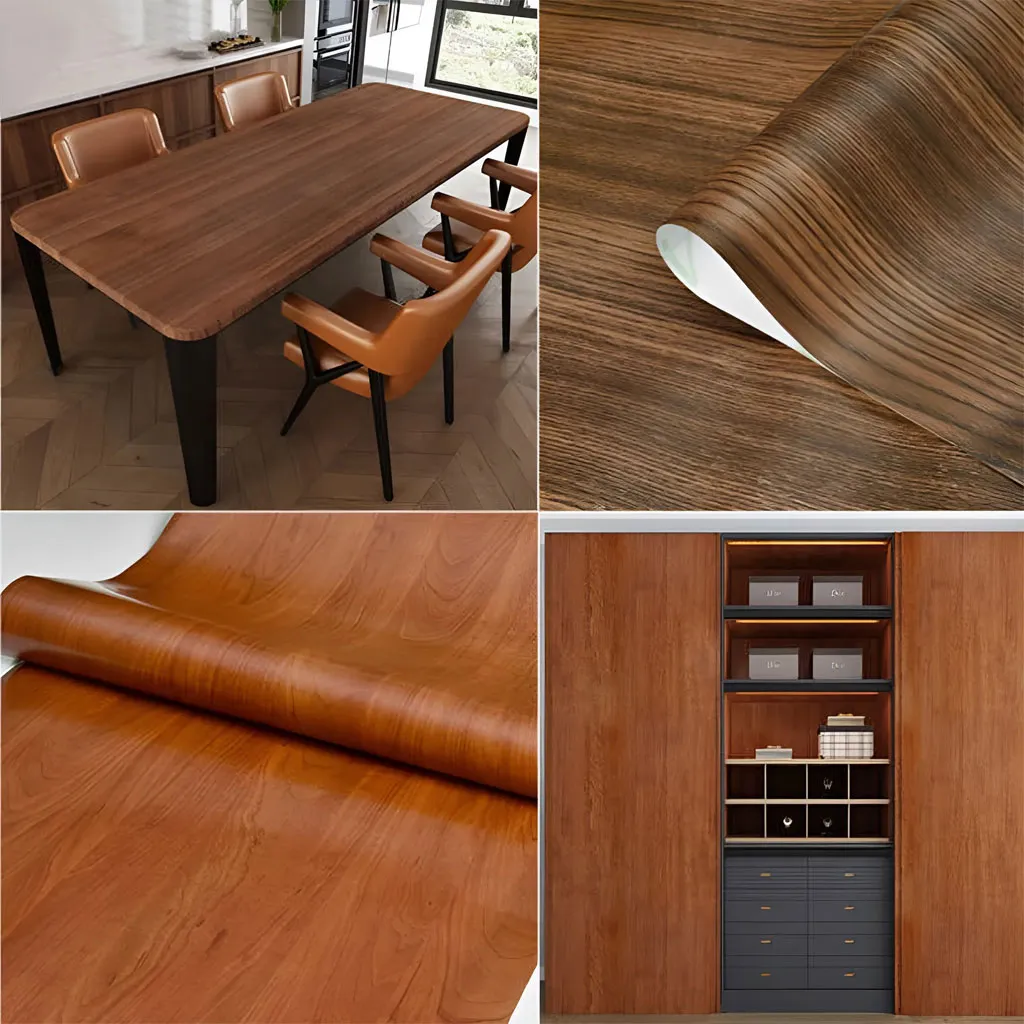
Work in a clean, dust-controlled area with stable temperature (ideally 18–25°C / 64–77°F) and relative humidity below 60%. Apply film in sections for large surfaces, smoothing from the center outward to expel air. Use light heat to relax thicker films, but avoid overheating which can deform the pattern or adhesive.
Secure edges with extra adhesive and press firmly; for seams, overlap minimally and trim precisely for a tight joint. For high-traffic or wet areas, choose water-resistant adhesives and seal edges where possible.
Inspect installations after 24–72 hours for early signs of failure. Avoid heavy cleaning agents and allow adhesives to fully cure before stressing the surface. If minor bubbles appear, they can often be pierced with a fine needle and smoothed; larger delaminated sections may need partial rework.
If a problem appears, follow this order: identify the symptom (bubble, lift, discoloration), check the substrate and adhesive compatibility, consult a test patch, and implement corrective steps (clean, re-prime, replace panel). Document conditions (temperature, humidity) and images for quality control and warranty claims.
Skilled installers reduce failure rates. Standardize training on surface prep, adhesive selection, squeegee technique, and heat use. Maintain a simple QC checklist for each job: substrate condition, cleaning method, adhesive type, acclimatization time, and post-install inspection.
For technical support or OEM film supplies, consider verifying product specs and test reports from your film supplier. Pulivk — a manufacturer with full in-house production (calendering, printing, split-packaging) — offers tailored solutions and can provide test samples to confirm compatibility before large projects. Visit site