Address
304 North Cardinal St.
Dorchester Center, MA 02124
Work Hours
Monday to Friday: 7AM - 7PM
Weekend: 10AM - 5PM
Address
304 North Cardinal St.
Dorchester Center, MA 02124
Work Hours
Monday to Friday: 7AM - 7PM
Weekend: 10AM - 5PM


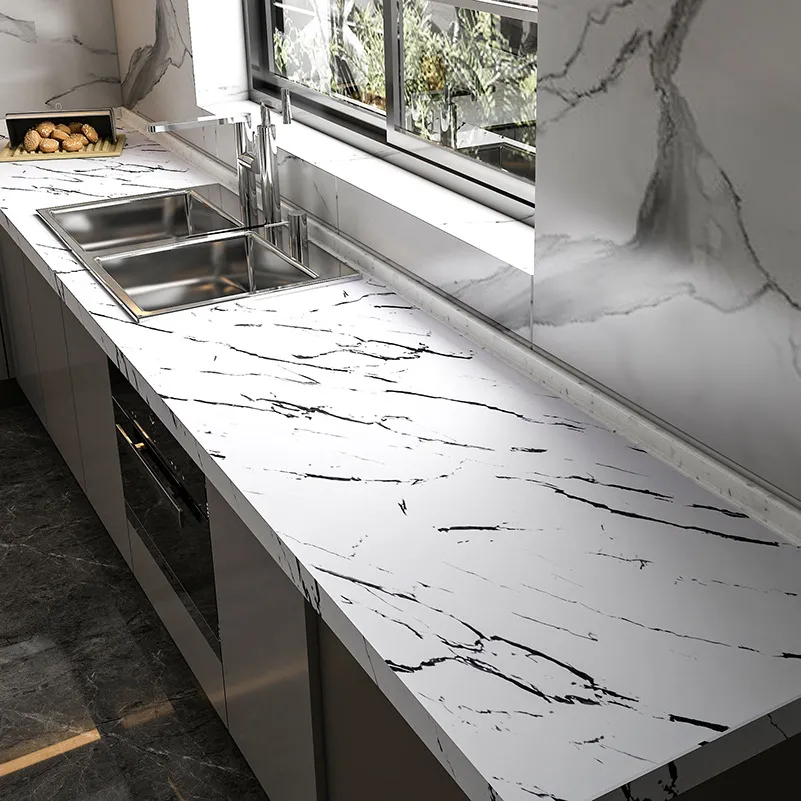
PVC self-adhesive film is a versatile and transformative material that has revolutionized DIY projects, home renovations, and professional applications. Its ease of use, coupled with a vast array of designs and finishes, makes it an indispensable tool for creating beautiful, durable surfaces without the need for messy glues or complex tools. This guide delves into its many uses, explores the different types available, and provides a detailed installation guide to ensure perfect results every time.
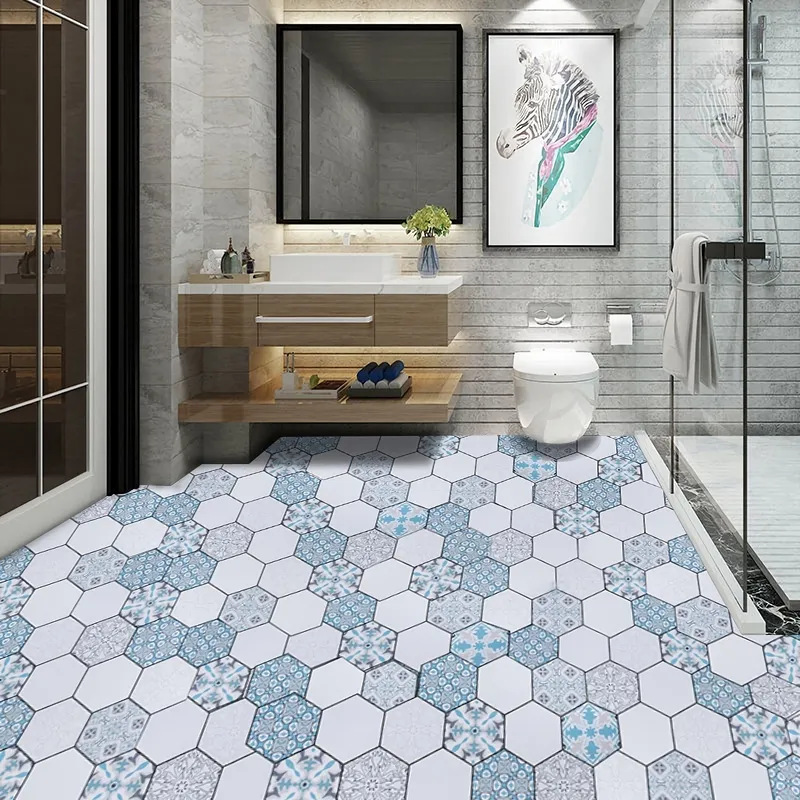
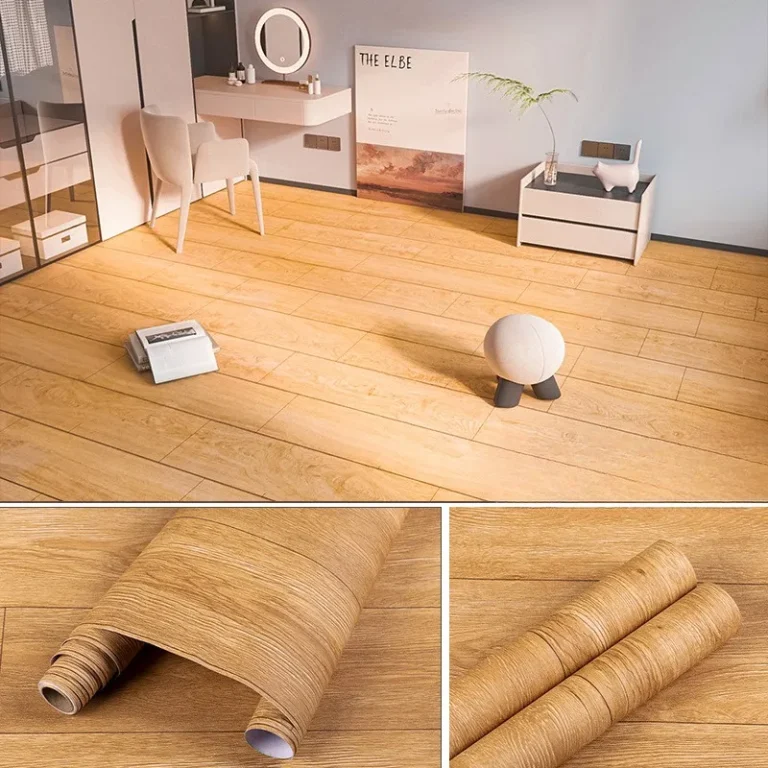
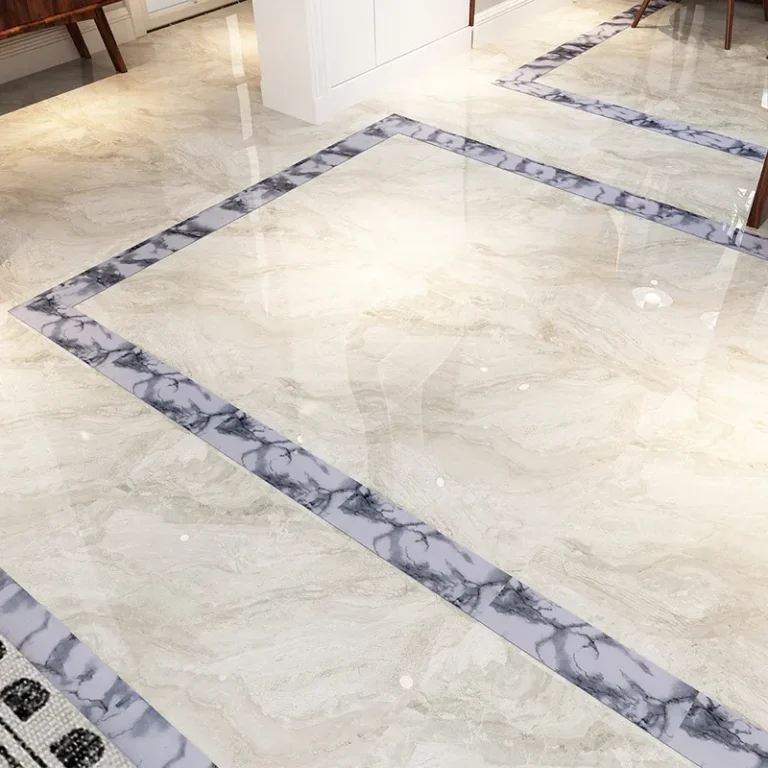
At its core, PVC self-adhesive film is a thin, flexible sheet made from polyvinyl chloride, coated on one side with a pressure-sensitive adhesive and protected by a release liner. This clever construction allows users to simply peel and stick the film onto a clean, smooth surface. The adhesive bonds securely, creating a seamless, protective, and decorative layer. Its popularity stems from its ability to mimic expensive materials like wood, marble, metal, and fabric at a fraction of the cost and installation time.
Key Advantage: The self-adhesive backing eliminates the need for separate adhesives, making projects cleaner, faster, and more accessible for everyone, from professional contractors to weekend DIY enthusiasts.
The applications for PVC self-adhesive film are nearly limitless, spanning residential, commercial, and industrial sectors.
This is where the film truly shines. It’s perfect for updating kitchen cabinets, giving old furniture a modern facelift, or creating a feature wall. Instead of costly replacements, a roll of wood grain film can refresh cabinet doors, while a marble film can transform a laminate countertop or backsplash. It’s also ideal for covering appliances, lining shelves, and decorating tabletops.
Businesses use these films for cost-effective branding and refurbishment. They can be applied to retail fixtures, display counters, office furniture, and wall partitions. The durability and ease of cleaning make them suitable for high-traffic areas. For flooring applications in such spaces, a specialized floor film offers enhanced wear resistance.
Beyond aesthetics, these films serve protective functions. They can shield surfaces from scratches, moisture, and stains. In workshops, they protect workbenches; in homes, they can line drawers or create a waterproof barrier in bathrooms. Films with specific properties, like anti-static or oil-proof coatings, are used in electronic and kitchen environments.
Choosing the right film is crucial for your project’s success. The variety extends far beyond simple colors.
Some films are engineered for specific challenges. Anti-graffiti film is used in public spaces, frosted film provides privacy on glass, and high-temperature resistant film is designed for applications near heat sources.
Films typically range from 0.1mm to 0.5mm in thickness. Thinner films (0.1mm-0.2mm) are more flexible and better for wrapping curved edges or complex shapes. Thicker films (0.3mm+) offer greater durability, scratch resistance, and are better at hiding imperfections on the substrate beneath, but can be less forgiving during installation on complex profiles.
A successful installation is 90% preparation and 10% application. Rushing the prep work is the most common cause of failure.
1. Surface Cleaning: The surface must be perfectly clean, dry, and grease-free. Wash with a mild detergent, rinse, and dry. Then, wipe down thoroughly with isopropyl alcohol to remove any final residues. Any dust or oil will prevent proper adhesion.
2. Surface Smoothing: The surface must also be smooth and sound. Fill any holes or cracks with filler. Sand down any rough spots, bumps, or old flaking paint. For previously painted surfaces, ensure the paint is well-adhered and not chalking.
3. Measuring and Cutting: Measure your surface carefully. When cutting the film, add an extra 2-5 cm (1-2 inches) of overhang on all sides. This allowance is crucial for precise positioning and will be trimmed off later.
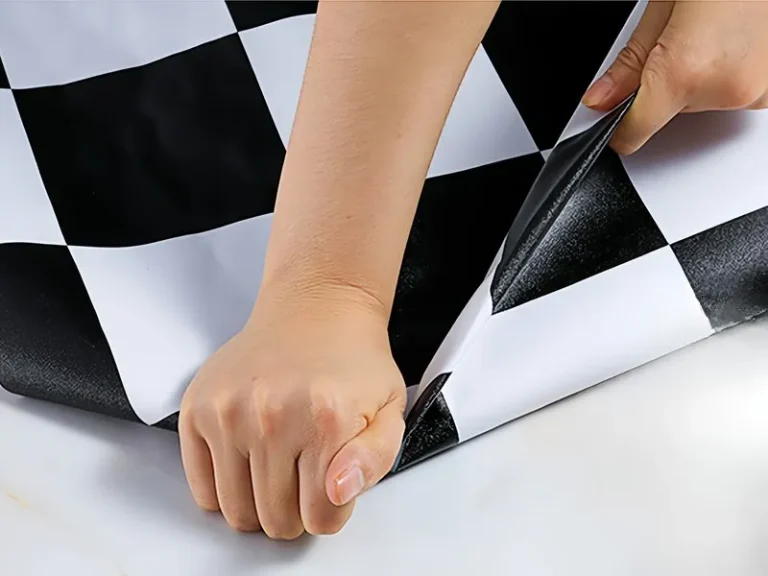
Step 1: Peel and Position. Peel back a small section (about 15-20 cm) of the release liner from the top of the film. Carefully align the film with the top edge of your surface. Avoid letting the exposed adhesive touch the surface until it’s perfectly positioned.
Step 2: Adhere and Smooth. Once aligned, press the exposed top section onto the surface. Using your squeegee or cloth, smooth it down firmly, working from the center outwards to push out air bubbles. Gradually peel back more of the liner while smoothing the film down section by section. Go slowly and methodically.
Step 3: Handling Bubbles and Wrinkles. If small air bubbles appear, you can often push them out to the nearest edge with the squeegee. For stubborn bubbles or small wrinkles, gently lift the film back to the problem area and re-smooth. A heat gun on a low setting can make the film more pliable and help it stretch and conform over bubbles or curved edges.
Step 4: Trimming the Edges. After the entire sheet is applied and smoothed, use a sharp utility knife and a metal ruler to trim the excess overhang. Use a light scoring motion to avoid cutting into the substrate beneath. For wrapped edges, apply heat to make the film flexible, wrap it over the edge, and trim on the underside.
For covering large areas like a tabletop or a wide cabinet door, the “hinge method” is highly effective. After the initial top alignment, peel back and remove the entire release liner. Carefully lower the film onto the surface, using a broom handle or a helper’s arms to keep it from prematurely sticking. Start smoothing from the center outwards immediately after contact.
Allow the adhesive to cure for 24-48 hours before subjecting the surface to heavy use or cleaning. After curing, clean with a soft, damp cloth and mild, non-abrasive cleaner. Avoid harsh chemicals, abrasive pads, or sharp objects that could scratch the surface.
Removability depends on the surface, the film’s adhesive strength, and how long it has been installed. On non-porous surfaces like glass or laminate, it can often be peeled off slowly, possibly with the aid of heat from a hair dryer to soften the adhesive. On porous surfaces like raw wood or plaster, removal may be difficult and could damage the underlying surface. It’s always best to test a small area first.
Yes, many PVC films are waterproof and perfect for these areas. They are excellent for covering tiles, backsplashes, or cabinet fronts. However, it is crucial to ensure all seams and edges are properly sealed and that the film is not applied directly to areas with constant standing water or steam (like inside a shower stall). For kitchen hood areas, a specialized kitchen anti-oil film is recommended.
Absolutely. This is one of its most common uses. The key, as outlined in the preparation stage, is that the existing surface must be clean, smooth, dry, and non-greasy. The existing finish must be intact—not peeling, chipping, or chalky. Proper preparation ensures the new film will have a strong, lasting bond.
High-quality PVC self-adhesive film is very durable and resistant to scratches, stains, and fading. Peeling at the edges is usually a result of improper surface preparation (dust or grease), insufficient smoothing during application, or moisture seepage. Ensuring a clean surface, applying firm pressure during installation, and sealing edges in wet areas will prevent peeling.
For more detailed information on the full range of available films, from calendered film to decorative specialties, and for further technical knowledge, you can visit the comprehensive knowledge base provided by industry experts.