Address
304 North Cardinal St.
Dorchester Center, MA 02124
Work Hours
Monday to Friday: 7AM - 7PM
Weekend: 10AM - 5PM
Address
304 North Cardinal St.
Dorchester Center, MA 02124
Work Hours
Monday to Friday: 7AM - 7PM
Weekend: 10AM - 5PM



 ByPulivk
Cooling is a critical step after PVC film extrusion or calendering — it fixes dimensions, reduces internal stresses, and determines surface finish. Understanding how long PVC film takes to cool helps operators optimize line speed, avoid defects like blocking or curling, and improve overall yield.
There is no single “correct” cooling time for all PVC films. Cooling time depends on production method (calendered vs cast), film thickness, line speed, and the cooling system used. In many industrial lines, PVC film reaches near-ambient temperature in seconds to a few minutes. Thin protective films (20–50 µm) often cool in 10–60 seconds; thicker decorative or flooring films (200–500 µm) may require several minutes under active cooling.
| Film Type | Thickness | Typical Cooling Time | Notes |
|---|---|---|---|
| Protective PE/PVC film (calendered) | 20–50 µm | 10–60 seconds | Fast line speeds; forced-air cooling common |
| Decorative PVC film (calendered) | 80–250 µm | 1–5 minutes | Roll-chill or water-cooled rollers often used |
| Flooring / heavy film | 250–800 µm | 3–15 minutes | May require staged cooling and annealing |
| Cast PVC film | Variable | Longer due to base solvent/roller set-up | Process dependent; film often refrigerated after casting |
Ambient conditions: Lower factory temperatures and higher airflow shorten cooling time. Humid or very warm environments slow heat dissipation.
Film thickness & thermal mass: Thicker films contain more heat and take proportionally longer to reach safe handling temperatures.
Color and additives: Dark pigments absorb more heat during processing and can retain warmth longer. Plasticizers and fillers change thermal conductivity.
Cooling method: Air knives, forced convection, chilled rollers, water baths, or multi-stage chill rolls produce very different cooling curves.
Line speed & nip points: Faster extrusion or calendering increases temperature at the cooling start and reduces residence time in the cooling zone.
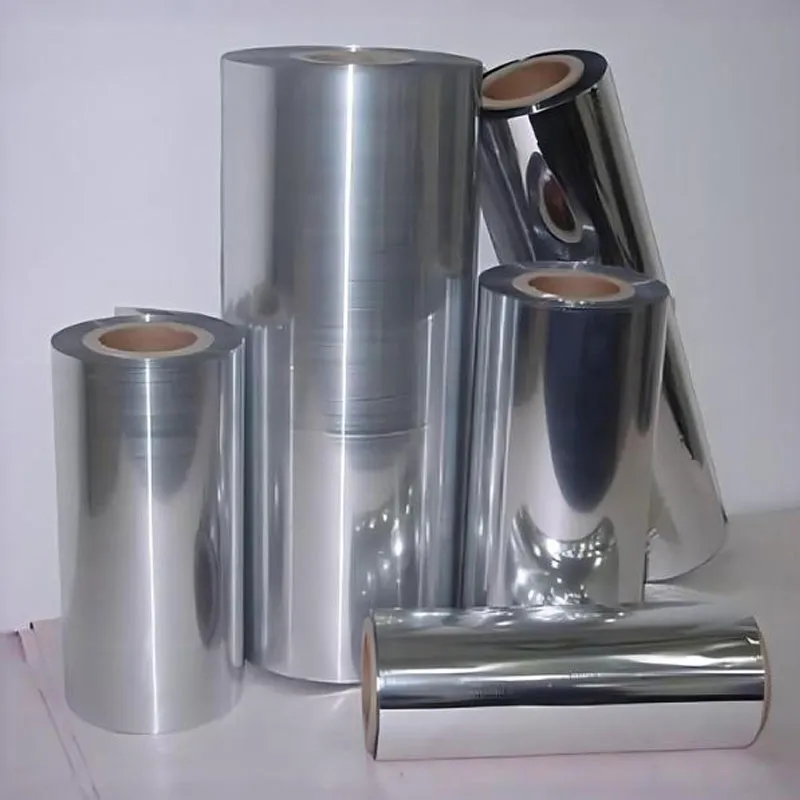
Measure film temperature profiles with IR sensors or contact thermocouples at multiple web positions. Conduct cold-set and adhesion tests after cooling to verify dimensional stability. Visual inspection for haze, curling, blocking, or surface ripples should be performed as soon as the film reaches handling temperature.
Example guidelines to set up a production run:
Blocking or tackiness: increase final cooling time and ensure surface temperature drops below the glass transition temperature before winding. Warping or curling: balance cooling across the web; asymmetric cooling causes differential shrinkage. Haze or loss of gloss: too-rapid surface quench can create microstresses—use staged cooling to retain finish.
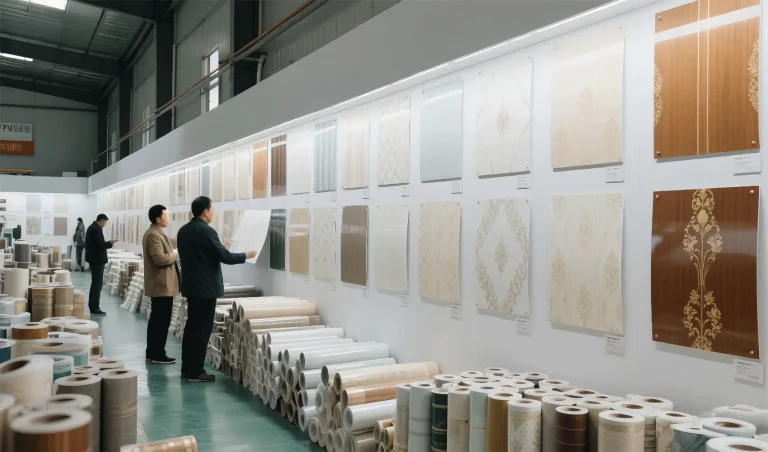
For manufacturers seeking reliable supply and process guidance, Henan Pulivk New Materials Co., Ltd. (Pulivk) provides full in-house production and technical experience across calendering, printing, and split-packaging lines — helping partners optimize both product quality and cooling strategies.