Address
304 North Cardinal St.
Dorchester Center, MA 02124
Work Hours
Monday to Friday: 7AM - 7PM
Weekend: 10AM - 5PM
Address
304 North Cardinal St.
Dorchester Center, MA 02124
Work Hours
Monday to Friday: 7AM - 7PM
Weekend: 10AM - 5PM
In the world of modern construction, renovation, and maintenance, ensuring the cleanliness and efficiency of a building’s HVAC (Heating, Ventilation, and Air Conditioning) system is paramount. A key component in protecting these vital ducts during construction or renovation is a material known as air duct film. This specialized protective sheeting plays a crucial role in preventing dust, debris, and moisture from contaminating the ductwork, which directly impacts indoor air quality and system performance.
Air duct film, also referred to as HVAC protective film or duct masking film, is a temporary plastic sheeting designed specifically to seal and protect the open ends of air ducts. During construction, drywall installation, painting, or flooring work, significant amounts of particulate matter and moisture are generated. Without proper protection, these contaminants can easily enter the duct system, settling on the interior surfaces. This buildup can restrict airflow, reduce system efficiency, harbor mold and bacteria, and ultimately degrade the air you breathe indoors. The primary purpose of air duct film is to act as a barrier, keeping the duct interiors pristine until the construction phase is complete and the system is ready for operation.
Key Takeaway: Air duct film is an essential preventative measure, not just a cleaning aid. It is far more cost-effective and efficient to prevent contamination than to professionally clean an entire duct system after the fact.
Not all protective films are created equal. The choice of material depends on the duration of protection needed, the type of work being done, and environmental factors. Here are the most common types:
This is the most widely used and economical option. Typically made from low-density or linear low-density polyethylene, it is a lightweight, flexible plastic film. It is excellent for short to medium-term projects and provides a good barrier against dust and larger debris. It is available in various thicknesses, often measured in mils (thousandths of an inch).
For projects requiring extra durability, reinforced poly film is the answer. This type has a scrim or mesh layer laminated between two layers of polyethylene, giving it significantly higher tear and puncture resistance. It is ideal for longer-term projects or in areas where the film might be subject to accidental impact or abrasion.
These films feature a low-tack adhesive on one side, allowing them to stick directly to the metal, plastic, or flexible duct material around the vent opening. This creates a superior, airtight seal that is less likely to be dislodged by wind or activity. Removal is typically clean and residue-free. This type is highly recommended for critical applications.
Safety on a construction site is non-negotiable. Fire-retardant (FR) or flame-resistant air duct films are specially treated to resist ignition and prevent the spread of flames. Their use is often mandated by building codes, especially in commercial and multi-family residential projects, to enhance overall site safety.
Selecting the correct film involves considering several factors:
The application of air duct film extends across numerous scenarios in both residential and commercial settings. Its core function is consistent—protection—but the contexts vary.
New Construction: This is the most critical application. From the rough-in stage until final HVAC startup, all duct openings should be sealed. It protects against drywall dust, sawdust, insulation fibers, and general construction debris.
Renovation and Remodeling: Whether you’re updating a single room or an entire floor, sanding, demolition, and painting create immense amounts of dust. Sealing the vents in the work area and adjacent rooms prevents this dust from being sucked into the central system and redistributed throughout the entire building.
Post-Fire or Water Damage Restoration: After a fire, soot and smoky residues are pervasive. Following water damage, preventing mold spores from entering the ducts is crucial. Protective film is used to isolate the duct system during the cleanup and restoration process.
Commercial Building Maintenance: During ceiling tile replacement, lighting upgrades, or any overhead work, sealing ceiling diffusers prevents debris from falling directly into the ducts below.
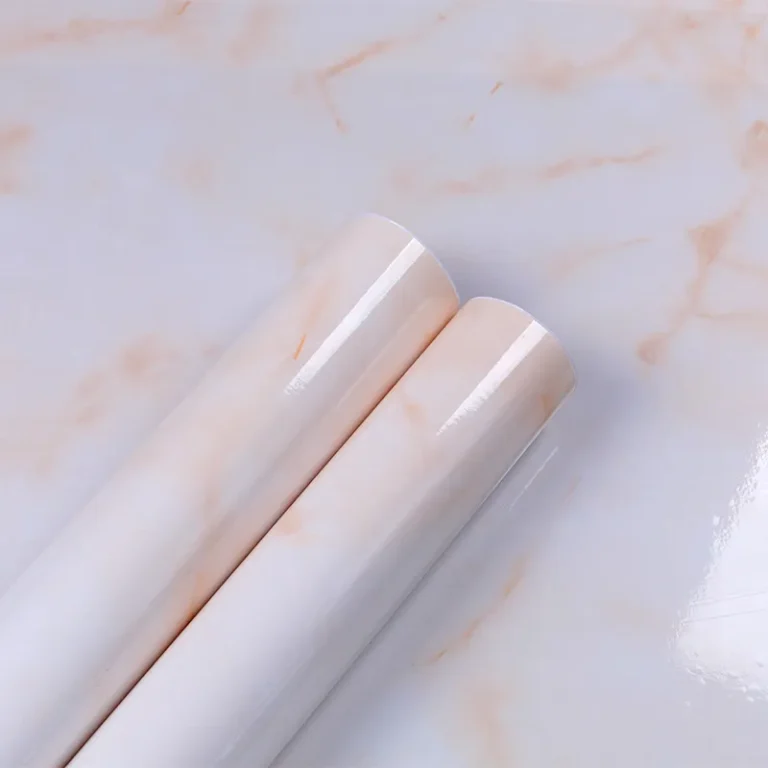
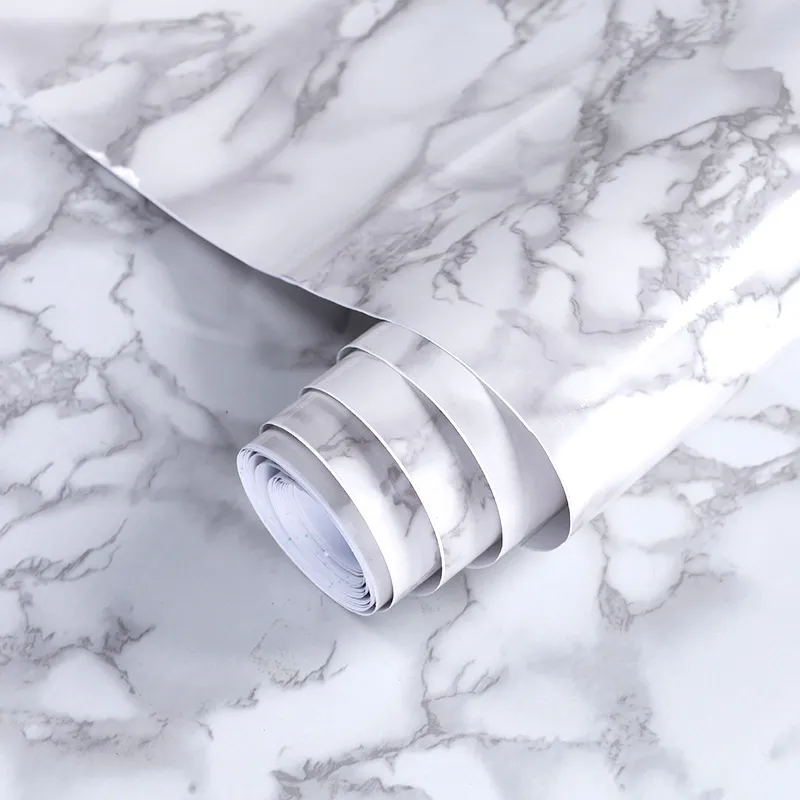
For those interested in other protective and decorative film solutions, such as those used for flooring protection or creating aesthetic surfaces like a marble finish, the technology shares similarities with specialized manufacturing processes like calendered film production.
Proper installation is key to ensuring the film performs its job effectively. A poorly sealed film is little better than no film at all. Follow this guide for a secure fit.
Ensure the duct register, grille, or opening is clean and dry. Remove any existing register covers if possible. Measure the opening’s dimensions. For the film, add at least 4-6 inches to each side to ensure you have enough material to create a secure seal around the perimeter.
Lay the film on a flat surface. Use your measurements to mark and cut a piece to size with your utility knife or scissors. For multiple identical vents, you can create a template to speed up the process.
For Non-Adhesive Film: Center the film over the opening. Starting at the top, use strips of duct tape to secure the film to the wall, ceiling, or duct surface, creating a taut seal. Work your way around all edges, smoothing out wrinkles and ensuring the tape has full contact. Overlap tape strips for completeness.
For Adhesive-Backed Film: Peel back a few inches of the release liner from one edge. Align that edge with the surface above the vent and press it into place. Slowly pull the liner away while smoothing the film down with your hand, working from the center outwards to eliminate air bubbles. Ensure all edges are firmly adhered.
Once sealed, gently press on the center of the film. It should be drum-tight, not loose or sagging. Check all edges for gaps or poor tape adhesion. For safety and to prevent accidental activation, it is a good practice to write “DO NOT REMOVE” or “DUCT SEALED” directly on the film with a permanent marker.
When sealing flexible duct (flex duct) ends, it’s often easier to apply the film directly to the metal collar (the band that connects the flex duct to the rigid trunk) rather than trying to seal the irregular plastic duct itself. This provides a flat, stable surface for the tape or adhesive.
Removal should be done carefully just before the HVAC system is commissioned for final use. Simply peel back the tape or adhesive film starting at one corner. Remove it in a controlled manner to avoid letting any collected surface dust fall into the duct. Once the film is off, re-install any register covers or grilles. The system is now ready for a final inspection and filter installation before startup.
The investment in air duct film yields significant returns for homeowners, contractors, and building managers alike.
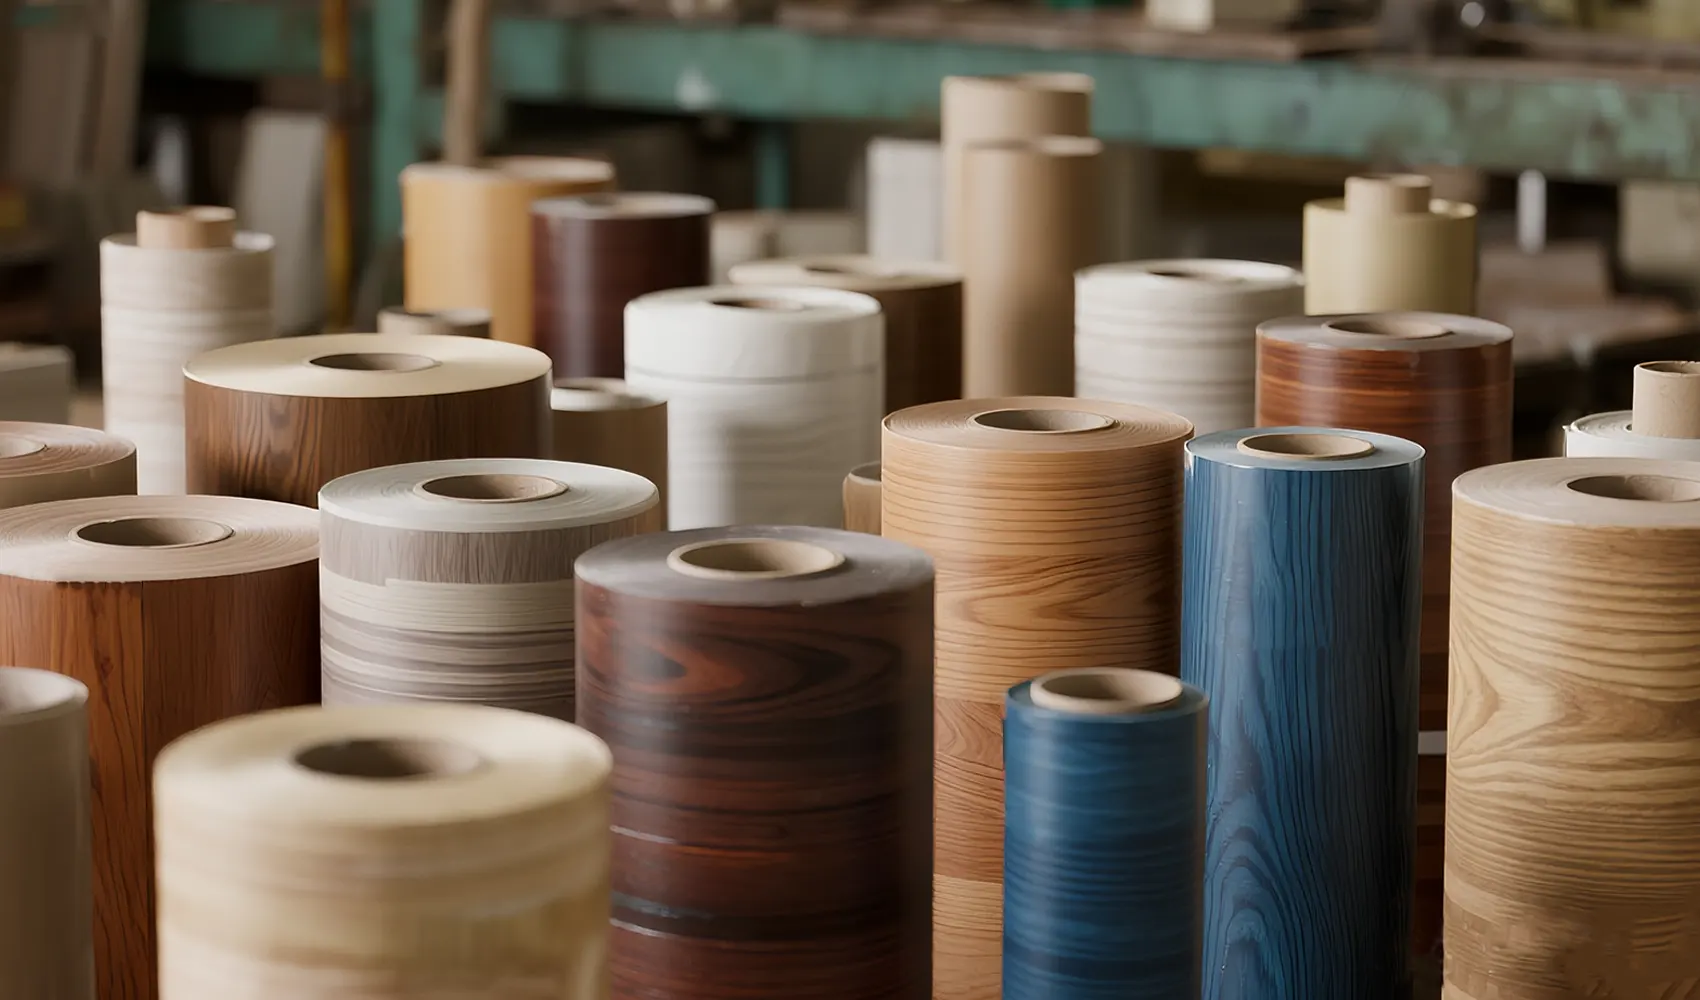
Just as precision in applying protective film matters, precision in manufacturing decorative films is vital. Companies like Pulivk, which specialize in producing high-quality wood grain films and other PVC film products, understand that control over the entire production process—from raw materials to final packaging—ensures consistency, performance, and reliability, whether the film is for decoration or protection.
While basic polyethylene sheeting can work for very short-term, low-dust projects, it is not ideal. It is often too thin and prone to tearing. Dedicated air duct film is designed for the purpose, available in appropriate thicknesses and, importantly, often comes in fire-retardant grades which may be required by code. For best results, use purpose-made products.
High-quality reinforced or adhesive-backed films can remain in place for several months without degrading. However, it is a temporary protective measure. It should be removed immediately once the risk of contamination has passed and before the HVAC system is turned on for regular use. Leaving it on will block airflow.
Yes, absolutely. Air filters are designed to clean the air that passes through them during normal operation. They are not designed to handle the massive influx of heavy construction dust, drywall particulate, and moisture that can occur during building work. This debris can quickly clog and ruin a filter, bypass it, or settle in ducts before the filter. Film provides source control.
Responsibility should be clearly defined in the project specifications. Typically, the HVAC contractor installs the initial film after ductwork is complete. The general contractor or specific trade contractors (e.g., drywallers, painters) are responsible for maintaining or replacing it if it gets damaged during their work phase. Final removal is often done by the cleaning crew or the HVAC contractor before system startup.
Quality adhesive-backed duct films are designed with a low-tack, pressure-sensitive adhesive that provides a strong seal but removes cleanly without leaving residue on most surfaces when removed within the recommended time frame. Always test a small area first if concerned about sensitive finishes. For non-adhesive films, using painter’s tape instead of duct tape can further ensure clean removal.