Address
304 North Cardinal St.
Dorchester Center, MA 02124
Work Hours
Monday to Friday: 7AM - 7PM
Weekend: 10AM - 5PM
Address
304 North Cardinal St.
Dorchester Center, MA 02124
Work Hours
Monday to Friday: 7AM - 7PM
Weekend: 10AM - 5PM

Car wrap vinyl film has revolutionized the automotive customization industry, offering vehicle owners a versatile and cost-effective way to transform their car’s appearance. Unlike traditional paint jobs, vinyl wraps provide a protective layer while allowing for limitless creative expression. This comprehensive guide delves into the different types of vinyl films, their significant benefits, and provides practical installation tips for a flawless finish.
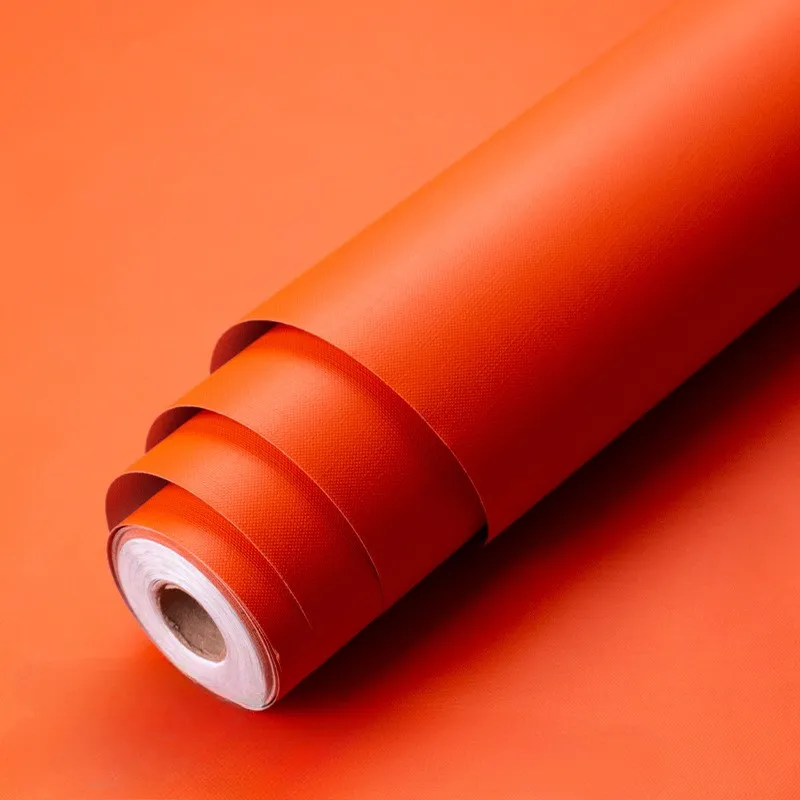
The world of car wrap vinyl is diverse, with each type designed for specific applications and aesthetic outcomes. Knowing the differences is crucial for selecting the right material for your project.
Cast vinyl is the premium choice for professional, long-term vehicle wraps. Manufactured by spreading liquid PVC onto a casting paper and curing it, this process creates a film with exceptional conformability and durability. It is thinner and more flexible than other types, allowing it to stretch and conform seamlessly over complex curves, recesses, and body lines without lifting or cracking. Cast vinyl typically comes with a high-performance, long-lasting adhesive and is resistant to UV rays, ensuring the color stays vibrant for years. It is the standard for full vehicle wraps, commercial fleets, and any application where longevity is paramount.
Calendered vinyl is produced by pressing PVC resin between large heated rollers, creating a thicker, more rigid film. This method is more cost-effective, making calendered vinyl a popular choice for short-term promotions, decals, and partial wraps. While it offers good durability and color options, it has less stretch and memory than cast vinyl. It is best suited for flat or simple curved surfaces. For those interested in the production process behind such materials, calendered film technology offers fascinating insights into its creation and industrial applications beyond automotive use.
Gloss Finish: Provides a shiny, paint-like appearance that enhances color depth and reflects light. It’s classic and popular for a sleek, showroom look.
Matte Finish: Offers a non-reflective, satin surface that gives vehicles a sophisticated, modern, and stealthy aesthetic. It hides minor imperfections well.
Satin Finish: A hybrid between gloss and matte, providing a soft sheen that is elegant and easier to maintain than a full matte finish.
Chrome & Metallic: Films with reflective pigments that create a mirror-like or metallic sparkle effect, perfect for making a bold statement.
Textured & Specialty Films: This category includes carbon fiber, brushed metal, 3D texture films, and color-shifting chameleon films. They add unique tactile and visual dimensions to a wrap.
Choosing to wrap a vehicle goes beyond mere aesthetics. The advantages are practical, protective, and financial, making it an intelligent alternative to repainting.
The primary functional benefit of a vinyl wrap is the protective barrier it forms over the factory paint. This layer shields the original finish from:
• Stone chips and road debris
• Minor scratches and swirl marks from washing
• Harmful UV rays that cause oxidation and fading
• Bird droppings, tree sap, and other corrosive elements
When the wrap is eventually removed, the pristine factory paint underneath is revealed, preserving the vehicle’s resale value.
A high-quality full vehicle wrap costs significantly less than a high-quality, multi-stage paint job. It delivers a dramatic visual change without the permanent commitment or the high price tag of custom paint. For businesses, wrapping fleet vehicles in company branding is far more economical than custom painting each unit and allows for easy updates to logos or marketing messages.
Vinyl wraps offer an unparalleled canvas for creativity. You can choose from thousands of colors, finishes, and patterns that might be impossible or prohibitively expensive with paint. This allows for complete personalization, from subtle color changes to wild graphic designs, racing stripes, or realistic wood grain or marble effects. The design possibilities are truly endless.
Unlike paint, a vinyl wrap is not permanent. If you grow tired of the color, need to sell the car, or return a leased vehicle, the wrap can be professionally removed without damaging the underlying paint (provided it was installed correctly and removed properly). This reversibility provides peace of mind and flexibility.
While professional installation is highly recommended for full wraps, understanding the process helps in planning and communicating with your installer. For DIY enthusiasts tackling smaller projects, these tips are essential.
The success of a wrap is 90% determined by surface prep. Any contamination left on the paint will be trapped under the vinyl, creating bumps or causing adhesion failure.
1. Deep Wash: Thoroughly wash the vehicle with automotive soap to remove loose dirt and grime.
2. Decontamination: Use a clay bar to remove embedded contaminants like tar, overspray, and industrial fallout that washing misses.
3. Panel Wiping: Wipe down every panel with a high-quality isopropyl alcohol (IPA) solution (typically 70% IPA, 30% water). This step removes all waxes, oils, and silicones, leaving a perfectly clean, “squeaky” surface for the adhesive to bond to.
4. Environment: Work in a clean, climate-controlled space. Ideal temperature is between 60°F and 80°F (15°C – 27°C). Avoid direct sunlight, dust, and wind.
Proper technique prevents wrinkles, air bubbles, and premature failure.
The “Hinge” or “Tack” Method: This is the standard technique for large panels. Lightly spray the panel and the adhesive side of the vinyl with a slip solution (soapy water). This allows you to position the film perfectly. Once aligned, use a squeegee to tack down the centerline of the film, creating a hinge. Then, work outwards from the center, pushing the slip solution and air bubbles to the edges.
Stretching and Post-Heating: For compound curves, gentle heat from a heat gun or torch (used carefully) makes the vinyl pliable, allowing it to be stretched and formed. Crucially, post-heating the installed vinyl activates the adhesive and relieves the memory tension from stretching, ensuring it stays conformed and doesn’t shrink back.
Overlap and Seam Placement: Plan seams strategically. They should be placed in natural body lines, along edges, or under trim where they are least noticeable. Overlaps should be minimal and consistent.
A wrapped vehicle requires specific care to maximize its lifespan.
Curing Time: Allow the wrap to fully cure for at least 48-72 hours before washing or exposing it to heavy rain. The adhesive needs time to achieve maximum bond strength.
Washing: Hand wash only using a mild automotive shampoo and a soft microfiber mitt. Avoid abrasive brushes, high-pressure washers directed at edges, and automatic car washes with stiff bristles.
Protection: Apply a vinyl-safe sealant or spray coating designed for wraps. This adds a protective layer against UV rays and contaminants, makes cleaning easier, and enhances the finish. Never use waxes or compounds containing abrasives or solvents.
Prompt Cleaning: Remove bird droppings, bug splatter, and tree sap as soon as possible, as they can stain or damage the vinyl surface if left for extended periods.
The lifespan depends on the vinyl quality, installation, climate, and maintenance. A professionally installed cast vinyl wrap can last 5 to 7 years, while calendared vinyl may last 2 to 5 years. Garage-kept vehicles in moderate climates will see the longest life.
Yes, if it was high-quality film, installed correctly on undamaged factory paint, and removed carefully with proper heat and technique, it should come off cleanly. However, if the underlying paint was already cracked or peeling, or a low-quality adhesive was used, there is a risk of damage.
Absolutely. Partial wraps are very common and a great way to add accent colors, protect high-impact areas (like hoods and fenders), or create two-tone designs. The principles of surface prep and installation are the same.
No. Vinyl is not a repair product. It will conform to and highlight any imperfection underneath. The surface must be smooth, clean, and solid. Any rust or flaking paint must be repaired and sanded smooth before wrapping.
Matte and satin finishes require extra care. Use cleaning products specifically labeled as safe for matte finishes. Never use glossy waxes, sealants, or polishing compounds, as they can create permanent shiny spots on the matte surface, ruining its uniform appearance.