Address
304 North Cardinal St.
Dorchester Center, MA 02124
Work Hours
Monday to Friday: 7AM - 7PM
Weekend: 10AM - 5PM
Address
304 North Cardinal St.
Dorchester Center, MA 02124
Work Hours
Monday to Friday: 7AM - 7PM
Weekend: 10AM - 5PM

PVC ceiling film has revolutionized interior design, offering a versatile and cost-effective solution for transforming ceilings. This ultimate guide delves into the various types of PVC ceiling films, explores their extensive benefits, and provides practical installation tips to ensure a flawless finish.
The market offers a diverse range of PVC ceiling films, each designed to meet specific aesthetic and functional needs. Knowing the options helps you select the perfect film for your project.
Glossy Film: Creates a reflective, bright surface that enhances light distribution, making rooms feel more spacious and luminous. Ideal for modern kitchens and bathrooms.
Matte Film: Provides a sophisticated, non-reflective finish that hides minor imperfections and reduces glare. Perfect for creating a calm, contemporary atmosphere in living rooms and bedrooms.
Textured Film: Includes options like 3D Silk Texture Film, cloth grain, or subtle embossing. These add depth and tactile interest, effectively concealing seams and surface flaws.
Design versatility is a hallmark of PVC film technology. Beyond simple solid colors, you can achieve stunning visual effects.
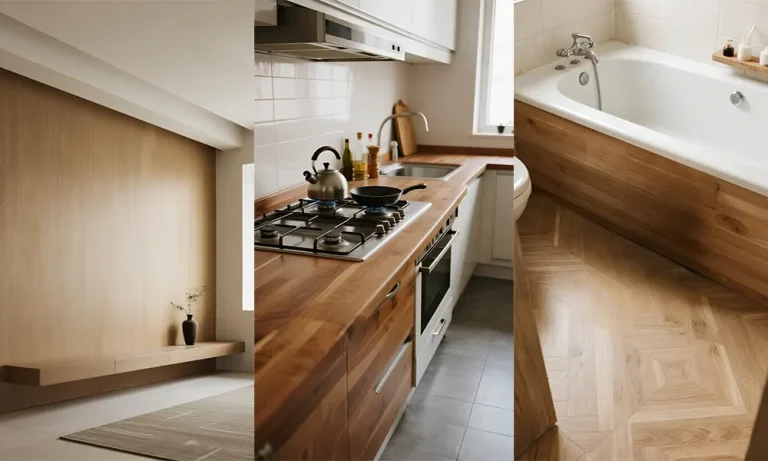
Wood Grain Film: Mimics the natural beauty of oak, walnut, or teak, bringing warmth to any space. A product like Wood Grain Film offers realistic grains and knots.
Stone & Marble Film: Replicates the luxury of marble, granite, or slate without the weight or cost. Marble Film is a popular choice for creating elegant, high-end looks.
Pure Color Film: Offers a clean, minimalist look. Available in every hue imaginable, it allows for complete color coordination. For wall applications, Solid Color Wallpaper provides a similar seamless aesthetic.
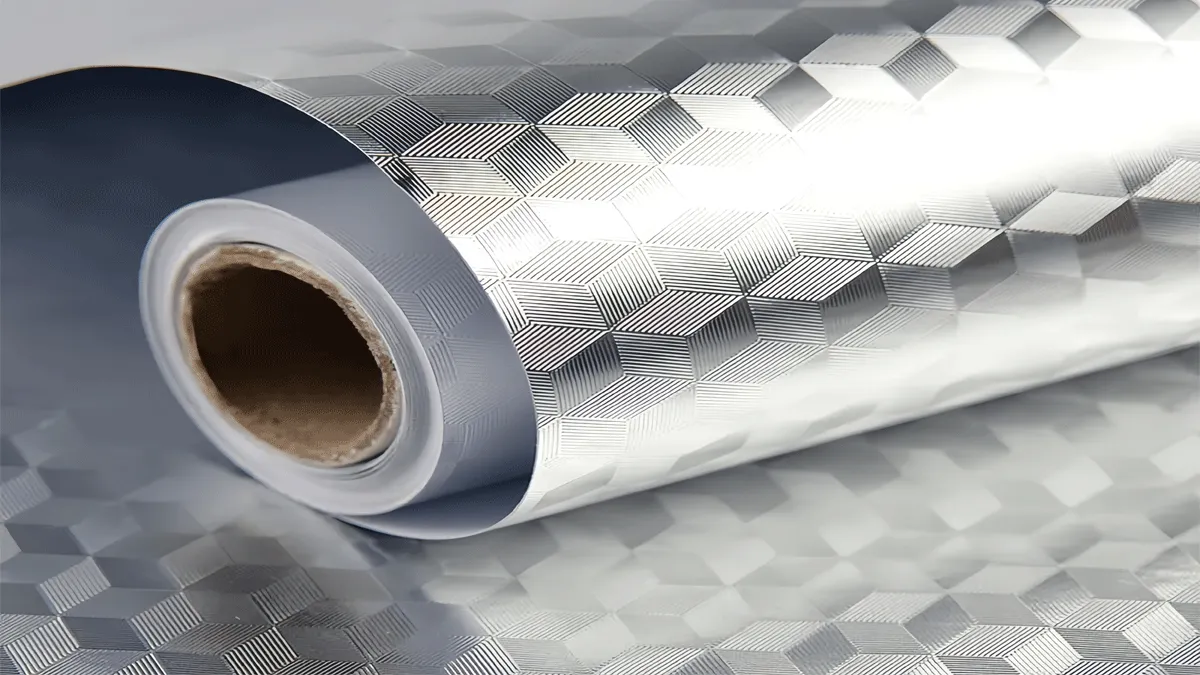
Metallic & Specialty Films: Includes brushed aluminum, chrome, or even pearlescent finishes for a futuristic or industrial vibe.
Modern PVC films are engineered with added functionalities for specific environments.
✅ Moisture-Resistant & Anti-Mold: Essential for bathrooms, kitchens, and basements. These films prevent water damage and inhibit mold growth.
✅ Fire-Retardant: Treated to meet safety standards, slowing flame spread—a critical feature for commercial spaces and public buildings.
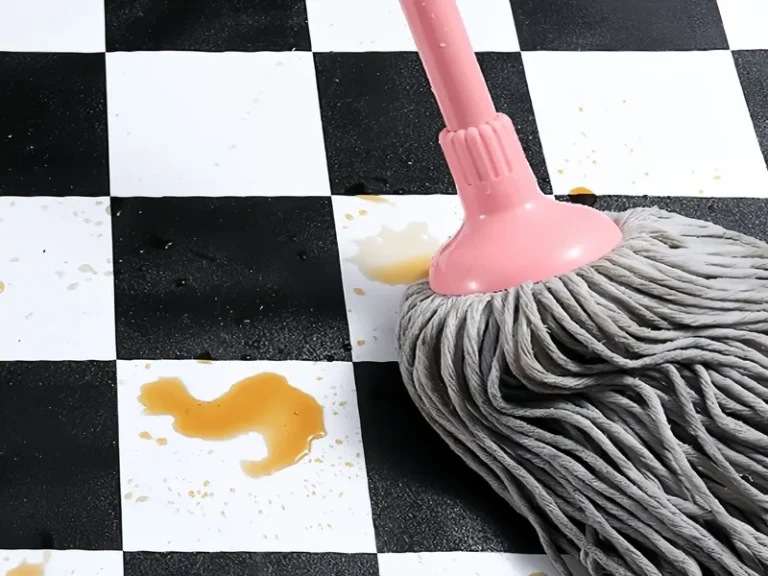
✅ Easy-Clean & Anti-Static: Surfaces that repel dust and grease, making maintenance a simple wipe-down. This is similar to the technology used in Kitchen Anti-oil Film.
Why has PVC film become a go-to material for ceilings? The advantages are compelling for both homeowners and contractors.
Compared to traditional materials like plaster, wood paneling, or metal tiles, PVC film is significantly more affordable. The material cost is lower, and the lightweight nature reduces shipping and handling expenses. Furthermore, the ease and speed of installation translate to substantial labor cost savings.
PVC film bridges the gap between aspiration and budget. It allows you to achieve the look of expensive materials—be it rich mahogany, Carrara marble, or polished concrete—at a fraction of the price. This democratization of design means stunning interiors are accessible for all types of projects.
High-quality PVC ceiling film is tough. It resists fading from UV exposure, won’t yellow over time, and is immune to cracking or warping due to humidity fluctuations. A well-installed film can last for a decade or more with minimal care, maintaining its “like-new” appearance.
One of the biggest benefits is the non-invasive installation. It can often be applied directly over old, damaged, or outdated ceilings, eliminating the need for messy demolition. This makes it perfect for quick renovations, rental property upgrades, and commercial refurbishments where downtime must be minimized.
The non-porous surface of PVC film does not absorb odors, moisture, or stains. It creates a seamless barrier that is incredibly easy to clean with just a damp cloth, promoting a healthier indoor environment by discouraging dust mites and allergens—a crucial consideration for modern living.
While DIY-friendly, a professional result hinges on proper preparation and technique. Follow these tips to ensure your PVC ceiling film looks impeccable.
The substrate must be clean, dry, smooth, and structurally sound. Any failure here will telegraph through the film.
Measure the ceiling area carefully, adding a 5-10 cm margin on all sides for trimming. Use a sharp utility knife and a straight edge for cutting the film. For patterned films like wood or stone, plan the layout to ensure pattern matching across seams for a continuous look.
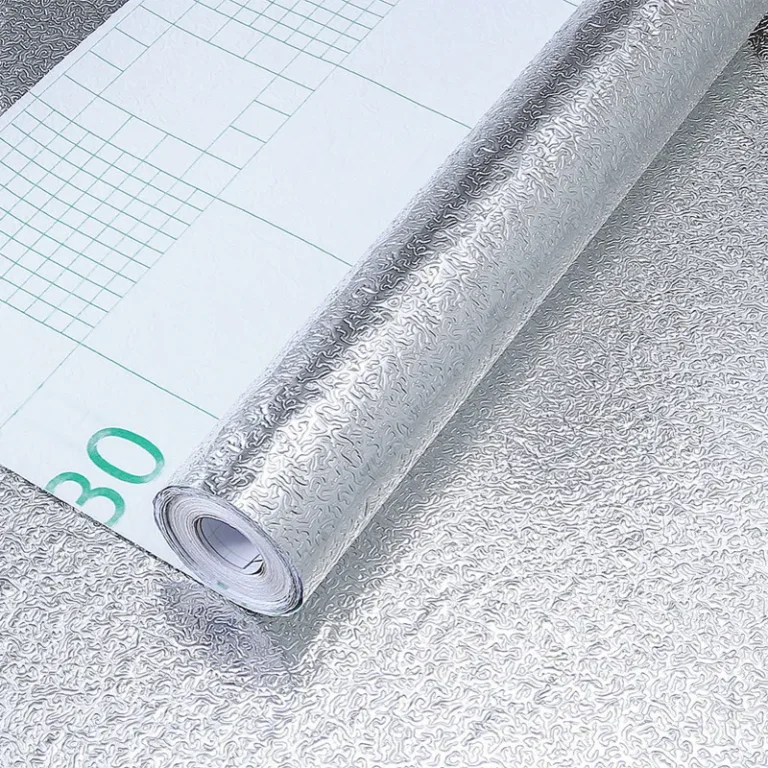
Most PVC ceiling films come with a self-adhesive backing protected by a release liner.
Pro Tip: For large sheets or tricky installations, use the “hinge method.” Peel half the liner, adhere that section perfectly, then use the unpeeled half as a hinge to position the rest before final application.
For large ceilings requiring multiple sheets, plan seams to be inconspicuous. Overlap sheets slightly and use a sharp straight-edge knife to cut through both layers simultaneously, creating a perfect butt joint. Remove the waste strips and press the seam down firmly. Use a specialized seam roller to ensure it is completely flat and invisible.
Once the film is fully applied and smoothed, trim the excess material around the edges, light fixtures, and vents with a sharp blade. For a polished look, you can add complementary PVC skirting film or coving at the wall-ceiling junction.
Absolutely. It is an excellent choice for these high-moisture areas. Ensure you select a film specifically rated as moisture-resistant or waterproof. Proper surface preparation (addressing any existing mold or leaks) and ensuring good ventilation during and after installation are key to long-term performance.
Maintenance is remarkably simple. For routine cleaning, dust with a soft cloth or use a vacuum with a soft brush attachment. For marks or stains, wipe gently with a damp cloth and a mild, non-abrasive detergent. Avoid using harsh chemicals, abrasive scrubbers, or steam cleaners, as these can damage the film’s surface.
Reputable manufacturers like Pulivk produce films that comply with strict international safety standards (such as REACH, RoHS). These films are free from heavy metals and harmful phthalates. Many are also recyclable. Always request safety data sheets and certifications from your supplier to ensure the product is safe for indoor use.
With correct installation and normal indoor conditions, a high-quality PVC ceiling film can last between 8 to 15 years. Factors affecting lifespan include the quality of the film, exposure to direct sunlight (which can cause fading), and the level of humidity and temperature extremes in the room.
Yes, one of its advantages is relatively easy removal. Applying gentle heat from a hairdryer can soften the adhesive, allowing you to peel the film away slowly. Any residual adhesive can be removed with a commercial adhesive remover. This makes it a low-commitment option compared to permanent ceiling solutions.