Address
304 North Cardinal St.
Dorchester Center, MA 02124
Work Hours
Monday to Friday: 7AM - 7PM
Weekend: 10AM - 5PM
Address
304 North Cardinal St.
Dorchester Center, MA 02124
Work Hours
Monday to Friday: 7AM - 7PM
Weekend: 10AM - 5PM


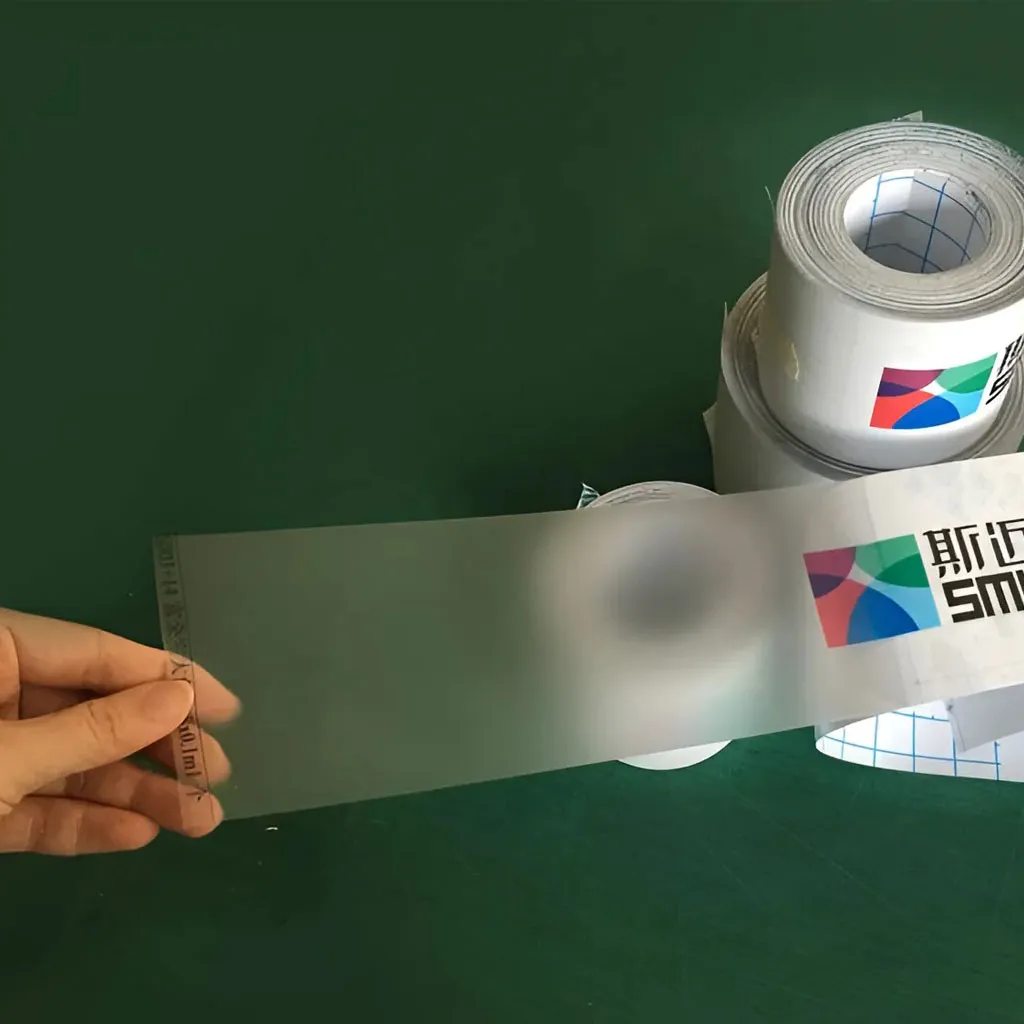
Applying PET protective film correctly protects surfaces from scratches, dust, and UV damage while keeping the finish pristine. This step-by-step guide walks you through a fast, bubble-free installation for flat and gently curved surfaces — ideal for screens, panels, signage, and packaging protection.
Essential: PET protective film, microfiber cloth, isopropyl alcohol (70%+), squeegee or plastic card, masking tape, scissors or utility knife, heat gun or hair dryer (optional for curves).
| Tool | Purpose | Quick Tip |
|---|---|---|
| Microfiber cloth | Removes dust and oils | Use a fresh cloth for best results |
| Isopropyl alcohol | Deep cleaning | Wipe and let air-dry completely |
| Squeegee / plastic card | Pushes out air/bubbles | Wrap edge with cloth to avoid scratches |
Work in a dust-free environment with good lighting. Lay the item flat and inspect for dust, lint, or residues. Thorough cleaning is the most important step to avoid trapped particles that cause bubbles.
First wipe with a dry microfiber cloth to remove loose dust. Follow with an alcohol wipe (isopropyl) on stubborn oils or fingerprints. Allow the surface to fully dry — residual moisture invites film lifting.
Use masking tape as a “dust lifter” to pick up tiny fibers before applying the film. This cuts down on micro-bubbles.
Measure the area and cut the PET film leaving a small overlap (2–5 mm) if you’ll trim the edges later. For screens or precision items, cut as close as possible to minimize trimming.
Position the film over the surface. Use two small strips of masking tape at opposite ends to create a hinge — this keeps the film perfectly aligned. Peel back the release liner from the hinge side about 2–3 cm and fold it back.
With the release liner folded back, slowly lower the film onto the surface while holding the liner. Use the squeegee with gentle, overlapping strokes from the hinge outward to push air out. Keep pressure even and steady.
Work in small increments: peel 10–20 cm of liner, press down, squeegee, then peel more. This controlled approach prevents large air pockets.
Minor bubbles can be smoothed with the squeegee toward the nearest edge. If a particle is trapped, lift the closest corner gently, remove the particle with a piece of tape, then reapply and squeegee.
For gently curved areas, apply low heat with a heat gun or hair dryer (keep it 20–30 cm away). Heat makes PET film more conformable; then press with a squeegee while cooling for a tight fit. Avoid overheating to prevent distortion.
Test heat on a small scrap to confirm temperature tolerance. For delicate electronics, avoid direct heat on sensitive components.
Once fully applied, trim excess film with a sharp utility knife on a straight edge. Run the squeegee one more time along edges to ensure adhesion. Inspect under different light angles for hidden bubbles.
Clean the film with a soft cloth and mild soap. When removing, peel slowly at a low angle and pull parallel to the surface to avoid adhesive residue. If residue remains, use isopropyl alcohol to remove it safely.
Large bubbles after application: Lift nearest edge, reposition and squeegee. If film has stretched, replace with a new cut. Persistent small bubbles: Use a pin to release air and press flat, or remove and reapply if adhesive loses grip.
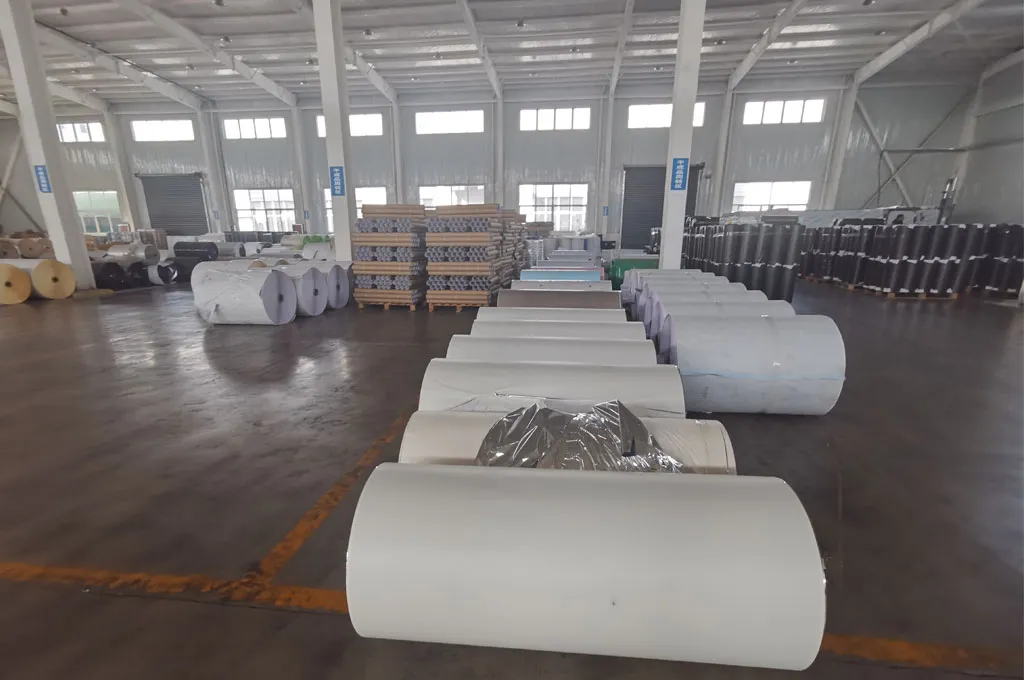
If the surface is highly textured, deeply curved, or part of a sensitive electronic assembly, professional installation reduces risk. For reliable bulk supply and custom sizes, consider a trusted manufacturer like Pulivk (https://pvcfilmtec.com/).
Confirm the surface is clean, film aligned, all air removed, edges trimmed, and any curves heat-conformed. A careful approach during each small step ensures a long-lasting, bubble-free result.