Address
304 North Cardinal St.
Dorchester Center, MA 02124
Work Hours
Monday to Friday: 7AM - 7PM
Weekend: 10AM - 5PM
Address
304 North Cardinal St.
Dorchester Center, MA 02124
Work Hours
Monday to Friday: 7AM - 7PM
Weekend: 10AM - 5PM
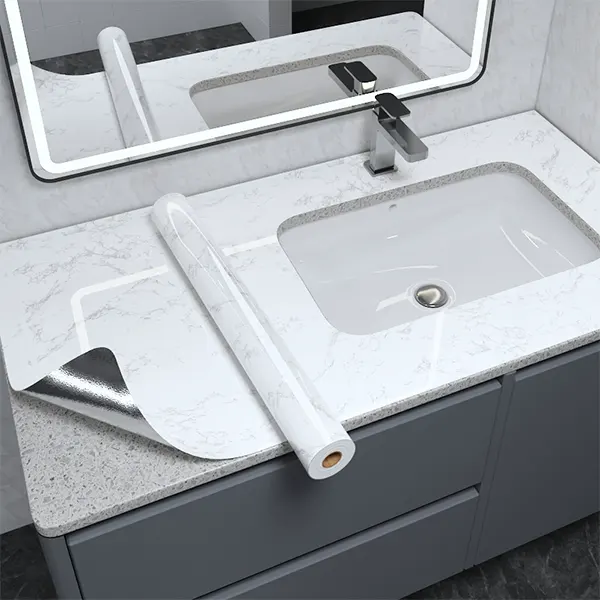
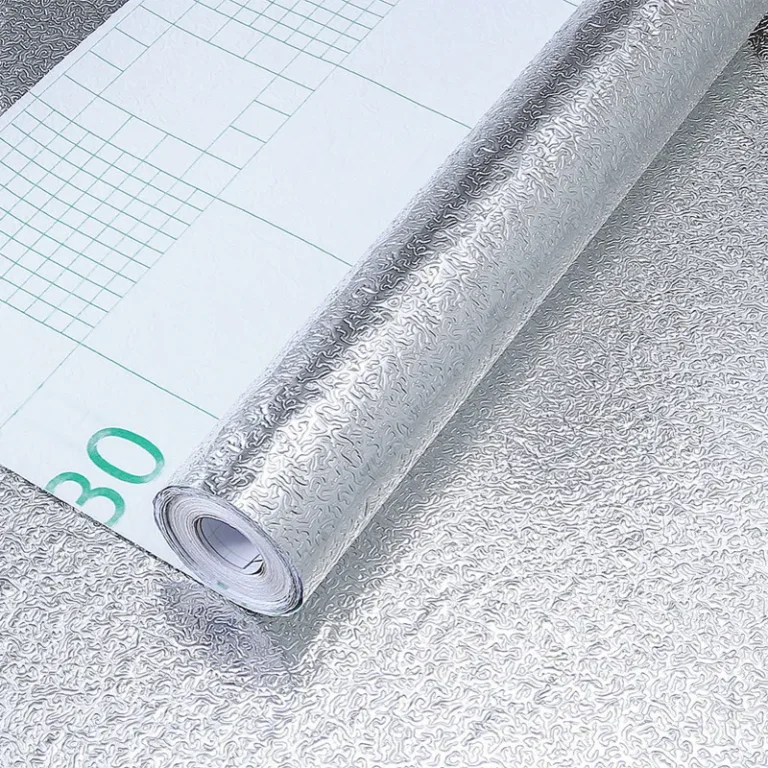
PVC ceiling film has become a transformative material in modern interior design, offering a blend of aesthetic appeal, practicality, and cost-effectiveness. This versatile product allows homeowners and contractors to achieve high-end looks without the associated high costs or complex installation processes. Whether you’re renovating a kitchen, updating a bathroom, or refreshing a commercial space, understanding the nuances of PVC ceiling film is key to a successful project.
The world of PVC ceiling film is diverse, with options tailored to various design needs and functional requirements. The primary types can be categorized by their finish, texture, and specific properties.
Glossy Films: These films create a reflective, shiny surface that enhances light distribution in a room, making spaces feel larger and brighter. They are ideal for contemporary kitchens and bathrooms.
Matte & Satin Films: Offering a non-reflective, sophisticated finish, these are perfect for creating a warm, cozy ambiance in living rooms and bedrooms. They are excellent at hiding minor imperfections on the ceiling substrate.
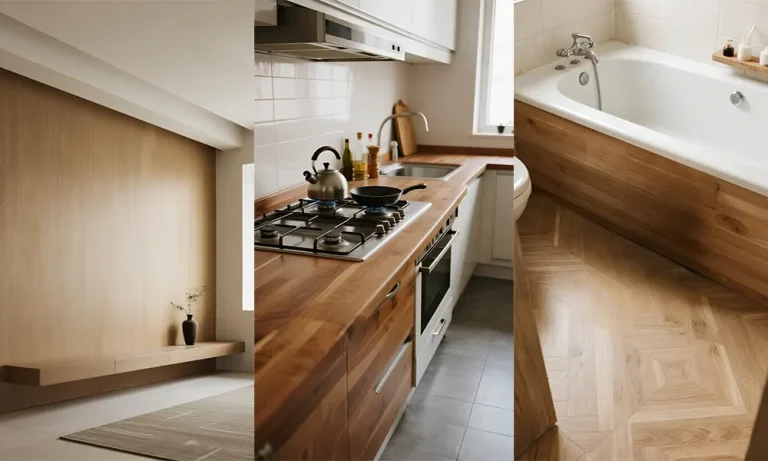
For those seeking the timeless elegance of natural materials, Wood Grain Film and Marble Film provide incredibly realistic textures and patterns, mimicking wood planks or stone slabs without the weight or maintenance.
Texture adds depth and character to a ceiling. Standard options include smooth films for a clean look, but the real innovation lies in textured varieties.
3D and Embossed Textures: Films like the 3D Silk Texture Film feature raised patterns that create visual interest and can help with sound diffusion. Other popular textures include cloth, leather, and geometric patterns.
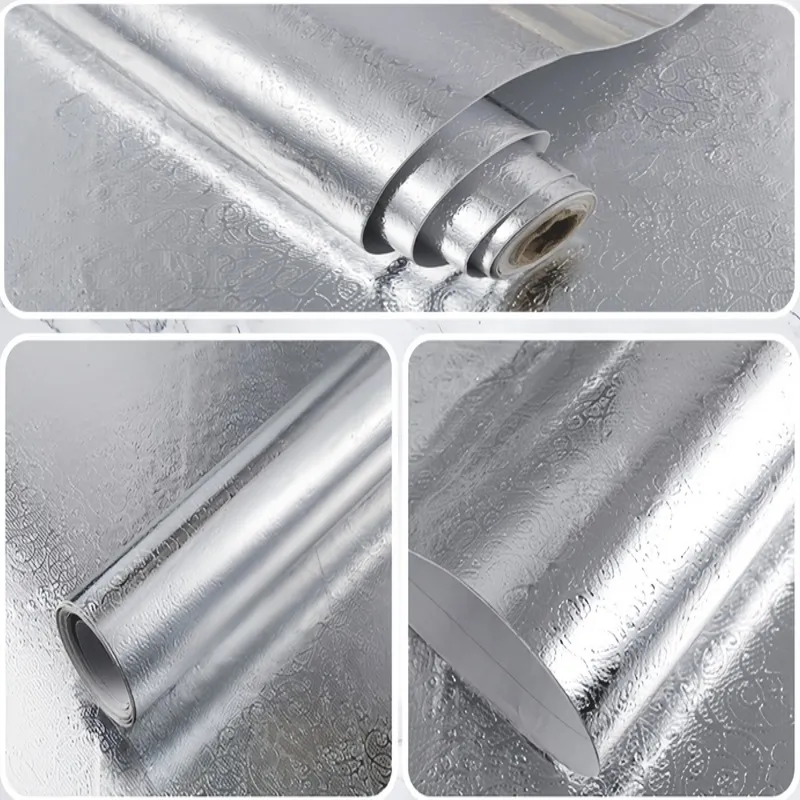
Metallic and Pearlized Films: These incorporate fine metallic particles or pearl essences to create a luxurious, shimmering effect, often used in feature ceilings or commercial settings.
Beyond looks, functional films solve specific problems. Moisture-resistant and waterproof films are essential for bathrooms, laundry rooms, and kitchens. Fire-retardant films meet strict safety codes for commercial buildings. Anti-static films are crucial in electronic manufacturing or server rooms to prevent dust accumulation.
The rise in popularity of PVC ceiling film is no accident. It delivers a compelling array of advantages over traditional ceiling materials like plaster, paint, or solid wood panels.
One of the most significant benefits is cost savings. PVC film is materially less expensive than installing new drywall with professional plastering and painting, or than using real wood or mineral fiber tiles. The installation process itself is also faster and requires less skilled labor, further reducing overall project costs. This makes high-end decorative finishes accessible for budget-conscious renovations.
Installation is relatively clean and straightforward. It can often be applied directly over an existing, sound ceiling surface—be it old paint, tiles, or even minor cracks—eliminating the need for messy demolition. This “over-cladding” capability is a game-changer for quick home updates or commercial refurbishments where business downtime must be minimized.
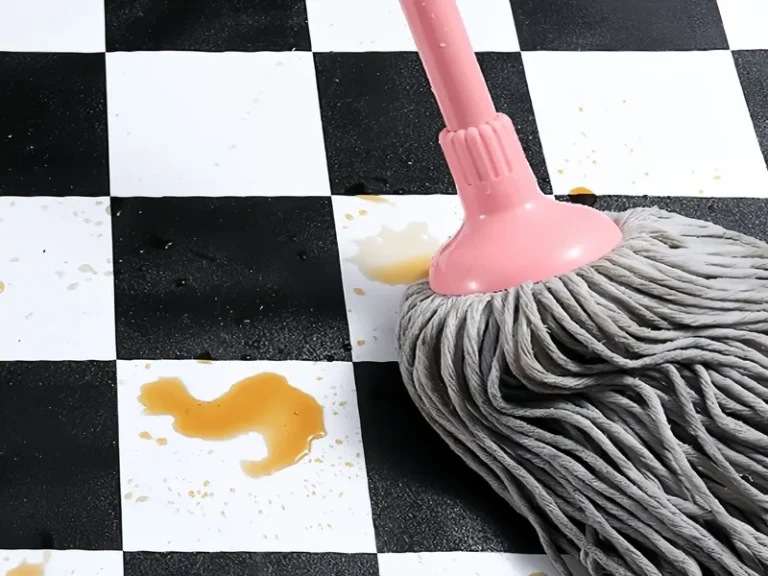
High-quality PVC films are tough. They are resistant to scratches, stains, and fading from UV exposure. Unlike painted ceilings, they won’t chip or peel. Cleaning is effortless, typically requiring only a damp cloth to wipe away dust or splashes, making them a hygienic choice for kitchens. Their moisture resistance also prevents mold and mildew growth, a common issue in humid climates.
The design possibilities are virtually limitless. With advancements in printing technology, films can replicate any pattern, color, or texture with high fidelity. This allows for seamless design coordination with walls, cabinetry, or flooring films. You can achieve a uniform modern look, a rustic wooden beam effect, or a dramatic metallic ceiling without the constraints of natural materials.
Reputable manufacturers like Pulivk use eco-friendly, non-toxic inks and formulations that are low in VOCs (Volatile Organic Compounds). The seamless, non-porous surface doesn’t trap dust, allergens, or bacteria, contributing to better indoor air quality—a critical consideration for homes, schools, and healthcare facilities.
While DIY installation is possible for small, simple areas, professional techniques ensure a seamless, long-lasting result, especially for large rooms or complex patterns.
1. Assess the Substrate: The existing ceiling must be structurally sound, dry, clean, and flat. Remove any loose paint, plaster, or old tiles. Sand down high spots and fill cracks or holes with a suitable filler. A smooth base is critical.
2. Clean Thoroughly: Wipe the entire surface with a degreaser or mild detergent to remove dust, grease, and any residues. Allow it to dry completely. Any contamination will prevent proper adhesion.
3. Prime if Necessary: On porous or unevenly absorbing surfaces (like old painted drywall), applying a primer recommended by the film manufacturer ensures uniform adhesion and can prevent underlying stains from bleeding through.
Step 1: Measurement and Cutting. Measure the ceiling accurately, adding a few centimeters of overhang on all sides for trimming. If using a patterned film, plan the layout to ensure pattern matching across seams. Use a sharp utility knife and a metal straight edge for clean cuts.
Step 2: Applying the Adhesive. Most high-quality ceiling films come with a pressure-sensitive adhesive backing. Carefully peel back a portion of the release liner. For large sheets, the “hinge method” is effective: fold back half the liner, position the film, then slowly remove the rest of the liner while smoothing the film down.
Step 3: Positioning and Smoothing. Start from one corner or the center, depending on the room shape. Use a soft plastic squeegee or a felt-edged application tool to smooth the film from the center outward, pushing out air bubbles as you go. Apply firm, even pressure.
Step 4: Seaming and Trimming. For multiple sheets, overlap them slightly and use a sharp knife and straight edge to cut through both layers along the overlap, then remove the waste for a perfect butt joint. Trim excess material around edges, light fixtures, and vents with precision.
Step 5: Final Roll. Go over the entire installed surface with a roller or squeegee once more to ensure maximum bond strength and to eliminate any tiny, trapped air bubbles.
✔ Work in a Warm Environment: Adhesive performs best in room temperatures (18-25°C / 65-77°F). Cold rooms can make the film stiff and less pliable.
✔ Have a Helper for Large Sheets: An extra pair of hands is invaluable for handling large, delicate sheets without creasing or sticking them to themselves.
✔ Don’t Overstretch the Film: While some tension is good for smoothness, overstretching a patterned film can distort the design and cause it to contract and pull away from edges later.
✔ Address Bubbles Immediately: Small air bubbles can often be pushed out to the nearest edge. For stubborn ones, a tiny pinprick can release the air, which can then be smoothed flat.
Yes, absolutely. This is one of its major advantages. Specifically, you should select films that are rated as waterproof or highly moisture-resistant. These films have special coatings and adhesives that prevent water vapor penetration and inhibit mold growth. They are perfect for covering ceilings above showers or in steamy kitchens. For areas behind stoves, consider films with easy-clean properties similar to Kitchen Anti-oil Film used for walls.
The lifespan depends on the film’s quality and the installation environment. A premium-grade film from a trusted manufacturer, properly installed in an indoor setting, can last 10 to 15 years or more without significant fading, peeling, or yellowing. Factors like direct, intense sunlight or extreme humidity can affect longevity, so choosing a film with UV stabilizers and appropriate functional properties is key.
Generally, yes, but it requires care. Most quality adhesive films are designed to be removable. The key is to heat the film gently with a hairdryer or heat gun to soften the adhesive, then slowly peel it back at a low angle. Any residual adhesive can usually be cleaned off with a citrus-based adhesive remover. However, if the underlying ceiling surface was weak or poorly prepared, some damage is possible upon removal. Always test a small, inconspicuous area first.
It is not recommended. The non-porous, often glossy surface of PVC film does not provide a good “key” for paint adhesion. Paint is likely to chip, peel, or create an uneven finish. If you wish to change the color or appearance, the correct approach is to remove the old film and install a new one in your desired finish. The wide range of available colors and patterns, from Solid Color options to intricate prints, makes this a better solution.
They are fundamentally different products. PVC Film is a thin, flexible sheet that creates a seamless, monolithic appearance when installed. It’s applied with adhesive and is excellent for modern, smooth, or textured finishes. Traditional Ceiling Tiles (often mineral fiber, metal, or PVC panels) are individual panels that drop into a grid system. They provide easier access to the plenum above but have visible grid lines. Tiles are often chosen for acoustic control in offices, while films are preferred for their seamless aesthetics in residential and retail spaces.