Address
304 North Cardinal St.
Dorchester Center, MA 02124
Work Hours
Monday to Friday: 7AM - 7PM
Weekend: 10AM - 5PM
Address
304 North Cardinal St.
Dorchester Center, MA 02124
Work Hours
Monday to Friday: 7AM - 7PM
Weekend: 10AM - 5PM

PVC film for walls has become a practical alternative to traditional paint and wallpaper—especially when you want a clean, modern surface that’s easier to maintain and faster to refresh. From rental-friendly upgrades to commercial interiors that need durability, wall PVC films can deliver a consistent finish, protect substrates, and simplify long-term upkeep when you choose the right structure, adhesive, and surface texture.
Quick takeaway:
PVC wall film is best when you need water resistance, wipe-clean performance, and design flexibility (wood/stone/solid colors/3D textures) with controlled installation time.
PVC film is a thin sheet made from polyvinyl chloride designed to enhance surfaces aesthetically and functionally. For wall applications, it is typically supplied in rolls and can be laminated or applied as a self-adhesive layer. Depending on the design, it can simulate wood grain, marble, fabric, metal, matte/soft-touch finishes, or high-gloss looks—while also acting as a protective, wipeable barrier.
For projects requiring stable thickness and consistent surface quality, many wall solutions are based on calendered film, which is known for uniformity and scalable production.
✔ Moisture & stain resistance:
PVC surfaces are naturally suited to humid zones (bath surrounds, laundry areas, kitchens) because they resist splashes and stains better than many porous finishes.
✔ Easy cleaning:
Most wall films allow quick wipe-down with mild soap and water—helpful for households with kids, pets, or high-touch corridors.
✔ Consistent aesthetics at scale:
For retail chains, hospitality rooms, and office refits, rolls provide repeatable color and pattern consistency across multiple rooms.
✔ Surface protection:
PVC film can reduce scuffing on high-traffic walls and protect substrates (MDF panels, partitions, doors, decorative boards).
✔ Design versatility:
You can choose anything from minimalist solid colors to bold stone/wood textures without the cost or weight of natural materials.
PVC wall film performs best on smooth, stable surfaces and in areas where wipe-clean convenience matters. Typical use cases include:
⚠ Where to avoid:
Do not apply over loose paint, damp walls, powdery plaster, or actively leaking surfaces. PVC film is not a structural repair; substrate integrity must come first.
Not all PVC wall films behave the same. The right choice depends on how you’ll apply it and the look you want to maintain for years. Below are common categories used in wall décor and panel lamination.
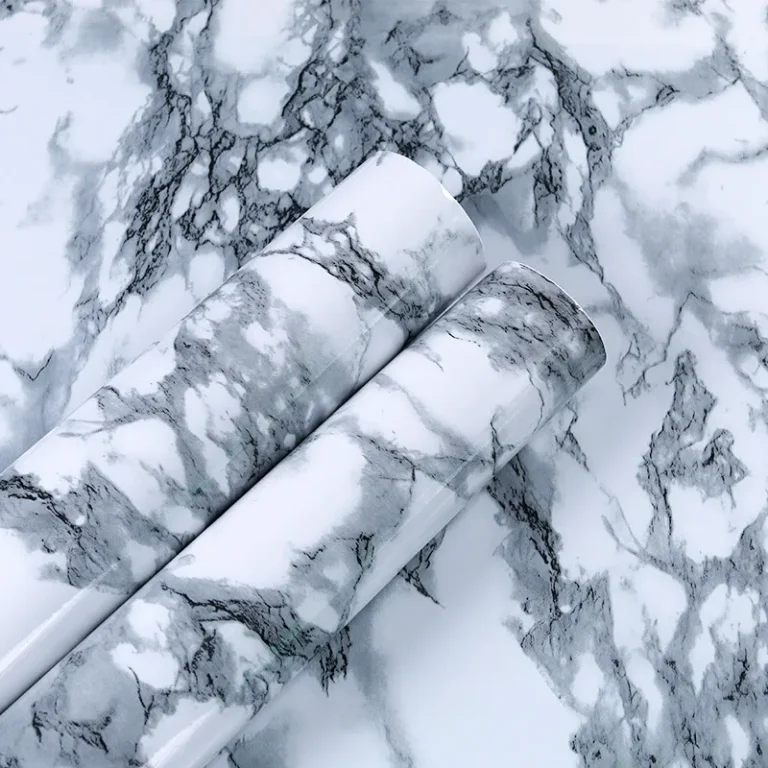
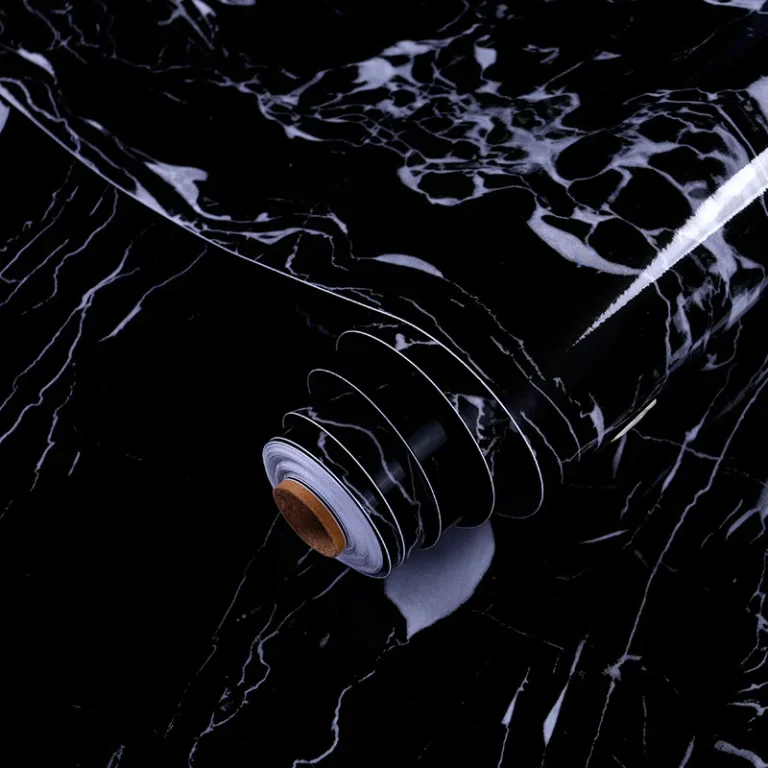
These are used to create natural-material visuals without the expense and installation complexity of real wood or stone. For example, marble film can produce a clean, premium impression on wall panels in lobbies, accent zones, or behind shelving.
If you’re trying to reduce the visibility of small surface flaws or want a more sophisticated feel, textured films can help. A good example is 3D silk texture film, which adds depth and soft reflection—often useful for feature walls where lighting highlights surface details.
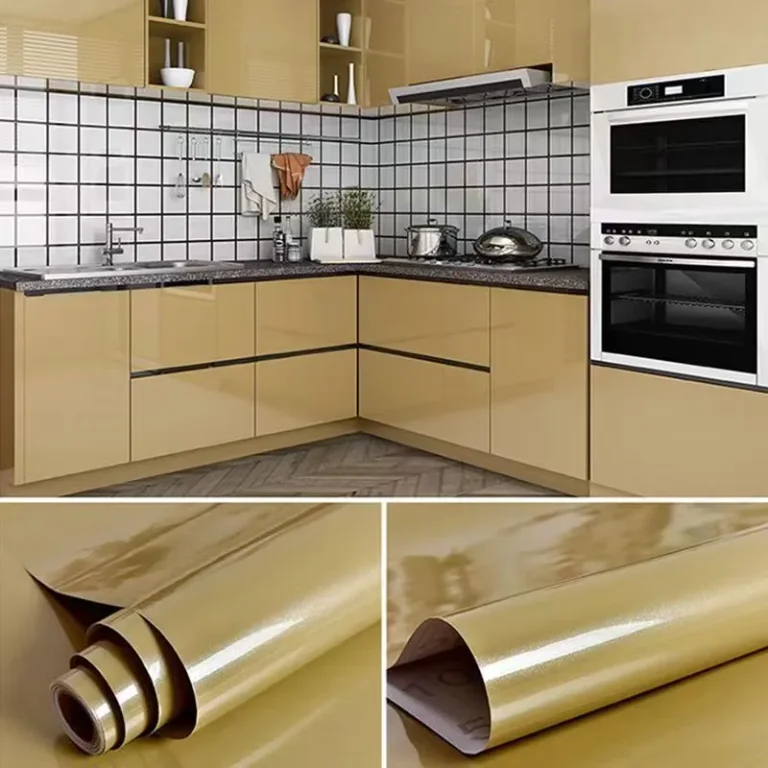
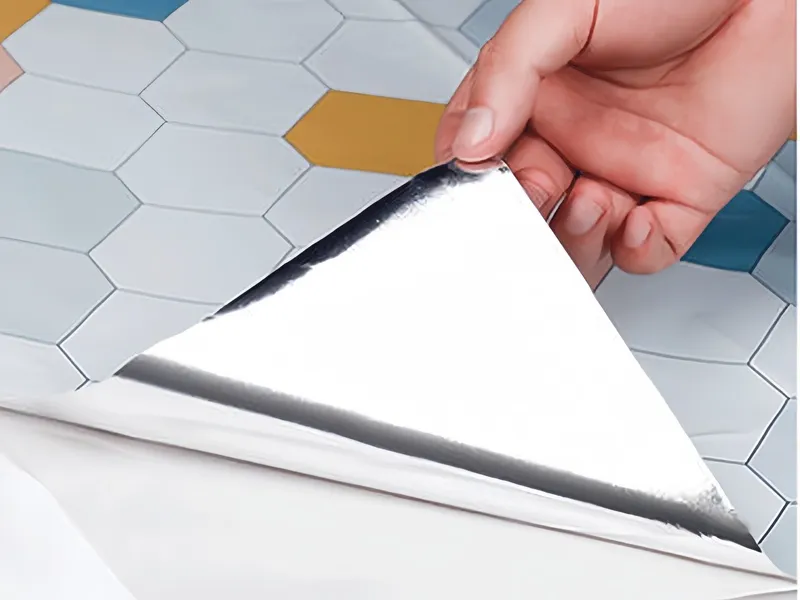
Self-adhesive PVC films are designed for faster application and are popular in quick renovations. They can work well when the wall is properly sealed and smooth. For highly complex installations (many corners, trims, sockets), consider professional installation to avoid trapped air, stretching marks, or seam misalignment.
Finish is not just aesthetic—it affects durability, cleaning, glare, and the visibility of seams or wall imperfections. Use the guide below to narrow choices quickly.
• Matte / low-sheen:
Great for hiding small wall defects and reducing glare in bright rooms. Often the easiest to keep looking “even” under LED lighting.
• Glossy:
Makes spaces feel larger and brighter but can highlight bumps and seams. Best on well-prepped, flat substrates and in design-forward accent areas.
• Soft-touch / skin-feel:
Offers a premium tactile experience; ideal for feature walls or hospitality interiors where touch and perceived quality matter.
• Embossed / textured:
Adds depth, hides minor imperfections, and can improve scratch disguise—excellent for corridors and busy living spaces.
A professional result depends more on preparation and technique than on speed. Whether you’re applying to panels or directly to a finished wall, the following workflow helps prevent bubbles, lifting edges, and pattern distortion.
The wall must be dry, smooth, clean, and stable. Remove dust, grease, and chalky residue. Repair loose paint, fill cracks, and sand high spots. If the wall is freshly painted, allow full curing time.
🔎 Pro check:
Press masking tape firmly to the wall and peel it off. If paint flakes or powder transfers heavily, surface consolidation (primer/sealer) is needed before applying film.
Decide whether you will butt-join seams or overlap (butt-joins look cleaner if alignment is accurate). For wood grain or marble veining, keep the direction consistent across the wall. Mark reference lines using a level to prevent drifting.
Peel the liner gradually (for self-adhesive films) and use a squeegee to press from the center outward, pushing air to the edges. Avoid overstretching—stretching can cause later shrink-back and edge lifting, especially near corners.
Corners and outlets are where mistakes become visible. Use sharp blades, change them frequently, and cut with steady pressure. For complex corners, make relief cuts to avoid wrinkling. If heat is recommended for the specific film, use it lightly to shape—too much heat can distort pattern and gloss.
Re-squeegee seams and edges. In high-humidity rooms, ensure ventilation for the first 24–48 hours and avoid aggressive washing until adhesion fully stabilizes.
Daily care is simple, but the wrong cleaners can dull the finish or weaken edges. Follow these practical rules:
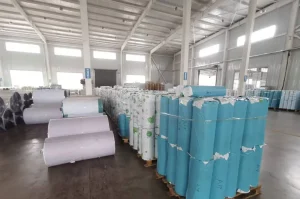
PVC film is a manufacturing-driven material: consistency, ink safety, and process control determine whether the wall finish stays stable over time. A strong supplier should be able to explain film structure, surface treatments, and quality checks clearly.
✅ Supplier checklist:
If you’re comparing design options for wall projects, you can browse category examples on the product page, and for more technical selection guidance, the knowledge center is a useful starting point.
Choose finishes that clean easily and don’t show smears—matte or lightly textured surfaces are often more forgiving than full gloss. Pay attention to seams near cooking areas; stable adhesion and clean cut lines matter more than bold pattern complexity.
Moisture resistance is a key advantage of PVC film, but substrate dryness is non-negotiable. Prioritize proper ventilation and avoid applying over damp masonry. In splash zones, ensure edges are firmly pressed and kept clean to reduce the chance of water working under the film.
Consider textured or patterned finishes that tolerate frequent wiping and minor scuffs. For brand-driven interiors, ask for OEM color matching and consistent repeat across batches—this is where a supplier with full in-house process control (calendering, printing, slitting, packaging) can reduce variability.
Tip for long walls:
For large surfaces, select patterns with lower seam sensitivity (subtle fabric texture, soft stone, micro-emboss) to keep joints visually quiet—especially under strong spotlights.
1) Is PVC wall film safe for indoor use?
Many interior-grade PVC films are produced with environmentally safer inks and can meet common compliance requirements. Always request documentation (e.g., relevant test reports) and confirm suitability for indoor decoration.
2) Can I install PVC film over painted walls?
Yes, if the paint is fully cured, stable, and not chalky or peeling. Weak paint layers can cause adhesion failure; prep and sealing are critical.
3) What finish hides imperfections best?
Matte and textured/embossed films typically hide bumps and patch marks better than high-gloss finishes.
4) How do I prevent bubbles during installation?
Clean the wall thoroughly, apply in small sections, use firm center-out squeegee strokes, and avoid peeling the backing too quickly.
5) Can PVC film be customized for my project?
Yes—many manufacturers offer OEM/ODM options for thickness, width, colors, patterns, and functional coatings (such as anti-static or special surface treatments) depending on your application.