Address
304 North Cardinal St.
Dorchester Center, MA 02124
Work Hours
Monday to Friday: 7AM - 7PM
Weekend: 10AM - 5PM
Address
304 North Cardinal St.
Dorchester Center, MA 02124
Work Hours
Monday to Friday: 7AM - 7PM
Weekend: 10AM - 5PM
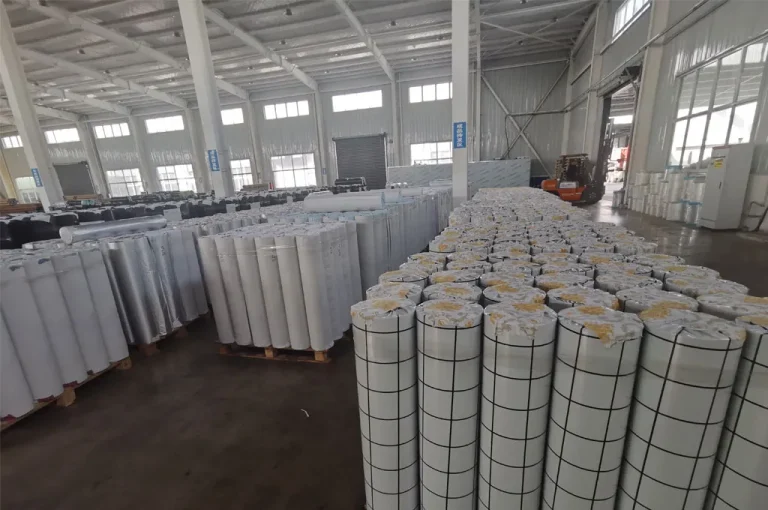
PVC film thickness is one of the most practical specs you’ll choose—because it affects appearance, durability, forming behavior, installation feel, and even how a roll performs on your lamination or wrapping line. This guide explains standard thickness ranges, how to measure thickness correctly, and how to choose the right gauge for furniture, interior decoration, flooring, packaging, and functional surfaces.
Key takeaway:
Thickness alone doesn’t guarantee performance. To select the right PVC film, match thickness + hardness (Shore) + emboss depth + adhesive/coating + application method to your use case.
PVC film thickness is typically stated in microns (μm) or millimeters (mm). Some buyers also use “gauge,” but gauge can be confusing because it varies by material conventions. For clear communication in purchasing documents, use μm or mm.
• 100 μm = 0.10 mm
• 200 μm = 0.20 mm
• 500 μm = 0.50 mm
• Base PVC layer only
• Base + topcoat (matte/anti-scratch/anti-fog)
• Base + adhesive (self-adhesive films)
When you compare quotes, confirm whether thickness refers to the total construction or just the PVC substrate. This matters especially for self-adhesive decorative films, functional coated films, and multilayer composites.
“Standard” depends on the production method (calendered vs. cast), the intended use (decorative vs. protective), and whether the film must be thermoformed, wrapped, or laminated. Below are practical ranges seen across furniture, building decoration, electronics, advertising, medical/cleanroom packaging, and home applications.
| Application | Common thickness | Why it’s used |
|---|---|---|
| Furniture wrapping / decorative lamination (wood grain, marble, solid color) | 120–300 μm (0.12–0.30 mm) | Balance of conformability + abrasion resistance + print depth |
| Soft-touch decorative film | 150–350 μm | Premium tactile feel; thicker structures support coatings |
| Skirting / edge protection film | 120–250 μm | Scuff resistance for baseboards, easy cleaning |
| Floor film / floor surface layers | 250–700 μm | Wear, indentation, and rolling load resistance |
| Protective/packaging/liner film | 30–120 μm | Light protection, easy unwind, cost efficiency |
| Transparent PVC film (general purpose) | 50–300 μm | Clarity vs. stiffness trade-off |
Note:
For decorative finishes like embossing or 3D textures, the thickness must support the emboss depth and still maintain consistent gauge across the roll.
If you’re sourcing a stable, widely used base material for printing/laminating, consider a calendered film, which is commonly chosen for consistent output, scalability, and broad decorative/industrial compatibility.
Thinner films typically wrap tight radii more easily, while thicker films can bridge corners and may require tuned heat/pressure. For complex profiles, also consider plasticizer level and softness, not just thickness.
Thicker structures can offer better durability, but the topcoat chemistry (matte anti-scratch, UV, stain resistance) often determines surface performance more than thickness alone.
Gauge consistency across the roll reduces wrinkles, print misregistration, and lamination defects. This is crucial for high-speed lines and wide-width products.
⚑ Practical rule:
If two films have the same thickness, the one with better thickness tolerance and suitable surface coating will usually perform better than the thicker-but-unstable alternative.
Accurate thickness measurement isn’t just “one pinch with a micrometer.” Films can vary slightly across width, along length, and around embossed areas. A correct method helps you verify supplier data, reduce claims, and set reasonable acceptance criteria.
Best for quick checks. Use a constant-force model if possible to reduce operator variability.
Preferred for QA labs. Higher repeatability; good for incoming inspection and supplier audits.
Useful for embossed/3D textures and continuous monitoring; reduces compression error.
Step-by-step:
1) Condition samples at room temperature (avoid measuring immediately after hot lamination or sun exposure).
2) Take measurements at three width positions: left / center / right.
3) Repeat at multiple length points (start, middle, end of roll) when validating a batch.
4) For embossed films, measure both peak-to-valley behavior if needed; clarify whether spec is “average” or “base film” thickness.
Instead of specifying only “200 μm,” define an acceptance range such as 200 μm ± 10 μm (example). The tighter the tolerance, the more important production control becomes—especially on wide widths, high gloss surfaces, or high-speed coating/printing lines.
⚠ Common measurement mistake:
Using too much pressure with a handheld micrometer can compress soft PVC and under-read thickness. Constant-force tools reduce this error.
The best thickness is the one that meets performance requirements with stable manufacturing and efficient cost. Use the framework below to decide quickly, then validate with samples and line trials.
Wrapping MDF cabinet doors, laminating flat panels, applying to metal, or installing as floor stickers all behave differently. Substrates with sharp edges or deep profiles typically need films that can stretch and recover without whitening, cracking, or lifting.
Cabinet fronts, wardrobe doors, countertops, and skirting get frequent contact—prioritize coating + thickness for scuff resistance and cleanability.
Floors and step zones need stronger wear layers; select thicker constructions and confirm indentation resistance.
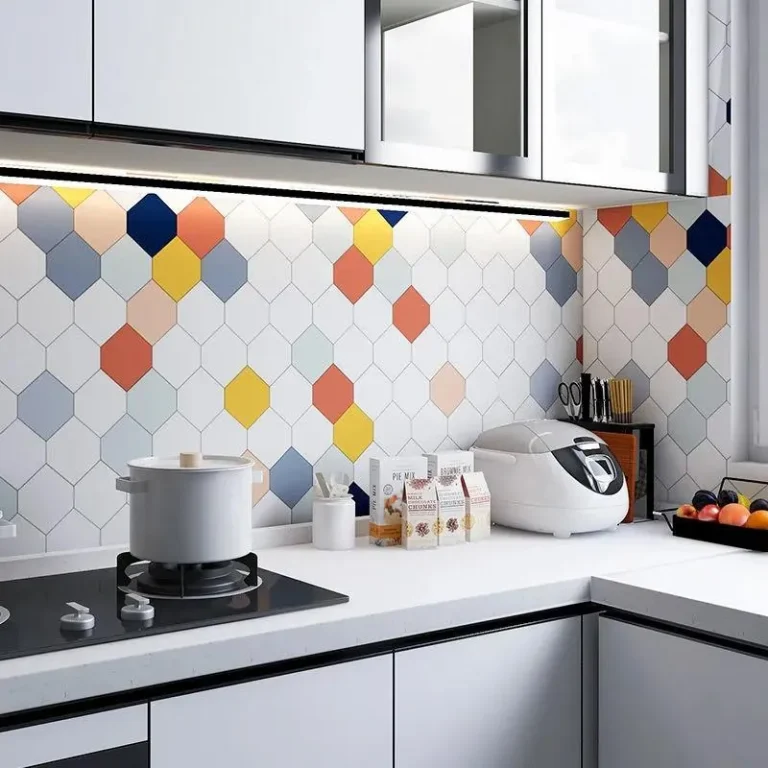
Wall panels and decorative trims can often use medium thickness while emphasizing color/texture fidelity.
Thickness will not replace functional needs such as anti-static (electronics), anti-fog, food-grade coatings, or improved chemical resistance for kitchens and cleaning environments. If your project needs these, specify them explicitly along with thickness.
✔ Buyer checklist (copy into your RFQ):
• Film type: calendered / decorative / self-adhesive / transparent / functional
• Thickness: target + tolerance (μm)
• Surface: glossy / matte / embossed / soft-touch; required topcoat (anti-scratch, stain resistance)
• Width, roll length, core size; winding direction if needed
• Adhesive (if any): tack level, removable/permanent, temperature range
• Compliance: REACH/RoHS/FDA or other project-specific requirements
For doors, panels, and profiles, many projects land in the 120–300 μm range depending on the wrap complexity and surface demands. If you’re selecting a decorative pattern, you may evaluate options like
wood grain film
or
marble film,
then fine-tune thickness based on scratch expectations and thermoforming behavior.
Tip:
For high-gloss finishes, thickness consistency and surface coating quality help reduce visual waviness and micro-scratch visibility under strong lighting.
For wall décor, a medium thickness often offers enough body for installation while staying easy to handle. If you need a minimalist interior style with consistent tone, a
solid color wallpaper
option can be paired with thickness specs that support smooth application and long-term dimensional stability.
Skirting areas see frequent contact from shoes, cleaning tools, and vacuum impacts. A practical thickness band (often 120–250 μm) paired with scuff-resistant surfaces is common. If your project includes baseboard finishing, review
PVC skirting film
and confirm thickness tolerance to reduce edge wear issues.
Floors demand more than “thicker is better.” You’ll want thickness appropriate for wear layer needs, plus validated performance for abrasion, indentation, and cleaning chemicals. Many floor-oriented structures use higher thickness bands (often 250–700 μm depending on design). For product direction, see
floor film
and confirm whether your spec refers to total structure thickness or the PVC layer alone.
Manufacturing method influences achievable tolerance, surface uniformity, and mechanical behavior. Calendered films are widely used across decorative and industrial markets because they support stable output and consistent roll-to-roll performance.
• High-gloss surfaces
• Wide-width lamination
• Multi-step printing + embossing
• High-speed slitting and packaging
• Anti-static or anti-fog requirements
• Food-contact or indoor air concerns
• Adhesive compatibility testing
• Heat-forming window and shrink behavior
Thickness is measurable and important, but it’s not the only factor that controls yield and end-user satisfaction. For stable production and consistent aesthetics, add these checks to your incoming inspection or supplier QA agreement.
Inspection points that prevent common failures:
• Thickness uniformity across width (not just average)
• Color consistency (batch-to-batch, metamerism under different lights)
• Surface defects: gels, pinholes, streaks, gloss variation, matte bloom
• Emboss fidelity: depth, repeat accuracy, pattern registration
• Adhesion (for coated/self-adhesive): peel strength, edge lift after heat
• Odor/VOC expectations for indoor use (especially furniture and wall décor)
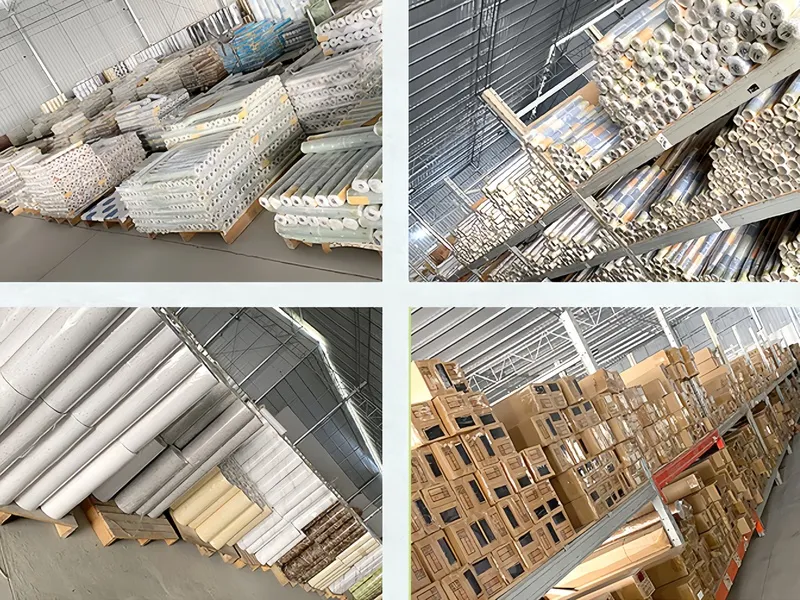
At a manufacturing level, consistent results typically come from full-process control—calendering, printing, slitting, and packaging—plus multi-stage QC from raw materials to finished rolls. This is also why specifying thickness tolerance and measurement method in writing is so valuable: it aligns both sides on what “qualified” means.
Many disputes come from assumptions. These quick practices reduce rework and claims, especially for OEM/ODM decorative projects.
State whether thickness includes coatings and adhesive layers, especially for self-adhesive films.
Ask for thickness average, min/max, and how/where it’s measured across the roll.
Run sample trials with your actual heating/lamination speed, glue, and substrate to confirm forming and edge behavior.
📌 Pro tip for OEM projects:
When changing thickness, re-check color and gloss. A thicker structure can reflect light differently, and emboss depth may read more strongly—small changes can be visible in large installations.
Many furniture wrap/lamination applications use 120–300 μm, then adjust based on profile complexity, scratch expectations, and whether a special topcoat is required.
<div style="background:#FFFFFF; border:1px solid rgba(25,43,131,0.22