Address
304 North Cardinal St.
Dorchester Center, MA 02124
Work Hours
Monday to Friday: 7AM - 7PM
Weekend: 10AM - 5PM
Address
304 North Cardinal St.
Dorchester Center, MA 02124
Work Hours
Monday to Friday: 7AM - 7PM
Weekend: 10AM - 5PM

Choosing the right PVC heat shrink film starts with understanding shrink rate — the amount a film will reduce in dimensions when exposed to heat. Whether you’re packaging irregular-shaped products, creating tamper-evident seals, or bundling multi-packs, selecting the correct shrink percentage and film specification ensures consistent presentation, protection, and machine compatibility.
The shrink rate (often expressed as a percentage) indicates how much a film will contract along a given axis when heated. For packaging operations, shrink rate determines how tightly the film conforms to the product, how much distortion can be expected, and the ideal operating temperature for your heat tunnel or shrink gun. A mismatch between product geometry and film shrink capability can lead to wrinkles, gaps, or over-shrink that damages labels or fragile items.
PVC heat shrink films are available in a range of shrink levels to suit different packaging goals. Typical categories include low-shrink (gentle conforming), medium-shrink (good balance of coverage and clarity), and high-shrink (for complex or bulky shapes). Selecting the right band prevents under- or over-shrinking during production.
| Product Type | Recommended Shrink Rate | Typical Thickness | Heat / Typical Temp |
|---|---|---|---|
| Rigid bottles & boxes | 15% – 30% | 25 – 50 µm | Heat tunnel 100–140°C |
| Irregular or tapered items | 30% – 50% | 35 – 75 µm | Heat tunnel 120–160°C |
| Multi-pack bundles / pallet top covers | 10% – 25% | 40 – 120 µm | Convection or tunnel 90–140°C |
| Graphics & printed sleeves | 15% – 35% | 30 – 80 µm | Controlled heat 100–150°C |
Start by assessing the product dimensions, fragility, and desired finish. Then evaluate these key factors:
– Run small lab tests with sample rolls to tune tunnel speed and temperature.
– For fragile labels or inks, choose films with lower max shrink temperature and more gradual shrink behavior.
– When in doubt, opt for medium-shrink, mid-gauge film and adjust heat settings during trials.
Wrinkling: Reduce tunnel temperature or increase conveyor speed; ensure film tension is balanced.
Gaps / poor coverage: Use higher shrink percentage or slower conveyor speed to allow full film contraction.
Film tearing or punctures: Increase film gauge or switch to a tougher film formulation; check for sharp product edges and add protective pads.
Cut a sample square (e.g., 100mm x 100mm) from your candidate film. Mark two perpendicular axes. Heat in your tunnel or with a heat gun at recommended film temperature and hold until shrink stabilizes. Measure post-shrink dimensions and calculate percentage shrink: (original size – shrunk size) / original size × 100. Repeat across multiple samples and machine settings to confirm consistent results.
Check whether the film meets food-contact approvals, local recycling guidelines, and any VOC limits for printed inks. Some regions require specific materials for food or medical packaging; always validate certification before large runs.
– Confirm shrink % and test on production line.
– Verify film gauge and tensile strength.
– Validate tunnel temperature and conveyor speed ranges.
– Ensure print and label compatibility.
– Request lead times and MOQ details.
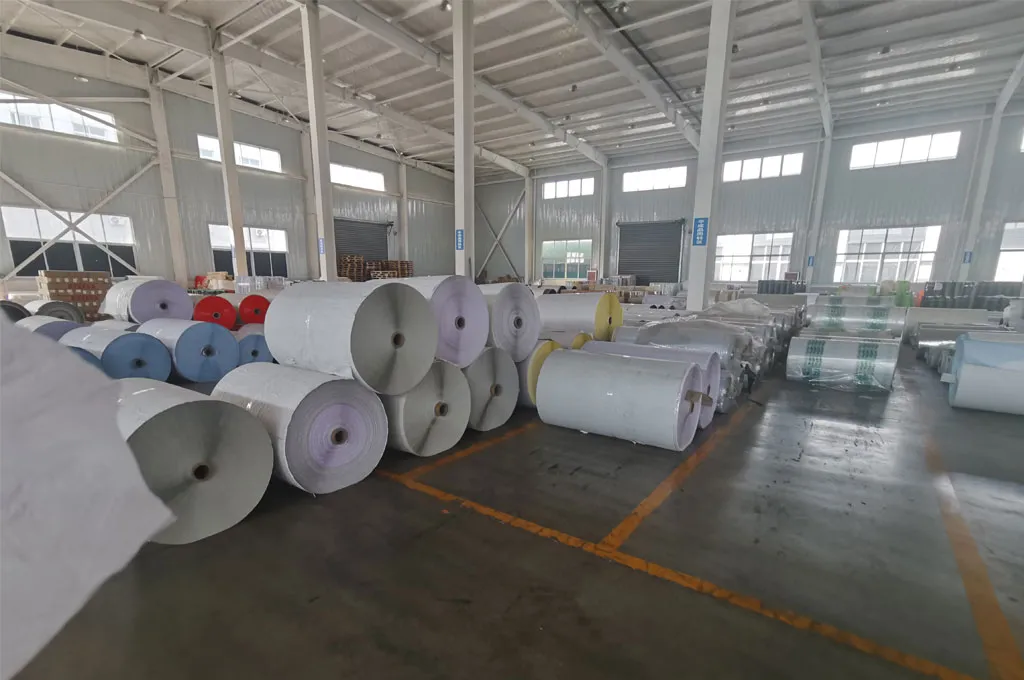
Pulivk — the company operates full in-house production with calendering, printing, and split-packaging lines to deliver custom PVC shrink films, strict quality control, and flexible OEM options. Contact the team for samples, technical data sheets, and on-site test support to dial in the perfect shrink solution for your product line.