Address
304 North Cardinal St.
Dorchester Center, MA 02124
Work Hours
Monday to Friday: 7AM - 7PM
Weekend: 10AM - 5PM
Address
304 North Cardinal St.
Dorchester Center, MA 02124
Work Hours
Monday to Friday: 7AM - 7PM
Weekend: 10AM - 5PM


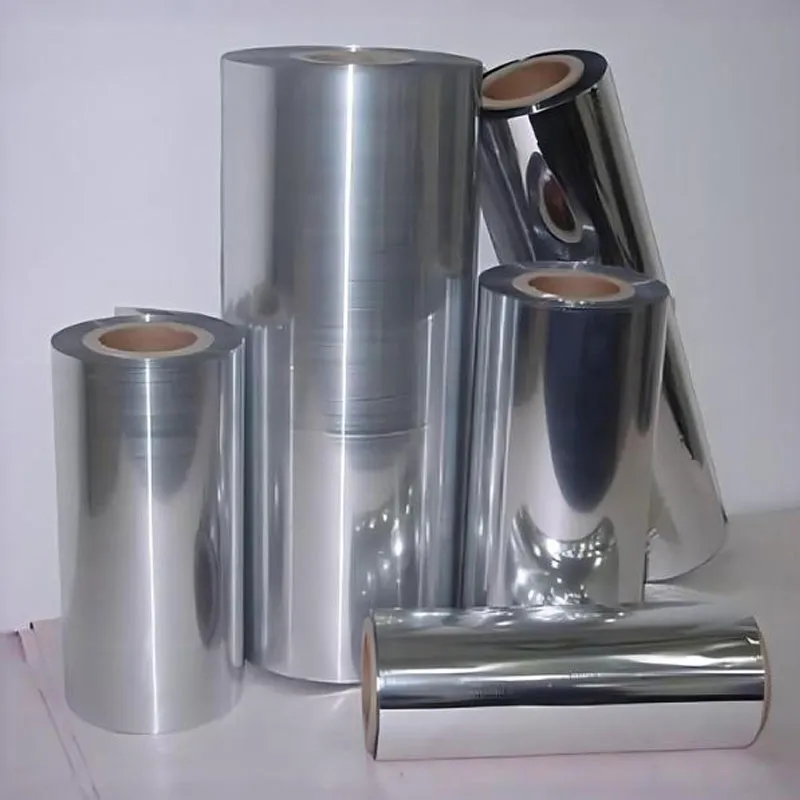
PVC film bubbling and blistering is a common problem for manufacturers, installers, and end users. Understanding why bubbles form — and how to prevent or fix them — saves time and reduces waste. This guide explains the main causes, diagnostic checks, preventative measures, and practical solutions you can apply on the production line or during installation.
Temperature & thermal movement: PVC expands and contracts with temperature changes. Rapid heating (like welding, hot-air tools, or direct sunlight) can generate gas pockets or delamination between layers.
Moisture & humidity: Trapped moisture under film or absorbed by substrate can vaporize and create blisters during drying or with temperature rise.
Outgassing and volatiles: Certain substrates (MDF, plywood, painted surfaces) or adhesives release gases or solvents that migrate into the film and form bubbles.
Incompatible adhesives and solvents: Using the wrong primer, adhesive type, or solvent-based cleaning agent can weaken bond strength and lead to bubbling or adhesive bleed.
Surface contamination & dust: Dust, oil, or small particles trap air pockets during lamination or installation and become visible over time.
Poor lamination or finishing process: Incorrect pressure, uneven heat, insufficient dwell time, or inconsistent roll tension cause localized delamination and blister formation.
Typical locations: seams, cut edges, areas near heat sources, or where adhesive lines finish. Timing: immediately after installation (trapped air), within days (moisture/solvents), or months/years (aging, outgassing, plasticizer migration).
Follow these checks in order to identify the root cause:
Control storage & acclimatization: Store PVC rolls flat and at stable room temperature (ideally 15–25°C / 59–77°F). Allow film and substrates to condition in the installation area for 24–48 hours.
Use compatible adhesives & primers: Choose adhesives recommended for PVC and the specific substrate. Always test a small batch for adhesion and aging.
Minimize moisture: Ensure substrates are dry and avoid installing in high-humidity conditions. If using water-based primers/adhesives, ensure sufficient drying time.
Optimize laminating process: Maintain correct calendering temperatures and even pressure. Avoid excessive tension on rolls; perform regular maintenance on calendering lines.
Clean surfaces thoroughly: Remove dust, grease, and release agents using recommended cleaners — avoid aggressive solvents unless proven safe.
– Use a soft rubber roller and work from the center outward to expel trapped air during application.
– Avoid application in direct sunlight or near heat sources.
– If bumps appear, lift and reapply immediately if possible; do not try to heat and stretch the film over large pockets.
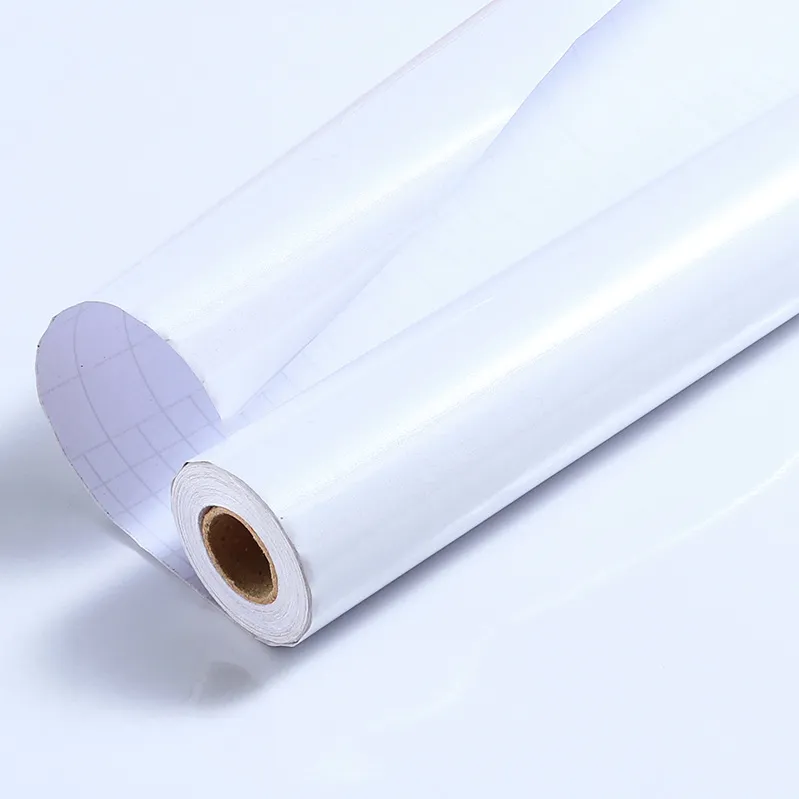
Pin and press method: use a fine needle to puncture, press out air and moisture with a clean cloth, then apply a drop of compatible adhesive into the cavity and press flat. Polish gently once cured.
Partial removal and re-lamination: cut out the affected area, clean substrate and film edges, reapply primer/adhesive and re-laminate under correct temperature/pressure. For large panels replacing the film may be more cost-effective.
If blisters reappear after repair, suspect outgassing or plasticizer migration. Solutions include replacing substrate with low-outgassing materials, applying a certified barrier primer, or choosing PVC grades with suitable stabilizers.
Implement these checks at production and final inspection:
| Cause | Signs | Immediate Action |
|---|---|---|
| Trapped air / poor application | Small uniform bubbles after install | Re-apply: roll from center outward; pin & press for small pockets |
| Moisture in substrate | Clear fluid in bubble; grows with heat | Dry substrate, allow acclimatization, use moisture barrier |
| Outgassing / solvents | Cloudy or gas-filled blisters over time | Use barrier primer or different substrate, test before large runs |
| Incompatible adhesive | Adhesive bleed, weak bond | Switch to recommended adhesive; conduct peel tests |
Replace film when blistered area exceeds 10–15% of a panel, when blisters reappear after repair, or when the substrate is degraded (rot, delamination, or severe outgassing). Replacement ensures long-term finish quality.
Henan Pulivk New Materials Co., Ltd. (Pulivk) provides calendered PVC film and full in-house production services with quality control across calendering, printing, and split-packaging lines. For custom specs, trials, or technical support visit https://pvcfilmtec.com/
Document each repair and the conditions that caused it — this data helps identify trends (seasonal humidity, specific substrates, or adhesive lots). Small process changes before scaling production can prevent costly rework later.