Address
304 North Cardinal St.
Dorchester Center, MA 02124
Work Hours
Monday to Friday: 7AM - 7PM
Weekend: 10AM - 5PM
Address
304 North Cardinal St.
Dorchester Center, MA 02124
Work Hours
Monday to Friday: 7AM - 7PM
Weekend: 10AM - 5PM


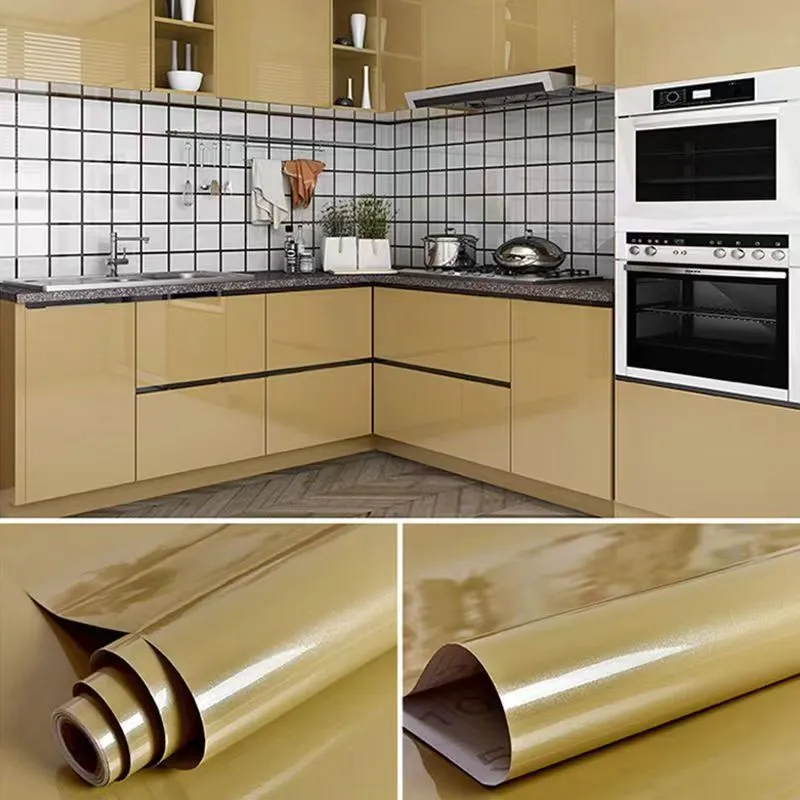
PVC film failing to stick properly is a common frustration in décor, packaging, and industrial applications. Poor adhesion can come from many sources — surface contamination, incompatible adhesives, temperature and humidity issues, or problems with the film itself. This guide walks through the typical causes, how to diagnose them, and practical fixes that improve bond strength and longevity.
Adhesion depends on intimate contact between the film’s adhesive and the substrate surface, plus chemical compatibility. Surface energy, cleanliness, pressure, and cure conditions all influence the bond. If any factor is off, the film may lift, bubble, or peel prematurely.
Grease, silicone, wax, dust, or release agents on substrates block adhesive wetting. Even microscopic oils from hands can reduce adhesion dramatically.
Plastics like polyethylene, polypropylene, and some powder-coated paints have low surface energy, making adhesive wetting difficult. Metal and wood finishes vary by coating.
Not all adhesives bond equally to every PVC film or substrate. Pressure-sensitive acrylics, rubber-based, and solvent-based adhesives perform differently under temperature and humidity.
High humidity, low temperatures, or rapid temperature swings during application can prevent proper adhesive contact and cure.
Insufficient pressure during lamination, trapped air, or improper roller speed can leave voids and weak spots.
Before replacing materials, run a few simple checks:
| Cause | How to Check | Fix |
|---|---|---|
| Contamination (oil, wax) | Wipe with solvent, retest | Clean with IPA or recommended cleaner; use tack cloth; avoid touching surface |
| Low surface energy | Water droplet test (beading) | Apply primer or surface treatment (flame/ corona); choose compatible adhesive |
| Wrong adhesive type | Manufacturer compatibility check | Switch adhesive family (acrylic, solvent, or rubber) to match PVC & substrate |
| Application/pressure issues | Visual bubbles; peel patterns | Increase laminating pressure, use proper rollers, squeegee air out from center |
Always clean the substrate with a recommended solvent (e.g., isopropyl alcohol) and dry fully. For porous surfaces, remove loose dust or fibers and consider light sanding to improve mechanical keying.
Match adhesive type to the job:
For low-energy plastics or powder-coated paints, a primer or surface treatment (flame, corona, plasma) increases surface energy and promotes wetting. Test a small area before full application.
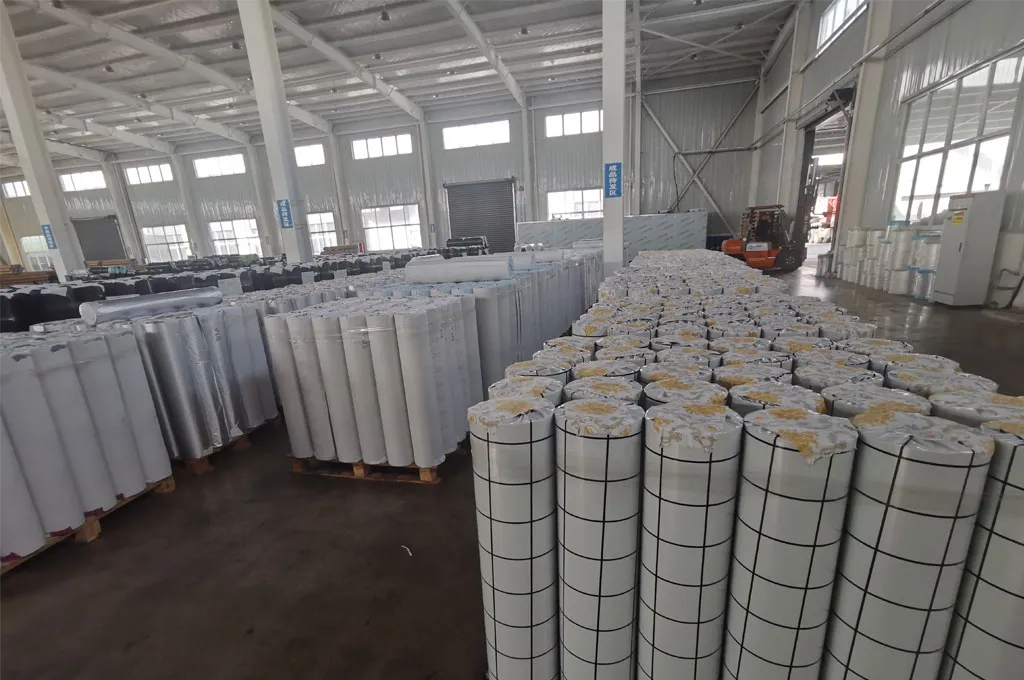
Install in recommended temperature/humidity ranges. If working in cooler conditions, slightly warming the substrate or film (with a heat gun at safe distance) improves conformability and bonding.
Use firm, even pressure with rollers or squeegees to eliminate trapped air. For large panels, apply from center outward. Allow adequate dwell time for pressure-sensitive adhesives to develop full bond.
After application, perform a peel/tack test on sample panels. Monitor edges and high-stress areas during the first 48–72 hours; many adhesive systems strengthen after initial setting. If lift appears, document substrate type, batch numbers, and environmental conditions to identify patterns.
Keep bonded surfaces clean; avoid aggressive cleaners that may attack adhesive. For exterior projects, select UV-stable films and adhesives designed for outdoor exposure to minimize edge lift and discoloration.
If adhesion problems persist after cleaning, correct adhesive selection, and proper application, consult the film or adhesive manufacturer with test results. They can recommend primers, adhesive alternatives, or specific process adjustments.
Q: My film sticks at first but peels later — why?
A: That often indicates migration of plasticizers, incompatible adhesives, or environmental stress. Consider different adhesive chemistry or a primer.
Q: Can I fix lifted edges without replacing the film?
A: Small edge lifts can be re-adhered with heat application (if the film and substrate allow) or a compatible edge adhesive, but full replacement is best for large failures.
For reliable, factory-controlled PVC film supply and technical support, Pulivk (https://pvcfilmtec.com/) manufactures a wide range of calendered and printed PVC films with in-house quality control that helps customers troubleshoot adhesion in real-world applications.