Address
304 North Cardinal St.
Dorchester Center, MA 02124
Work Hours
Monday to Friday: 7AM - 7PM
Weekend: 10AM - 5PM
Address
304 North Cardinal St.
Dorchester Center, MA 02124
Work Hours
Monday to Friday: 7AM - 7PM
Weekend: 10AM - 5PM


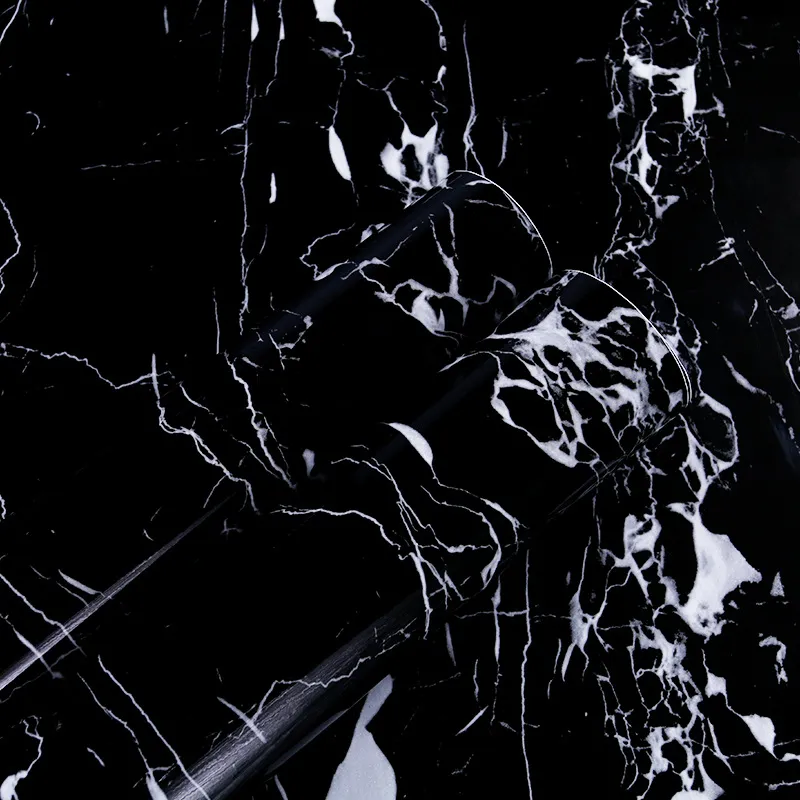
PVC film that won’t lay flat or stick smoothly can turn a simple renovation or packaging job into a frustrating task. This guide explains the most common reasons for poor adhesion and gives practical, SEO-friendly solutions you can use today to get a professional finish.
Dust, grease, old adhesive residue, or silicone on the substrate all prevent full contact between the PVC film and the surface. Even fingerprints can create tiny barriers that trap air or prevent bonding.
Adhesives and PVC are sensitive to environmental conditions. Low temperatures make adhesives stiff and less tacky; high humidity can prevent proper bonding or cause bubbling as moisture evaporates under the film.
Not all PVC films and adhesives match. Some films have surface treatments (anti-static, anti-scratch, or slip agents) that reduce adhesion. Using a generic adhesive with specialized film may result in weak bonding or edge lifting.
Rushing, improper squeegee use, or failing to remove backing correctly can create creases and trapped air. Overstretching during application can also cause shrinkage and later edge lift.
Porous, uneven, or weak substrates (old paint that flakes, gloss surfaces, or highly textured finishes) may require primer, sanding, or a different adhesive system to accept PVC film reliably.
Clean thoroughly with a mild detergent or isopropyl alcohol and a lint-free cloth. Remove flaking paint or loose material, and if the surface is glossy, lightly abrade with fine sandpaper to improve mechanical grip. Always let the surface dry completely before applying film.
Apply PVC film in a controlled environment where possible. Ideal conditions typically fall between 18–25°C (64–77°F) and 40–60% relative humidity. For cold rooms, warm the film and surface slightly before application to increase tack.
Check manufacturer recommendations. If you suspect the film has a release coating or slip agent, consider a primer or an adhesive designed for low-energy surfaces. For heavy-use areas, choose stronger permanent adhesives; for removable installations, choose a low-tack or repositionable adhesive.
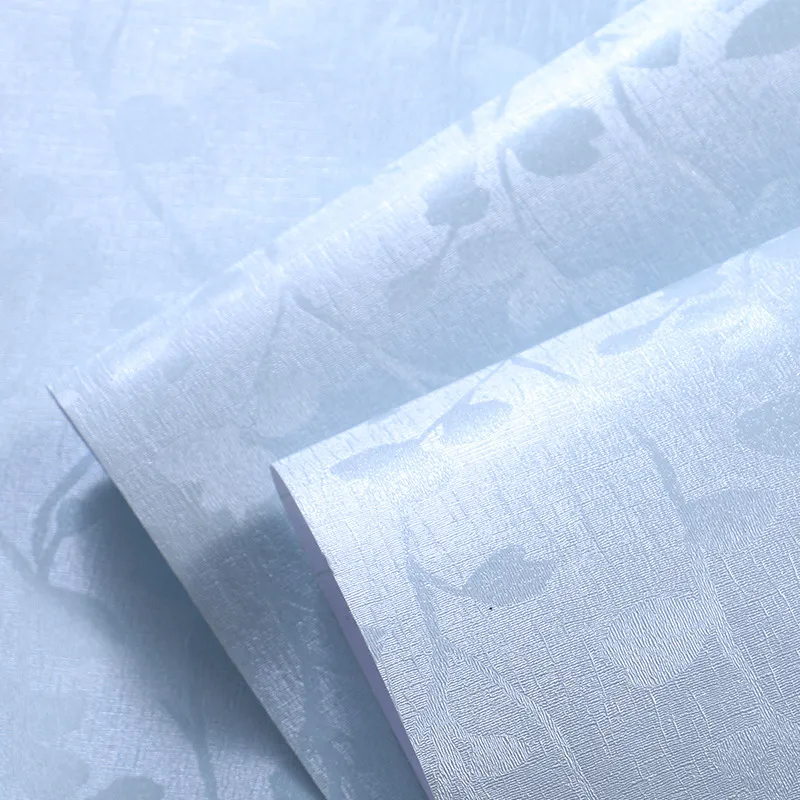
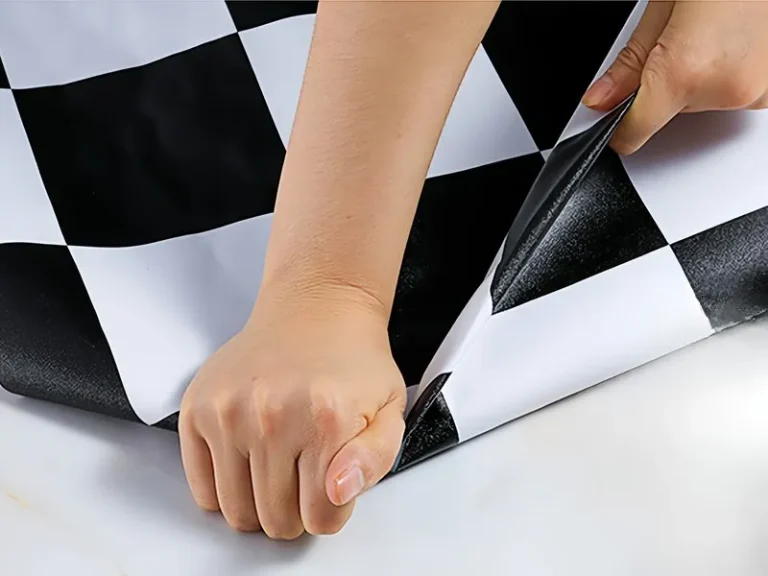
Work slowly and use a quality squeegee with felt or soft rubber edges. Start from the center and push toward edges to remove air. For large panels, use a technique of tack, then squeegee in short controlled strokes to avoid stretching. Heat guns or infrared heaters can help conform film around curves—use evenly and sparingly.
Always do a small test patch: check adhesion after 24–72 hours and under the expected environmental stresses. This helps identify compatibility issues before committing to full application.
| Problem | Likely Cause | Recommended Fix |
|---|---|---|
| Air bubbles appear | Trapped dust or wrong squeegee method | Lift locally, clean, reapply using center-out squeegee strokes |
| Edges lifting | Low adhesion or temperature fluctuations | Apply edge primer or adhesive bead; maintain stable room temp |
| Film wrinkles/creases | Overstretching or uneven tension during application | Reposition carefully; use heat to relax film, then smooth |
| Poor bond after days | Surface contamination or incompatible adhesive | Remove film, prepare surface properly, try recommended adhesive |
Recommended items: lint-free cloth, isopropyl alcohol, fine sandpaper, quality squeegee (felt/rubber), heat gun (low setting), primer for low-energy surfaces, and a test sample of the adhesive. Having the right tools prevents many common failures.
If a test area fails despite correct preparation and recommended environmental controls, contact the film supplier. Provide details about substrate type, ambient conditions, adhesive used, and photos. Manufacturers (for example, Pulivk) can often recommend compatible primers, adhesives, or an alternative film grade tailored to your application.
Allow full cure time as recommended for your adhesive, avoid rapid temperature swings in the first 48–72 hours, and clean gently—harsh solvents or abrasive cleaners can degrade adhesive over time. For outdoor or high-moisture environments, choose films and adhesives rated for those conditions.
Start with surface cleaning, check environmental conditions, test a small area, then use proper tools and the right adhesive. When in doubt, consult the supplier for product-specific guidance to ensure a smooth, lasting finish.