Address
304 North Cardinal St.
Dorchester Center, MA 02124
Work Hours
Monday to Friday: 7AM - 7PM
Weekend: 10AM - 5PM
Address
304 North Cardinal St.
Dorchester Center, MA 02124
Work Hours
Monday to Friday: 7AM - 7PM
Weekend: 10AM - 5PM
PVC film processing is a practical, repeatable workflow: select the right film structure, condition it for stable handling, cut it cleanly, print with compatible inks, laminate or coat for durability, then pack, store, and (when possible) recycle responsibly. This guide walks through each step with production-ready tips for factories, converters, and brand owners working with decorative, industrial, and packaging PVC films.
Key idea:
Most PVC film defects (curling, ink rub-off, bubbles, silvering, delamination) come from poor conditioning + wrong surface energy + uncontrolled tension. Control these three early and the rest becomes easier.
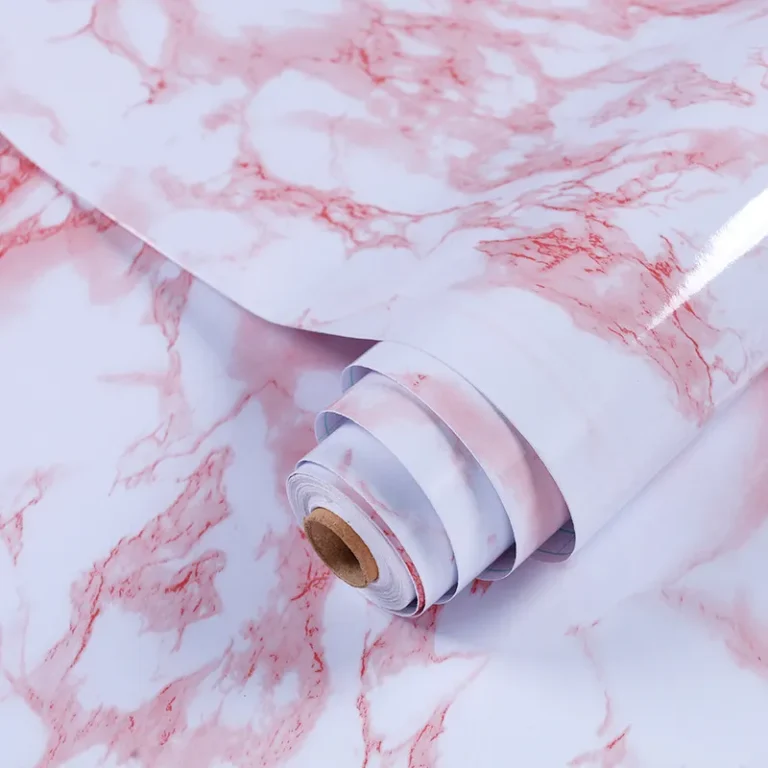
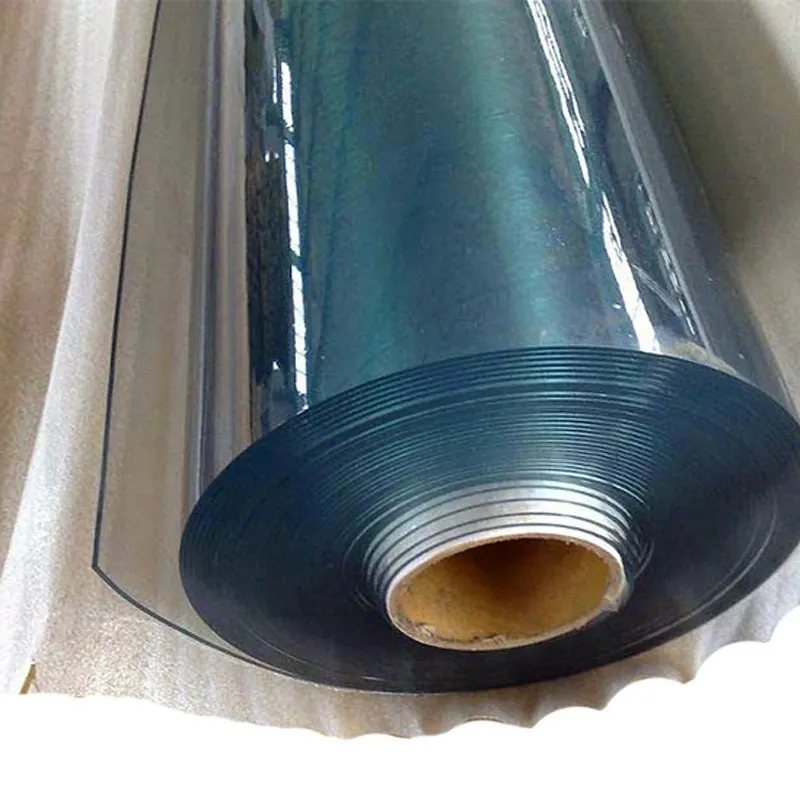
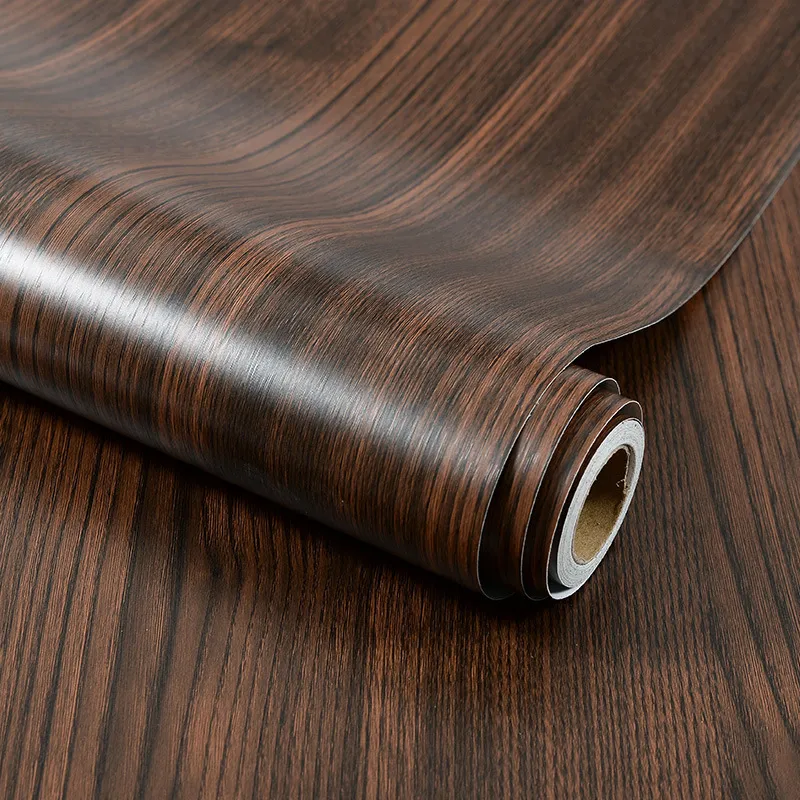
“PVC film” covers multiple structures and finishes: calendered film, decorative embossing, matte/glossy, transparent, soft-touch, self-adhesive, anti-static, and multi-layer laminations. Before you cut or print, confirm the film’s thickness, plasticizer system, surface finish, and intended end use (furniture wrap, wall panels, flooring, advertising, cleanroom packaging, etc.).
Quick selection tip:
For dimensional stability and consistent printing/lamination, many converters prefer
calendered film
due to its uniform thickness and good roll handling.
Glossy improves color pop but reveals scratches and roller marks.
Matte hides handling marks but can be harder to wet with ink.
Embossed / textured adds depth but increases ink consumption and can trap air during lamination.
If you need premium tactile effects, textured products such as
3D silk texture film
often require more careful press setup and slightly higher drying energy to prevent set-off.
Unwind the roll and let it acclimate in the converting room (temperature/humidity stabilized) before high-precision cutting or printing. If film is moved from a cold warehouse into a warm shop, moisture condensation can reduce adhesion and create print pinholes. Conditioning also reduces curl memory and helps tension stay stable.
Checklist (pre-flight):
confirm roll ID & batch, thickness tolerance, core size, winding direction, surface side (print side), and any functional coating (anti-static/anti-fog). Keep a small retained sample for traceability.
Cutting PVC film generally means slitting (width conversion), sheeting (cut-to-length), and sometimes die-cutting (labels, stickers, shaped pieces). The goal is a clean edge, consistent roll hardness, and minimal telescoping.
Razor slitting is cost-effective for thin films but can create burrs on thicker or heavily embossed material.
Shear slitting (rotary) gives cleaner edges for many decorative films.
Score slitting can work for certain structures but may increase dust or edge cracking if set incorrectly.
PVC is sensitive to stretch and “growth” under excessive tension. Set unwind/rewind tension to keep web tracking stable without elongation. Control nip pressure to avoid embossing damage (especially on soft-touch or deep textures). Aim for even roll density; overly hard rolls risk blocking, while overly soft rolls can telescope.
⚠ Edge quality matters:
a micro-burred edge can trap air during lamination and show as “silvering” lines. If you see repeating edge defects, review blade condition, shear angle, and web tension balance.
Fine dust and static charge cause print voids and adhesion failures. Use web cleaners (tack rollers or contact/non-contact systems), ionizing bars, and keep blades/rollers clean. For electronics and appliance protection use cases, anti-static options are common; confirm whether the film is inherently anti-static or needs treatment before printing/laminating.
PVC film can be printed by gravure, flexographic, screen, or digital methods depending on run size, texture depth, and design complexity. Success is determined by surface energy compatibility, ink system selection, and drying/curing control.
If ink beads up, adhesion is weak, or rub resistance is poor, you may need surface treatment (corona/plasma) or a primer. Matte and soft-touch films may require more careful treatment to avoid damaging the feel while still achieving wetting. Always treat the correct side (print side) and verify with a quick wetting test or dyne pens if your process uses them.
✅ Print readiness indicators:
consistent unwinding (no chatter), stable register marks, no condensation, low dust, and verified surface side. These reduce downtime more than any single machine upgrade.
Use ink systems designed for PVC and your chosen press method. Solvent choice influences drying speed, dot gain, and risk of film deformation. Too aggressive solvent can swell PVC; too slow solvent can cause blocking in rewound rolls. If your supplier specifies eco-friendly, non-toxic inks for indoor or human-contact applications, keep the drying profile tuned to avoid residual odor.
Overheating can warp PVC and change gloss. Under-drying leads to set-off, poor lamination bonding, and long-term odor issues. Use staged drying: lower initial heat to flash solvents, then controlled final drying. Allow sufficient “rest time” after printing before lamination so solvents fully equilibrate.
Practical tip:
If prints look perfect on the press but fail after lamination, suspect residual solvent or insufficient surface energy—not the adhesive.
Lamination can mean film-to-film bonding, film-to-paper, or film-to-board/panel (for furniture and decorative building materials). It may be done with pressure-sensitive adhesives (PSA), solvent-based or water-based adhesives, hot-melt, or thermal lamination depending on end-use requirements.
For interior decoration with long-term stability (cabinet doors, wall panels, profiles), prioritize heat resistance, plasticizer migration resistance, and aging performance.
For quick installation products (self-adhesive wall film, stickers), you’ll focus on initial tack, repositioning behavior, and clean removal.
Examples of end-use oriented PVC films include
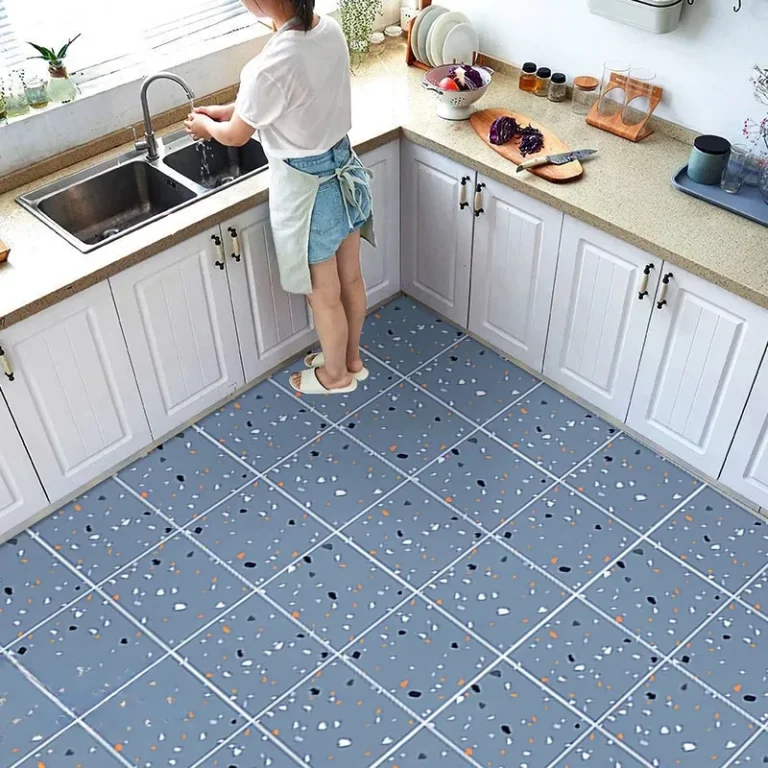
floor film
(where wear and slip considerations matter) and
PVC skirting film
(where edge durability and scuff resistance are key).
Evaluate adhesion on the actual substrate (MDF, plywood, metal, PVC board, glass, etc.). Confirm whether you need chemical resistance (kitchens, hospitals), higher humidity tolerance (bathrooms, coastal projects), or low VOC requirements (indoor spaces). For textured films, use an adhesive system that can wet the peaks and valleys without trapping air.
🔎 Bond-strength mini-test:
run a small pilot at production speed, then test peel after 24 hours and after heat aging. Many failures appear only after the adhesive fully cures or after thermal cycling.
Bubbles and silvering typically come from trapped air, low wet-out, or contamination. Ensure clean rollers, correct nip pressure, and stable tension. For embossed films, increase dwell time or adjust pressure profile so air can escape along texture channels rather than locking in.
Wrinkles often indicate misaligned rollers, uneven tension zones, or temperature gradients across the web. Correct web guiding, maintain consistent roller temperature, and avoid aggressive rewinding that stretches one edge more than the other.
Reliable PVC film processing depends on simple, consistent QC gates. The most effective systems track defects by batch and machine setting, not just by “pass/fail.”
Before cutting: thickness, width, appearance, winding quality, surface side confirmation.
After cutting: edge burr, roll hardness, telescoping, core alignment, static/dust level.
After printing: color consistency, register, adhesion/rub test, odor/residual solvent check (as required).
After lamination: bubble inspection, peel strength, heat aging, dimensional stability, blocking check.
Record roll number, line speed, temperature zones, tension settings, ink batch, adhesive batch, and operator notes. When a customer reports an issue (curl, delamination, gloss shift), these records allow fast root-cause analysis and prevent repeat defects across future shipments.
Finished PVC film rolls are commonly wrapped individually with dust-proof PE film or kraft paper and labeled with specifications. Good packaging is not cosmetic—it prevents scuffing, contamination, and moisture exposure that later shows up as print defects or bonding failures.
Storage basics:
keep rolls upright on clean pallets, avoid direct sunlight, avoid extreme heat, and prevent heavy stacking that can deform roll edges. If you process self-adhesive structures, avoid high temperatures that can cause adhesive flow.
PVC film recycling depends on local infrastructure, film additives, and contamination levels (inks, adhesives, laminated layers). The most recyclable streams are clean, mono-material PVC offcuts from slitting and trimming. Printed or laminated waste usually needs specialized handling.
Separate scrap by type: unprinted PVC, printed PVC, self-adhesive PVC (with liner), and multi-layer laminates. Keep bins covered to prevent dust and moisture. This single change can increase recycling acceptance and reduce disposal cost.
Some calendered PVC processes allow a controlled percentage of regrind back into production, depending on performance requirements and regulatory constraints. Verify that regrind does not affect color consistency, odor, mechanical properties, or compliance requirements for the target market.
Compliance note:
if your films are used for indoor decoration or human-contact applications, confirm your recycling strategy maintains required standards (e.g., REACH/RoHS/FDA as applicable) and does not introduce restricted substances via mixed scrap.
Printed, adhesive-coated, or composite structures can be difficult to recycle mechanically. In these cases, prioritize waste reduction upstream: optimize nesting, reduce setup waste, standardize SKUs, and improve first-pass yield via stable conditioning and surface control.
Ink rubs off: improve surface treatment/primer, confirm ink system for PVC, increase drying efficiency, check plasticizer migration risk.
Bubbles after lamination: increase cleanliness, reduce dust, adjust nip pressure and speed, allow more rest time after printing, verify adhesive wet-out.
Curling or warping: reduce heat load, balance tension, extend conditioning time, avoid tight rewinds while film is warm.
Telescoping rolls: correct edge tension balance, align rewind shafts, optimize roll hardness and core fit.
Silvering on textured film: refine slit edge, improve adhesive flow, adjust pressure profile to evacuate air through texture.
For OEM/ODM PVC film projects, speed and consistency come from locking specifications early: thickness, width, embossing, gloss level, pattern color targets, and packaging requirements. A stable workflow typically follows: sample confirmation → pilot run → mass production → in-line QC → final packaging with labels for traceability.
If your product mix includes decorative patterns (wood grain, marble, solid colors) and functional options (anti-static, anti-fog, self-adhesive), keep a shared “process sheet” per SKU: target tension window, drying profile, and lamination settings. This reduces setup waste and improves on-time delivery.
Where to learn more:
browse additional converting and material notes in the
Knowledge
section, or check product categories via
Product.
Not always. Some PVC films are supplied print-ready, but matte, soft-touch, or coated surfaces may need treatment or primer. If ink adhesion or wetting is inconsistent, surface treatment is a common fix.
Usually from under-drying or residual solvent trapped in the roll. Reduce rewinding while warm, optimize staged drying, and allow rest time before lamination or tight packing.
Typical causes include micro-dust, insufficient adhesive wet-out on textured surfaces, too-fast lamination speed, or trapped solvent from fresh prints. Adjust cleaning, pressure, speed, and curing time.
Clean, unprinted PVC offcuts are the easiest to recycle mechanically. Printed, adhesive-coated, or multi-layer scrap is harder and may require specialized recycling or waste-reduction strategies upstream.
Provide film type, thickness, width, finish (gloss/matte/embossed), color/pattern, application, and quantity. If you need OEM/ODM, include packaging requirements and any compliance needs.